Quick and easy Quince recipe

quince

I love my quince tree in my backyard. In the spring it is covered with the most glorious blooms and in the fall I get to harvest the few quince that the squirrels have not already stolen. And every year with whatever yield I get for myself I make my husband and I a little treat known as Membrillo or Quince Paste. 

It takes a couple of hours to make, but the process is super simple and can be followed very easily no matter how many or how few quince you may have.

weighed quince

This year my yield was super small. I got 1lb of quince, but you can use this recipe for whatever amount you have.

Instructions

  • 1 lb Quince
  • Lemon peel - small sliver of lemon peel, no pith
  • Vanilla bean - half of a bean, cut and seeded
  • 1/4 tsp Lemon juice 
  • 1 cup sugar

Peel and coarsely chop up the quince. Place the lemon peel, vanilla and quince in a small pot and cover with water. Bring to a boil, reduce to a simmer and cover. Cook on simmer until quince is soft and can easily be pricked with a fork.

Strain the water and place the softened quince in a food processor and blend until smooth. Measure out how much quince you have (with 1lb of quince, I got 1 cup of puree) and then add equal part sugar (1 cup in this instance).

Place quince and sugar in a small pot over low heat and stir until sugar is fully dissolved. Leave over heat, stirring occasionally until paste is thick and changes colour to a gentle orange. Took 35 minutes with 1 lb of quince.

Then spoon quince out of the pot and place into a small pan lined with parchment paper. Place in oven on low heat (125 degrees) for 30 more minutes to dry it out.

Cut and serve - with a hard cheese from The Pantry in Toronto or from your favourite cheese shop.

Interested in our products? Shop our selection.

Want to grow your food business? Manning Canning Kitchens can help.


Spicy Pickled Asparagus

ontario asparagus

I started my day yesterday at 5am so that I could head down to the Ontario Food Terminal and pick up some Ontario Asparagus for my preserving class at The Depanneur. If you have never been to the Food Terminal it is one of my favourite places in the city. In the early hours before the sun comes up when the streets and highways of the city are quiet, the Terminal is a hive of activity. With trucks coming in and out filled with flowers, plants and produce, with buyers walking from supplier to supplier filling their carts and rolling racks full of the items they need and with mini forklifts being driven around coming at you from all directions. It makes procuring local produce and adventure.

Asparagus is generally in season in Ontario in May and June, so now is the perfect time for you to get your hands on some and for you to make Pickled Asparagus. 

spicy pickled asparagus

I have a few favourite Pickled Asparagus recipes. Some are great cut up in salads (potato salad being my favourite) or put out with an assortment of cheeses and meats on a charcuterie plate. And while the recipe that I share below is wonderful in all of those locations, my favourite place for this Pickled Asparagus is in a tall glass filled with a Caesar. And with tomorrow being National Caesar Day here in Canada, it seemed like the perfect day to share it with you.

Spicy Pickled Asparagus

Brine Ingredients

5 cups vinegar

5 cups water (distilled is perfect if you want a nice crunchy pickle)

1/2 cup pickling salt

Ingredients per jar

1/2 - 1 pound of Asparagus

1 tsp red pepper flakes

1/2 tsp mustard seed

1/2 tsp dill seed

1 garlic clove

Yields approximately 8 - 500ml jars

Rinse and dry asparagus. Prepare according to your jar size*. Drop 1 tsp red pepper flakes, 1/2 tsp mustard seed, 1/2 tsp dill seed and 1 garlic clove into each of your jars. snugly pack the asparagus spears into jars.

Don't overfill your jars. 

Don't overfill your jars. 

Prepare the brine by combining the vinegar, water and salt in a medium non reactive sauce pan. Stir over high heat until the salt dissolves and you reach a boil or high simmer.

Ladle the brine into the jars, leaving 1/2" headspace. Ensure all of your asparagus is completely covered by the brine. Be sure to burp your jars and then re-measure your headspace and top up with brine to the 1/2" mark.

Wipe the rims of the jars and apply lid and thread. Remember to just hand tighten the thread.

Process in a boiling water bath for 10 minutes.

*TIP - As a lot of canning jars out there are not tall enough for some of the longer asparagus to ensure you don't have to spend a lot of time measuring and cutting your asparagus, place them tips down in your jar. This way you can simply trim any tall asparagus with your scissors before pouring in the brine

trimmingasparagus

These pickles will come to full flavour within 2-3 weeks. Plenty of time for you to make them and still enjoy them in that Caesar I mentioned earlier before the end of the summer.


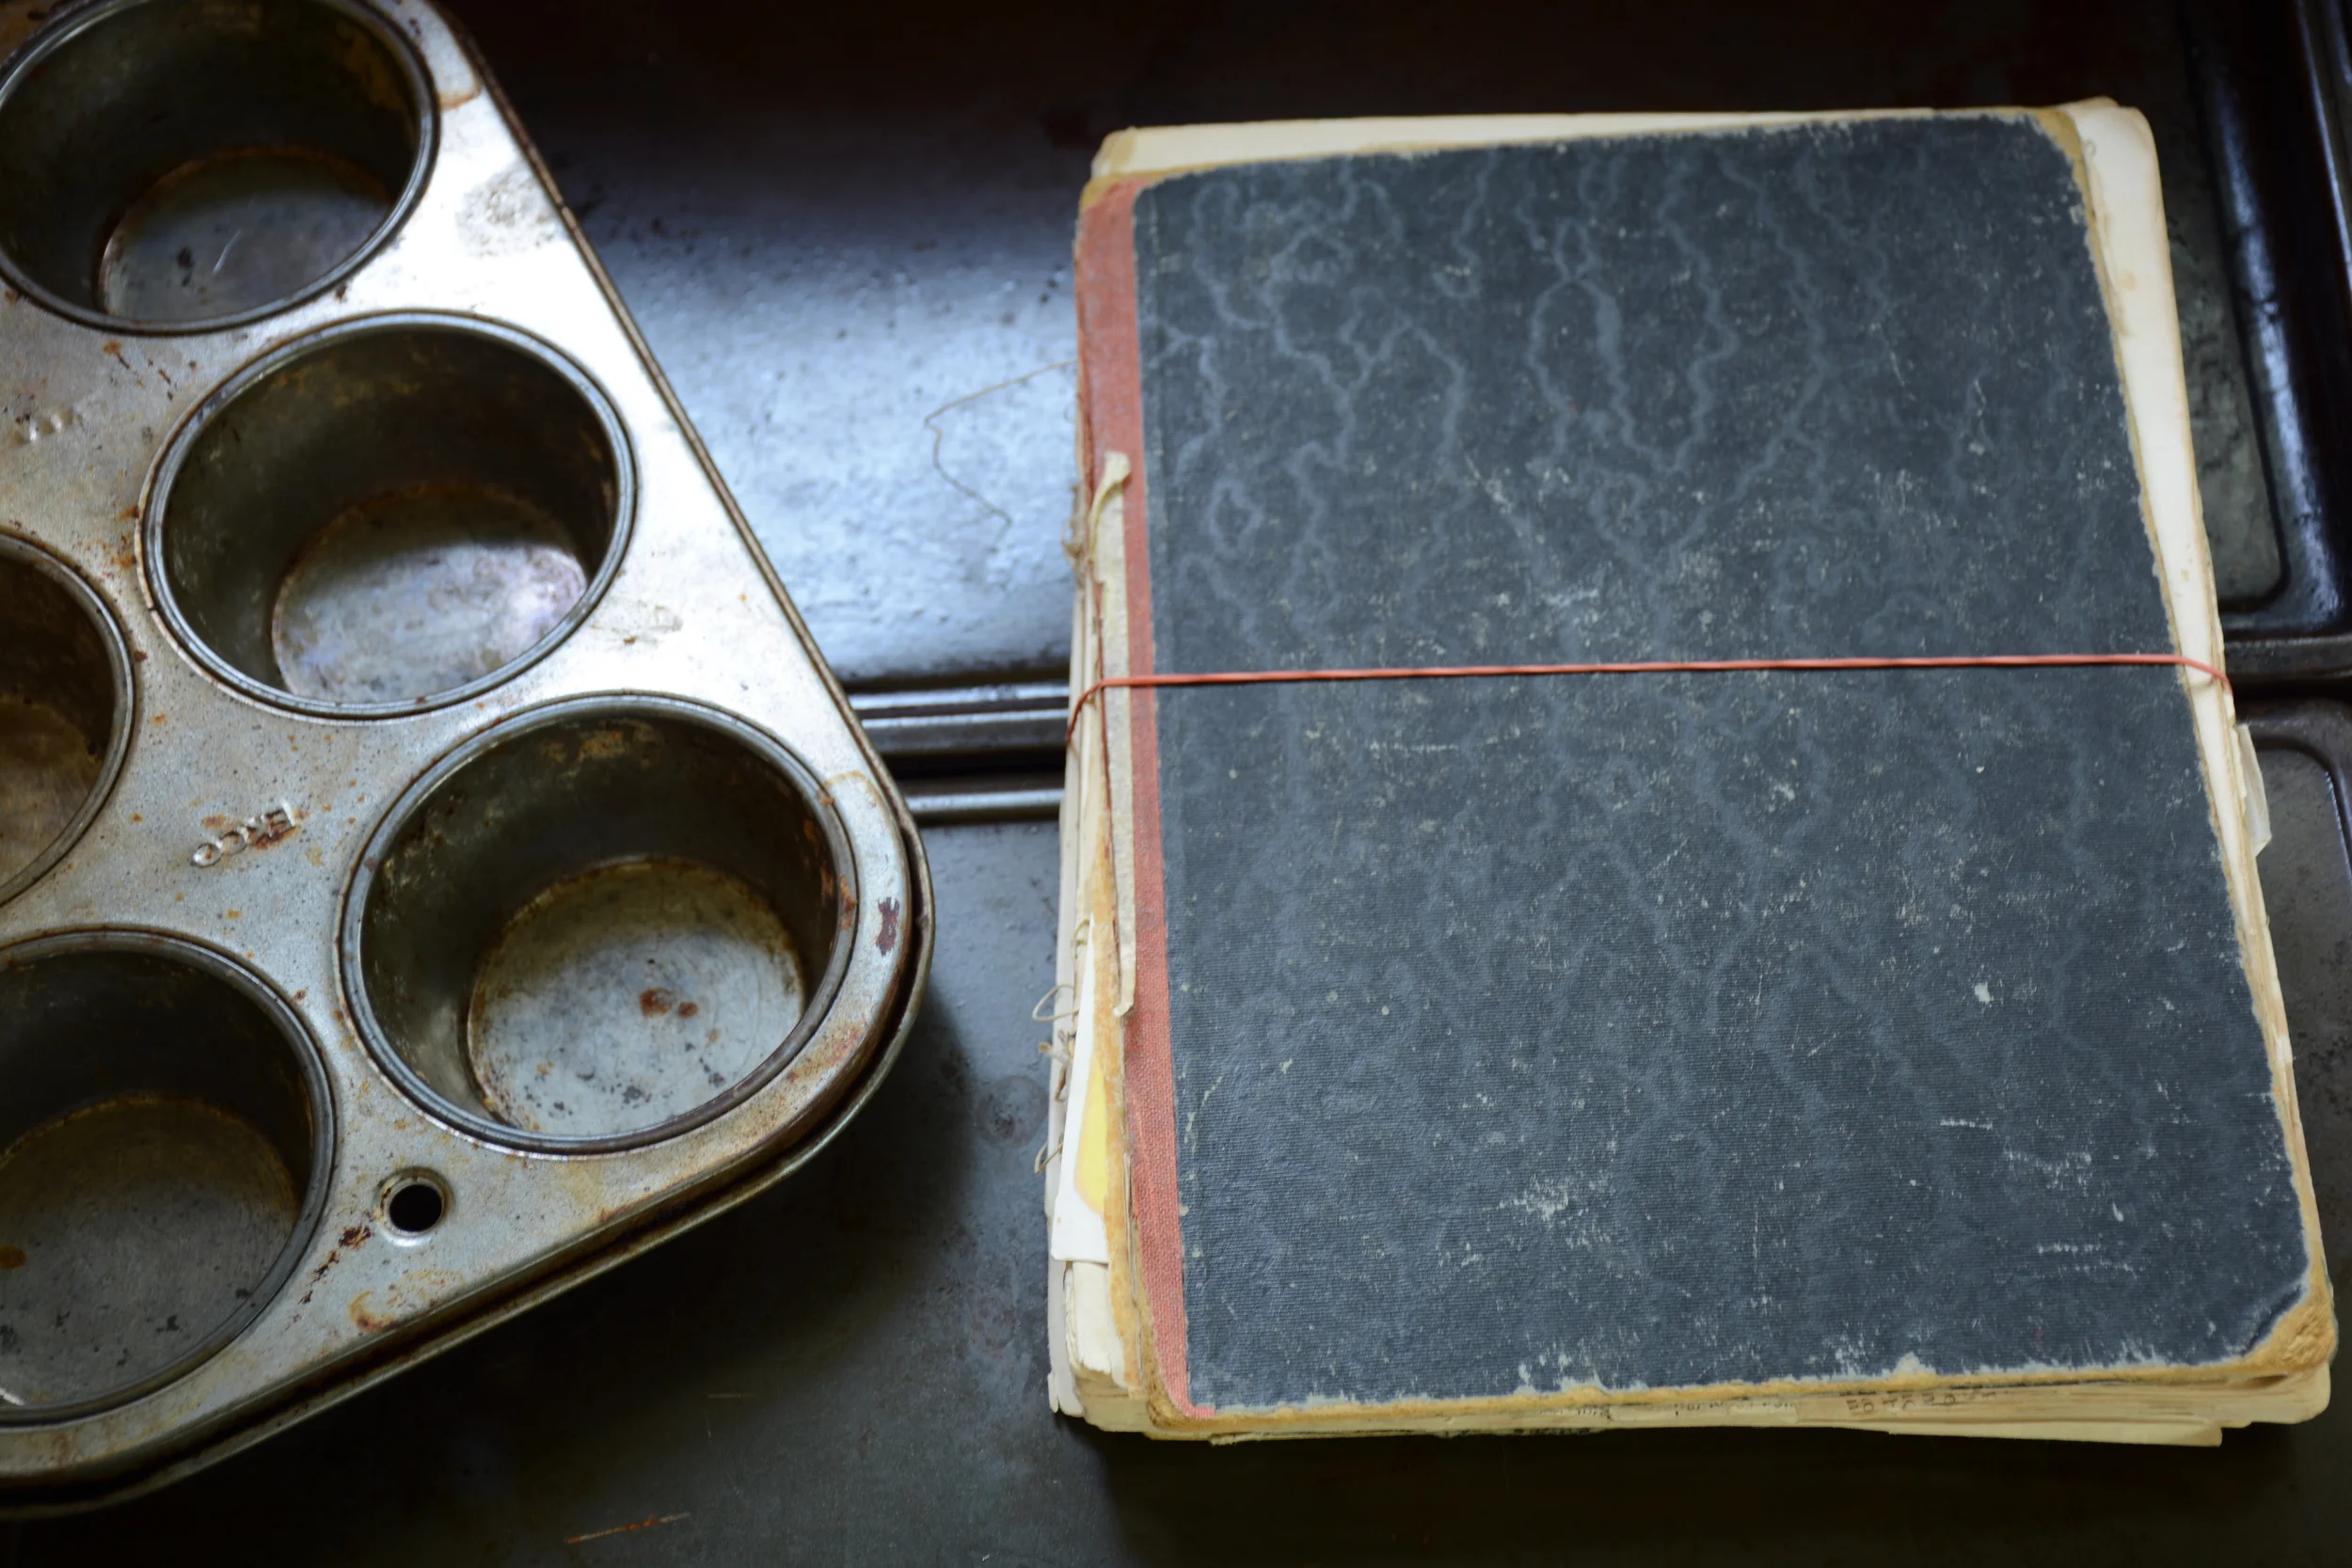
Grandma Betty's Recipe Book

Grandma Betty's recipe book

Grandma Betty's recipe book

My husband and I just returned from 10 days in North Devon. We went with his mom to see her 98 year old mother and of course, my husband's grandmother. A word about Betty before we get to her cookbook. She is as I mentioned 98 years old and she still lives on her own. She has fantastic neighbours who drop in on her daily. They pick up groceries she may need, make her a quiche now and again and visit with her on a regular occasion. But - Gran still makes most of her meals, she knits afghans, for as she puts it "old people in the home" and she does the crossword every day. She is still extremely sharp if somewhat forgetful. 

One day on our trip, we were sitting in Gran's conservatory enjoying the sunshine and the gorgeous view of the Moors from the back of her house when my husband brought out a book that looked like it had seen some action. The spine was cracked as if the book had been opened and closed more times than it could count. He had a curious smile on his face as he was looking at me and I immediately knew that what was inside, would be of immense interest to me.

It was Gran's recipe book and the first recipes inside of it were dated from November, 1938. I sat on my hands and waited patiently as James flipped through the pages on the other side of the room. He read things out like "Cheese Scones, Sweet Orange Marmalade, Red Tomato Chutney and Dried Apricot Jam". I could barely take it.

Finally, he handed it over to me. The book felt so well loved and so fragile in my hands. There were pages that were completely loose from the binding. As I flipped through the pages, I could tell the recipes that were the most popular from the splatters on the pages.

As I was exclaiming about some of the recipes, Gran said these magical words "Why don't you take it home with you?". WHAT??? I couldn't believe it. I got rather choked up at the thought. I wanted it more than I could express, but would never have asked for it.

I continued to flip through the pages and there at the very back was a record from 1941 - 1997 of how many pounds of Seville Oranges Gran had turned into marmalade each year.

Over this summer, I am going to ask friends to join me in making some of the recipes from the book and will post our successes and failures with the recipes here. I already have my first friend chosen and can't wait to choose which recipe we will attempt together!

Heritage Pickled Eggs

Back in February I was out in Alberta visiting my mom who is currently going through a bit of a rough patch, so while she was resting I decided I was going to make her some chicken stock. While going through her recipe holder I stumbled across a recipe I had never locked eyes on before.

It was typed on an index card, so I could already guess that it wasn't a 'new' recipe so to speak. When I asked her about it she said she used to make them all the time. Now reaching back into the deep recesses of my mind I can remember my mom's home made raspberry and peach jams, I can remember all of her fabulous cookies and I can remember her super crunchy dill pickles. But I know I have never seen nor heard of her pickled eggs.

We determined that she had to have been making them 'before my time'.

It's a simple enough recipe, but the fact that it is older than me tells me that it might not necessarily be safe. What makes me think that? Well first off, the acetic acid in vinegar used to be much higher than it is today. So the balance of water, salt and vinegar in my mom's pickled egg recipe might not necessarily make it safe for water bath canning today. So what does one do next?

The recipe sounded SO good that I had to try it to find out.

I started with a small batch...just enough to follow the recipe exactly as it was laid out. I am letting it age for the typical 4 weeks that a pickle recipe needs in order for the item being pickled to fully absorb the brine. And the final step will be to pH test it this week.


Each time I try a recipe that is newly created or newly uncovered from old family archives, I pH test the final product to ensure that the pH is within the acceptable limits for water bath canning. What is the best way to pH test a product? I use a digital pH tester that goes to 3 decimal points. If you don't want to invest in a pH tester you can also get strips that are much less expensive but also less accurate.

In this instance, I will take a portion of the egg, the brine and the spices and blend them together until they are all liquified. After calibrating my pH tester I will then test this liquified pickle to get an accurate reading of it's pH. It is important not to just test the pH of the brine but get the fruit or vegetable being pickled in the reading as well.

If the final reading shows me we have a product that is not safe for water bath canning - it will be back to the drawing board. Because no matter how great they may have tasted when my mom used to make them - ingredients change and we have to keep that in mind when using old family recipes.


Ontario Raspberry Cheesecake

ontario raspberry cheesecake

While I love to bake, I prefer to cook. So when I have friends coming over for dinner I generally exert the majority of my effort on the main part of the meal and choose recipes for dessert based on their easiness to deliciousness ratio. 

I have had this recipe in my arsenal for almost 20 years and while it is simple, it still manages to taste delicious and be a crowd pleaser. The original recipe calls for Oreo Cookie Pie Shells but fear not, if you can not find them pre-made you can always pick up the bread crumbs and follow the directions on the back for the crust.

oreo cookie crust

Ontario Raspberry Cheesecake

Ingredients

2 Oreo Cookie Pie Shells

1 egg, separated

1 cup whipping cream

8 oz soft cream cheese

2/3 cup icing sugar

2/3 cup concentrated Ontario raspberry juice. (I used 3 cups Ontario raspberries I froze after picking them in the summer)

1 tsp lemon juice

Assemble all ingredients before beginning.

In a small saucepan over low heat slowly warm 3 cups of frozen raspberries until mashed and slightly liquidy. Using a fine mesh sieve, place approximately 1.5 cups in the sieve and squeeze out 2/3 cups of concentrated raspberry juice and set aside. Keep remaining 1.5 cups of softened raspberries in pot for later use.

whipped egg white

In a small bowl, beat the egg white until stiff and then set aside. In a separate bowl beat 1 cup of whipping cream and set aside.

In a medium sized bowl, beat the soft cream cheese and gradually add in the icing sugar until smooth. Once fully incorporated, beat in the egg yolk, the raspberry juice and the lemon juice.

Fold whipped cream into the cheese mixture, then fold in egg whites. Once fully mixed, pour mixture into pie crusts and freeze until firm (approximately 3-4 hours).

Just before serving, warm up remaining crushed raspberries, adding 1/4 cup of sugar and 3 tbsp maple syrup and warm. Pour over slices of cheesecake and serve.

Bummed out Banana Bread

banana bread recipe

It's been a tough start to 2016 and today I am having a hard time feeling motivated to do much of anything on my to do list. And my to do list is long. Thankfully my husband is a wonderful man and while I retreat from life for a little time to build myself back up, he has revved things up on his end and is carrying the both of us.

I got back a week ago today from Calgary. I was out there for just under 2 weeks. I went out, because Mamacita Manning (my mom) is undergoing chemotherapy. In total she will have 6 rounds and between me, my 4 sisters, my aunt and my uncle - we are each taking turns to be there for her for each of her treatments. For seven days I took her to the hospital. On each day, she received 3 injections in her abdomen. Each day her stomach would get a little bit sorer and she would lose a little more of her appetite and her strength.

I flew back to Toronto last Wednesday and just haven't been myself since I got back. I feel a little like I left a part of myself with her...which perhaps is a good thing, because she needs it. But it makes it hard to face my days here.

On top of all of this, I have been diagnosed with frozen shoulder. Certainly not as serious as cancer, but I have to be honest - I would not wish frozen shoulder on anyone. It is not very treatable, yet it is strangely and chronically painful. Makes sleeping difficult and doing my job, which consists of lifting heavy boxes of produce, making jam, lifting heavy jars, setting up farmers market tents, etc rather painful and difficult.

So, I think it would be fair to assume that I am feeling a little bit sorry for myself. So seems like the perfect time to make some Banana Bread. My Auntie Dena shared this recipe with me several years ago. I have adapted it slightly over the years and what I share with you today is the adapted version.

Bummed Out Banana Bread

Ingredients

1 cup unsalted butter

2 cups granulated sugar

4 eggs (room temperature)

2 tsp vanilla

2 tsp lemon juice

2 tsp grated orange rind

3.5 cups flour

1 tsp salt

2 tsp baking powder

2 tsp baking soda

5 ripe bananas (mashed)

1 cup sour cream

1 cup chopped pecans

Cream together butter and sugar, add eggs, vanilla, lemon juice and orange zest and mix thoroughly.

In a separate bowl combine flour, salt, baking powder and baking soda. In a third bowl combine the mashed bananas and the sour cream. Then combine the flour mixture and the butter mixture together. Do this slowly combining ingredients thoroughly. Stir in banana mixture and finally the pecans.

Pour into 2 greased and floured loaf pans and bake at 350 for 1.5 hours or until a toothpick inserted in the middle comes out clean.

Then allow it to rest, cut yourself a big fat slice, toast it and smother it with marmalade and all of a sudden your frozen shoulder is temporarily forgotten because your taste buds are singing too loudly.

How to choose the right marmalade recipe for you?

There are seemingly countless ways to prepare seville orange marmalade and with the right group of people, this topic could lead to a rather long and heated debate. Some of it comes down to personal preference - do you like a fine, medium or chunky peel, would you prefer a low sugar jam if it means compromising the perfect set? But some of it also comes down to science and what constitutes a perfect marmalade.

Here are some things to consider when looking for the perfect marmalade recipe for you.

1) Choosing your Seville Oranges

If you are lucky enough to live in an area where you can actually choose your Seville Oranges, consider yourself lucky ;). In previous years, I have been lucky enough to get my hands on organic sevilles and have noticed a couple of difference when using them to make marmalade. So if you are wondering if there are benefits to going organic over and above health benefits - there are! They definitely have better flavour and they set more quickly than non-organic. Overall leading to a higher quality marmalade.

The fresher they are when you make your marmalade the better. Over ripe fruit tend to lose some of their pectin so you will have to cook your marmalade down too far in order to achieve set if your oranges are old.

And you may not know this but Sevilles come in several sizes if you are buying them in bulk, this is a good thing to know. In Canada you can get 88, 72 or 56's. The smallest are the 88's and the largest the 56's. If you are following a recipe it is always a good idea to use one that goes by weight and not number of oranges as this can lead to varying results.

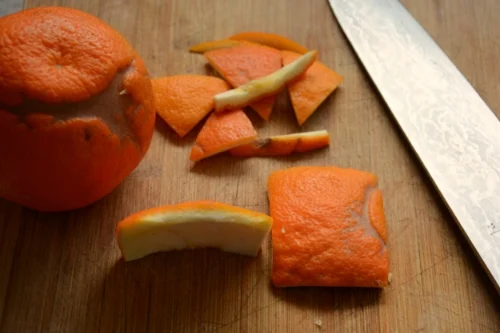
shredding peel

2) Preparing your peel

There are so many different ways to prepare your peel and this is truly where personal taste comes into play. If you prefer a less bitter marmalade you can peel the skin off like would would an apple, getting as little of the pith as possible and shred it super fine or you can leave it nice and chunky. Just keep in mind the chunkier the peel, the darker your marmalade will end up as it will take longer to soften it. If you find a recipe you like the sounds of but want to alter how you prepare your peel, just keep in mind it may affect how long you need to cook it in order to soften the peel.

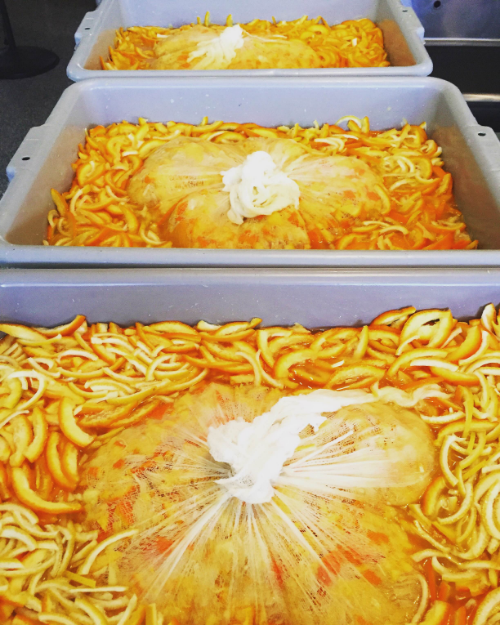
marmalade soaking peels

3) Soaking the peels overnight

Recipes vary and you will find as you comb through them, that some suggest you prepare your peels one day, soak them overnight and cook the marmalade on Day 2, while others have you do it all in one day. How do you know which is the better option?

For me it is a simple answer. If you are looking to enter your marmalade into competitions you always want to follow the 2 day process. You will end up with a brighter marmalade that is more appealing from an appearance perspective for the judges. I also find, that when you split the tasks over 2 days it is a lighter workload on each day.

But if you are pressed for time and you only have the one day available in your calendar to make marmalade, don't worry about it. You will still end up with a lovely tasting marmalade if you do it all in one day.

preserving pans

4) Open pan vs lidded pan  

Yes, recipes will vary on what type of pan you should be making your marmalade in. Some swear by the preserving pan, which is generally not lidded, has outwardly tapered edges and is quite often made of copper. While others will swear by using a pot with a lid.

Why the difference in opinions and which route should you go? I have made marmalade both ways. With the open pan, (especially if it is copper just remember to not use it until you have added sugar to the mixture. Use a different pot to soften the peels) you will notice a high bitter note to your marmalade. You may also notice that the liquid in your marmalade evaporates more quickly and you end up with a higher concentration of peel to liquid ratio when jarring. With the open pan method your peels also may lean towards a chewier consistency.

The lidded pan obviously contains the evaporation which means it will not reduce as quickly. You will have a less bitter flavour and a lower ratio of peel to liquid when jarring.

5) How much sugar should the recipe have?

There are wide swings in the amount of sugar stated in recipes that I have tried over the years. If you want a marmalade lower in sugar you will have to keep in mind that your marmalade will not achieve a proper set and will be softer in consistency. It will also have a shorter shelf life which means it most likely will not last you til next marmalade season. 

6) Testing for set

I am not going to go into the details of how each of these tests are performed in this post. I am just going to give my opinions on which method I think works best when making marmalade. You can use the plate test, a thermometer r

Personally, I prefer the spoon test. This gives me the closest relationship with the marmalade. This may sound strange, but I think this is important. When I can see the consistency of the marmalade beginning to change and I think I am getting close to set, I dip my spoon in every 5 minutes or so and check on how the drops are falling off the spoon. I find this visual way of checking gives me the ability to achieve the set I prefer.

Trusted marmalade recipes I have used in the past with great success:

Lower sugar - Nigel Slater shares his marmalade recipe which is lower on the sugar side which leads to the softer set and shorter shelf life I mentioned earlier

Smaller batch - Vivien Lloyd shares her small batch marmalade recipe. This recipe leaves you with a bright marmalade with a perfect set

One day marmalade - Canadian Living provides a recipe for those that want to get it all done in one day

Understanding preserving recipes for the best results

preserving recipes

Have you ever decided that you are going to try a new preserving recipe and even after you follow the instructions closely, when you open that jar to test the results you find a runny jelly or a rock hard jam? It's disappointing - no two ways about it. Not only did you spend money on the ingredients but you took the time to set everything up and the results are less than perfect.

There are parts of a recipe that you need to pay close attention to and if you are new to preserving, you might now know it. Here are a few things you should pay close attention to in a recipe for consistent and delicious results.

Non-Reactive Pot or Pan - A lot of recipes start off by telling you the size of pan or pot you require and it will sometimes state non-reactive. It is important to use the size of pan asked for in the recipe because this determines how quickly the contents will come to a boil and how much of the liquid will evaporate. Both of these things are important if you want to achieve the desired 'set'.

Non-reactive is important because the natural acids in the fruits and vinegars used in preserving can react chemically with aluminum or galvanized metals and have dangerous results.

Stirring constantly, versus stirring frequently or regularly - Preserving recipes will often state that the jam should be stirred constantly, frequently or regularly. When it says to stir constantly, if you fail to do this your jam or jelly can come up to a full boil too quickly and not enough of the liquid will have evaporated. This will lead to a jam with a very loose set or a jelly that does not set at all. 

Powdered versus liquid pectin - these are not interchangeable. If a recipe calls for powdered pectin do not substitute it for liquid. Powdered pectin goes into a recipe right at the start and liquid closer to the end. They each react differently with the ingredients and substituting one for the other will lead to undesired results. It's also always good practice to check the expiry date on your pectin before using it.

A rolling boil - when a recipe tell you to bring something up to a rolling boil, remain patient and don't stop until you have achieved this boil. A rolling boil has been achieved when you stir the jam/jelly and the boiling does not stop. This is to ensure you are getting the product up to the temperature required to achieve set. If you stop before it achieves the rolling boil you are going to have inadequate temperatures for set.

Most recipes also ask that you maintain the finishing rolling boil for 1 minute. This is the appropriate amount of time for the pectin to begin to work. Boiling for less time may leave you with a soft set and over boiling can lead to a very hard set.

Skim off foam - You always want to skim off any foam that might appear on the surface of your jam or jelly. This foam is just trapped oxygen being released from the fruit and if you stir it back into the product, you are simply stirring oxygen into an environment where our goal is to be oxygen free. It's a simple step and it will increase the shelf life of your jam.

Headspace - Why do you have to leave a 1/4" headspace? If you leave more headspace, the contents of the jar may not expand enough to push any trapped oxygen out of the jar and you will have jars that do not properly seal. If you leave to little headspace, the contents may expand so much that they expand right out of the jar and into the water bath itself. This may lead to jars not properly sealing as well.

Hopefully these few pointers will help you achieve a perfect jam the next time you try out a new recipe.

Perfect Pickled Jalapeño Peppers

pickled jalapeno

A couple of weeks ago I headed south over the border with my mom to visit my Uncle in Lewiston, NY. How could I possibly begin to describe my Uncle Louie so you can appreciate the kind of person that he is?

Well to start, his nickname for me is 'the brat'. He has called me that for as long as I can remember. Now you might think that one would find this kind of nickname insulting. But when you hear him say it with his Italian accent, his godfather voice and with the cheeky glint in his eye, you would know that he says it only in love. And like me, you would grow to love the nickname. 

He is an extremely talented man who could build almost anything; from his own house to the most beautiful doll houses for his grandchildren to a stunning birdhouse made of cararra marble. He has endless patience and is a meticulous man - as could be witnessed by the fact that he hand painted all of his tools the same colour blue and each and every tool has a particular spot just for it or by the fact that his tomato plants grow with absolute precision. He pinches them, ties them and trains them to grow in straight lines full of fruit.

Louie's workshop

While we were visiting he brought out a jar of Pickled jalapeño that his neighbour had made for him. He exclaimed about the simplicity of the pickle and how he could sit and eat them straight out of the jar. It reminded me that a couple of years ago I had made jar after jar of a very similar pickle and that my pantry was currently devoid of them. Time to get my pickle jalapeño ON!

Perfect Pickled Jalapeño Peppers

Ingredients

4 cups chopped Jalapeño Peppers

2 cups red wine vinegar

2 cups water

2 tbsp pickling salt

Combine vinegar, water and salt in a non-reactive pot and bring to a boil, add pepper rings and stir to submerge. As soon as the brine and peppers return to a boil, remove the pan from the heat.

Funnel peppers into your previously sterilized jars, top off with brine. Burp your jars to remove any trapped air bubbles and measure your headspace to 1/2 inch.

Wipe rims, apply lids and process jars in a boiling water bath for 10 minutes. Do not start timing until the water is at a boil.

It is best to let these age for at least 2-4 weeks in the jar before opening to enjoy and eat out of the jar as my Uncle Louie does!

IMG_0325.JPG

The Canning Kitchen

the_canning_kitchen

It was a lovely surprise last Friday when a package arrived at my kitchen from Penguin Random House Canada. I immediately tore it open to find this lovely new preserving book inside by Amy Bronee, blogger and author of this lovely canning cookbook. Thank you Random House for thinking of me!

I had an upcoming preserving class at Le Dolci, so thought what better way to test drive a new cookbook than to use one of the recipes with my students. Asparagus are in season, so the Pickled Asparagus Spears Recipe seemed like the obvious choice.

Pickled Asparagus

It was a gorgeous Saturday morning and in the class we were going to make Strawberry Balsamic Jam and Pickled Asparagus.

preserving class

We started off with the Pickled Asparagus for a couple of reasons. One because I love how pickling shows new preservers how simple the whole process can be and that it does not have to be a time consuming or labour intensive. I shared with the class a couple tips with making pickled asparagus.

  1. I like to draw lines on my cutting board that show me the different lengths to cut items depending on my jar size. This makes the prep process so much easier.
  2. I arrange my spears with tips pointing all in one direction in rows so that you can grab your product quickly and easily when it comes to filling the jars

The class was excited to hear that we were using a new recipe and instagram and tweets were being sent all throughout the class. We even got Amy engaged all the way from Victoria.


Before they knew it the Asparagus was in the jars with their spices and brine and were ready for the hot water bath. Amy's recipe has a nice little twist in that it uses fennel instead of some of the more popular combination of dill and mustard seeds. I imagine when the class opens their jars in the recommended 2-4 weeks that they will be thrilled with the flavour combination.

pickled asparagus

I look forward to trying a few of the other simple small batch recipes in this cookbook throughout the summer months. If you are interested in getting your hands on The Canning Kitchen the release date is June 9th, 2015 or you can pre-order it here.