Try our perfectly Pickled Silverskin Onions

silverskinonions


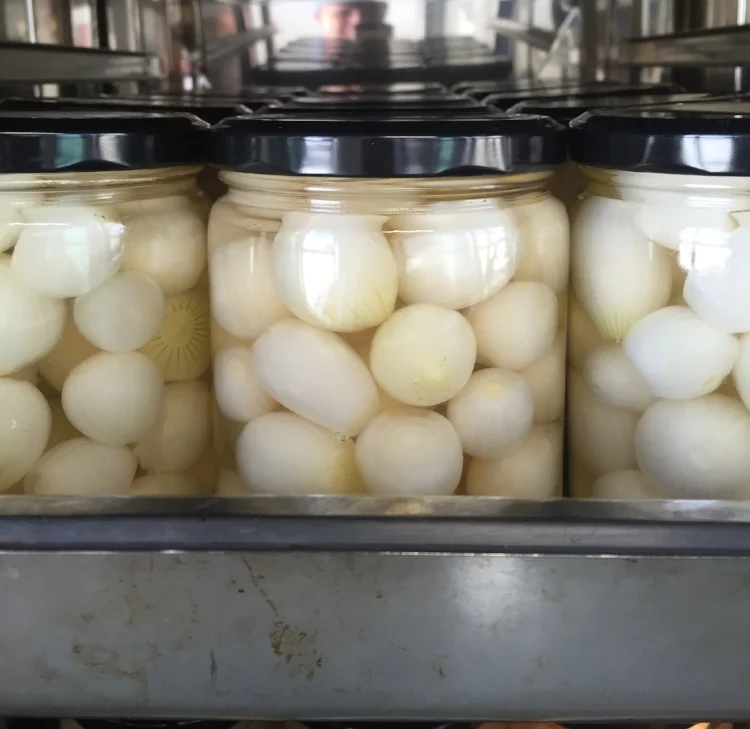
Our pickled silverskin onions come in two varieties; the white brine version, which uses a recipe passed down from my aunt and the malt vinegar version which was a recipe passed down from my husband’s British grandmother (in the UK, they are often eaten alongside fish and chips).

Our delicious pickled onions will be available at the Royal Agricultural Winter Fair individually or in a pickle lovers gift pack perfect for the holidays. 

The Process

Our pickled onions use Ontario grown silverskin onions. What’s more impressive is that we hand peel around 300 pounds of these onions – equivalent to approximately 22,000 onions! These little onions then spent seven glorious days in a salt-water brine, getting rinsed daily. So, when they arrive on your plate they are the perfect combination of crunchy on the inside and tender on the outside.

seven day brine

What makes our onions so special is that we only make them once a year, in August and September, as this is when silverskin onions are in season. Once they are sold out, they’re gone until the next growing session – so make sure to grab them at the Royal Winter Fair!

Why you’ll love them

Our pickled silverskin onions taste amazing in sandwiches and wraps, on a burger or with sausages. They also make a great addition to potato salad. I would even throw them in any salad for an added crunch.

Interested in our products? Shop our selection.

Want to grow your food business? Manning Canning Kitchens can help.

Written by Farhana Choudhry, Intern

Spicy Pickled Asparagus

ontario asparagus

I started my day yesterday at 5am so that I could head down to the Ontario Food Terminal and pick up some Ontario Asparagus for my preserving class at The Depanneur. If you have never been to the Food Terminal it is one of my favourite places in the city. In the early hours before the sun comes up when the streets and highways of the city are quiet, the Terminal is a hive of activity. With trucks coming in and out filled with flowers, plants and produce, with buyers walking from supplier to supplier filling their carts and rolling racks full of the items they need and with mini forklifts being driven around coming at you from all directions. It makes procuring local produce and adventure.

Asparagus is generally in season in Ontario in May and June, so now is the perfect time for you to get your hands on some and for you to make Pickled Asparagus. 

spicy pickled asparagus

I have a few favourite Pickled Asparagus recipes. Some are great cut up in salads (potato salad being my favourite) or put out with an assortment of cheeses and meats on a charcuterie plate. And while the recipe that I share below is wonderful in all of those locations, my favourite place for this Pickled Asparagus is in a tall glass filled with a Caesar. And with tomorrow being National Caesar Day here in Canada, it seemed like the perfect day to share it with you.

Spicy Pickled Asparagus

Brine Ingredients

5 cups vinegar

5 cups water (distilled is perfect if you want a nice crunchy pickle)

1/2 cup pickling salt

Ingredients per jar

1/2 - 1 pound of Asparagus

1 tsp red pepper flakes

1/2 tsp mustard seed

1/2 tsp dill seed

1 garlic clove

Yields approximately 8 - 500ml jars

Rinse and dry asparagus. Prepare according to your jar size*. Drop 1 tsp red pepper flakes, 1/2 tsp mustard seed, 1/2 tsp dill seed and 1 garlic clove into each of your jars. snugly pack the asparagus spears into jars.

Don't overfill your jars. 

Don't overfill your jars. 

Prepare the brine by combining the vinegar, water and salt in a medium non reactive sauce pan. Stir over high heat until the salt dissolves and you reach a boil or high simmer.

Ladle the brine into the jars, leaving 1/2" headspace. Ensure all of your asparagus is completely covered by the brine. Be sure to burp your jars and then re-measure your headspace and top up with brine to the 1/2" mark.

Wipe the rims of the jars and apply lid and thread. Remember to just hand tighten the thread.

Process in a boiling water bath for 10 minutes.

*TIP - As a lot of canning jars out there are not tall enough for some of the longer asparagus to ensure you don't have to spend a lot of time measuring and cutting your asparagus, place them tips down in your jar. This way you can simply trim any tall asparagus with your scissors before pouring in the brine

trimmingasparagus

These pickles will come to full flavour within 2-3 weeks. Plenty of time for you to make them and still enjoy them in that Caesar I mentioned earlier before the end of the summer.


Heritage Pickled Eggs

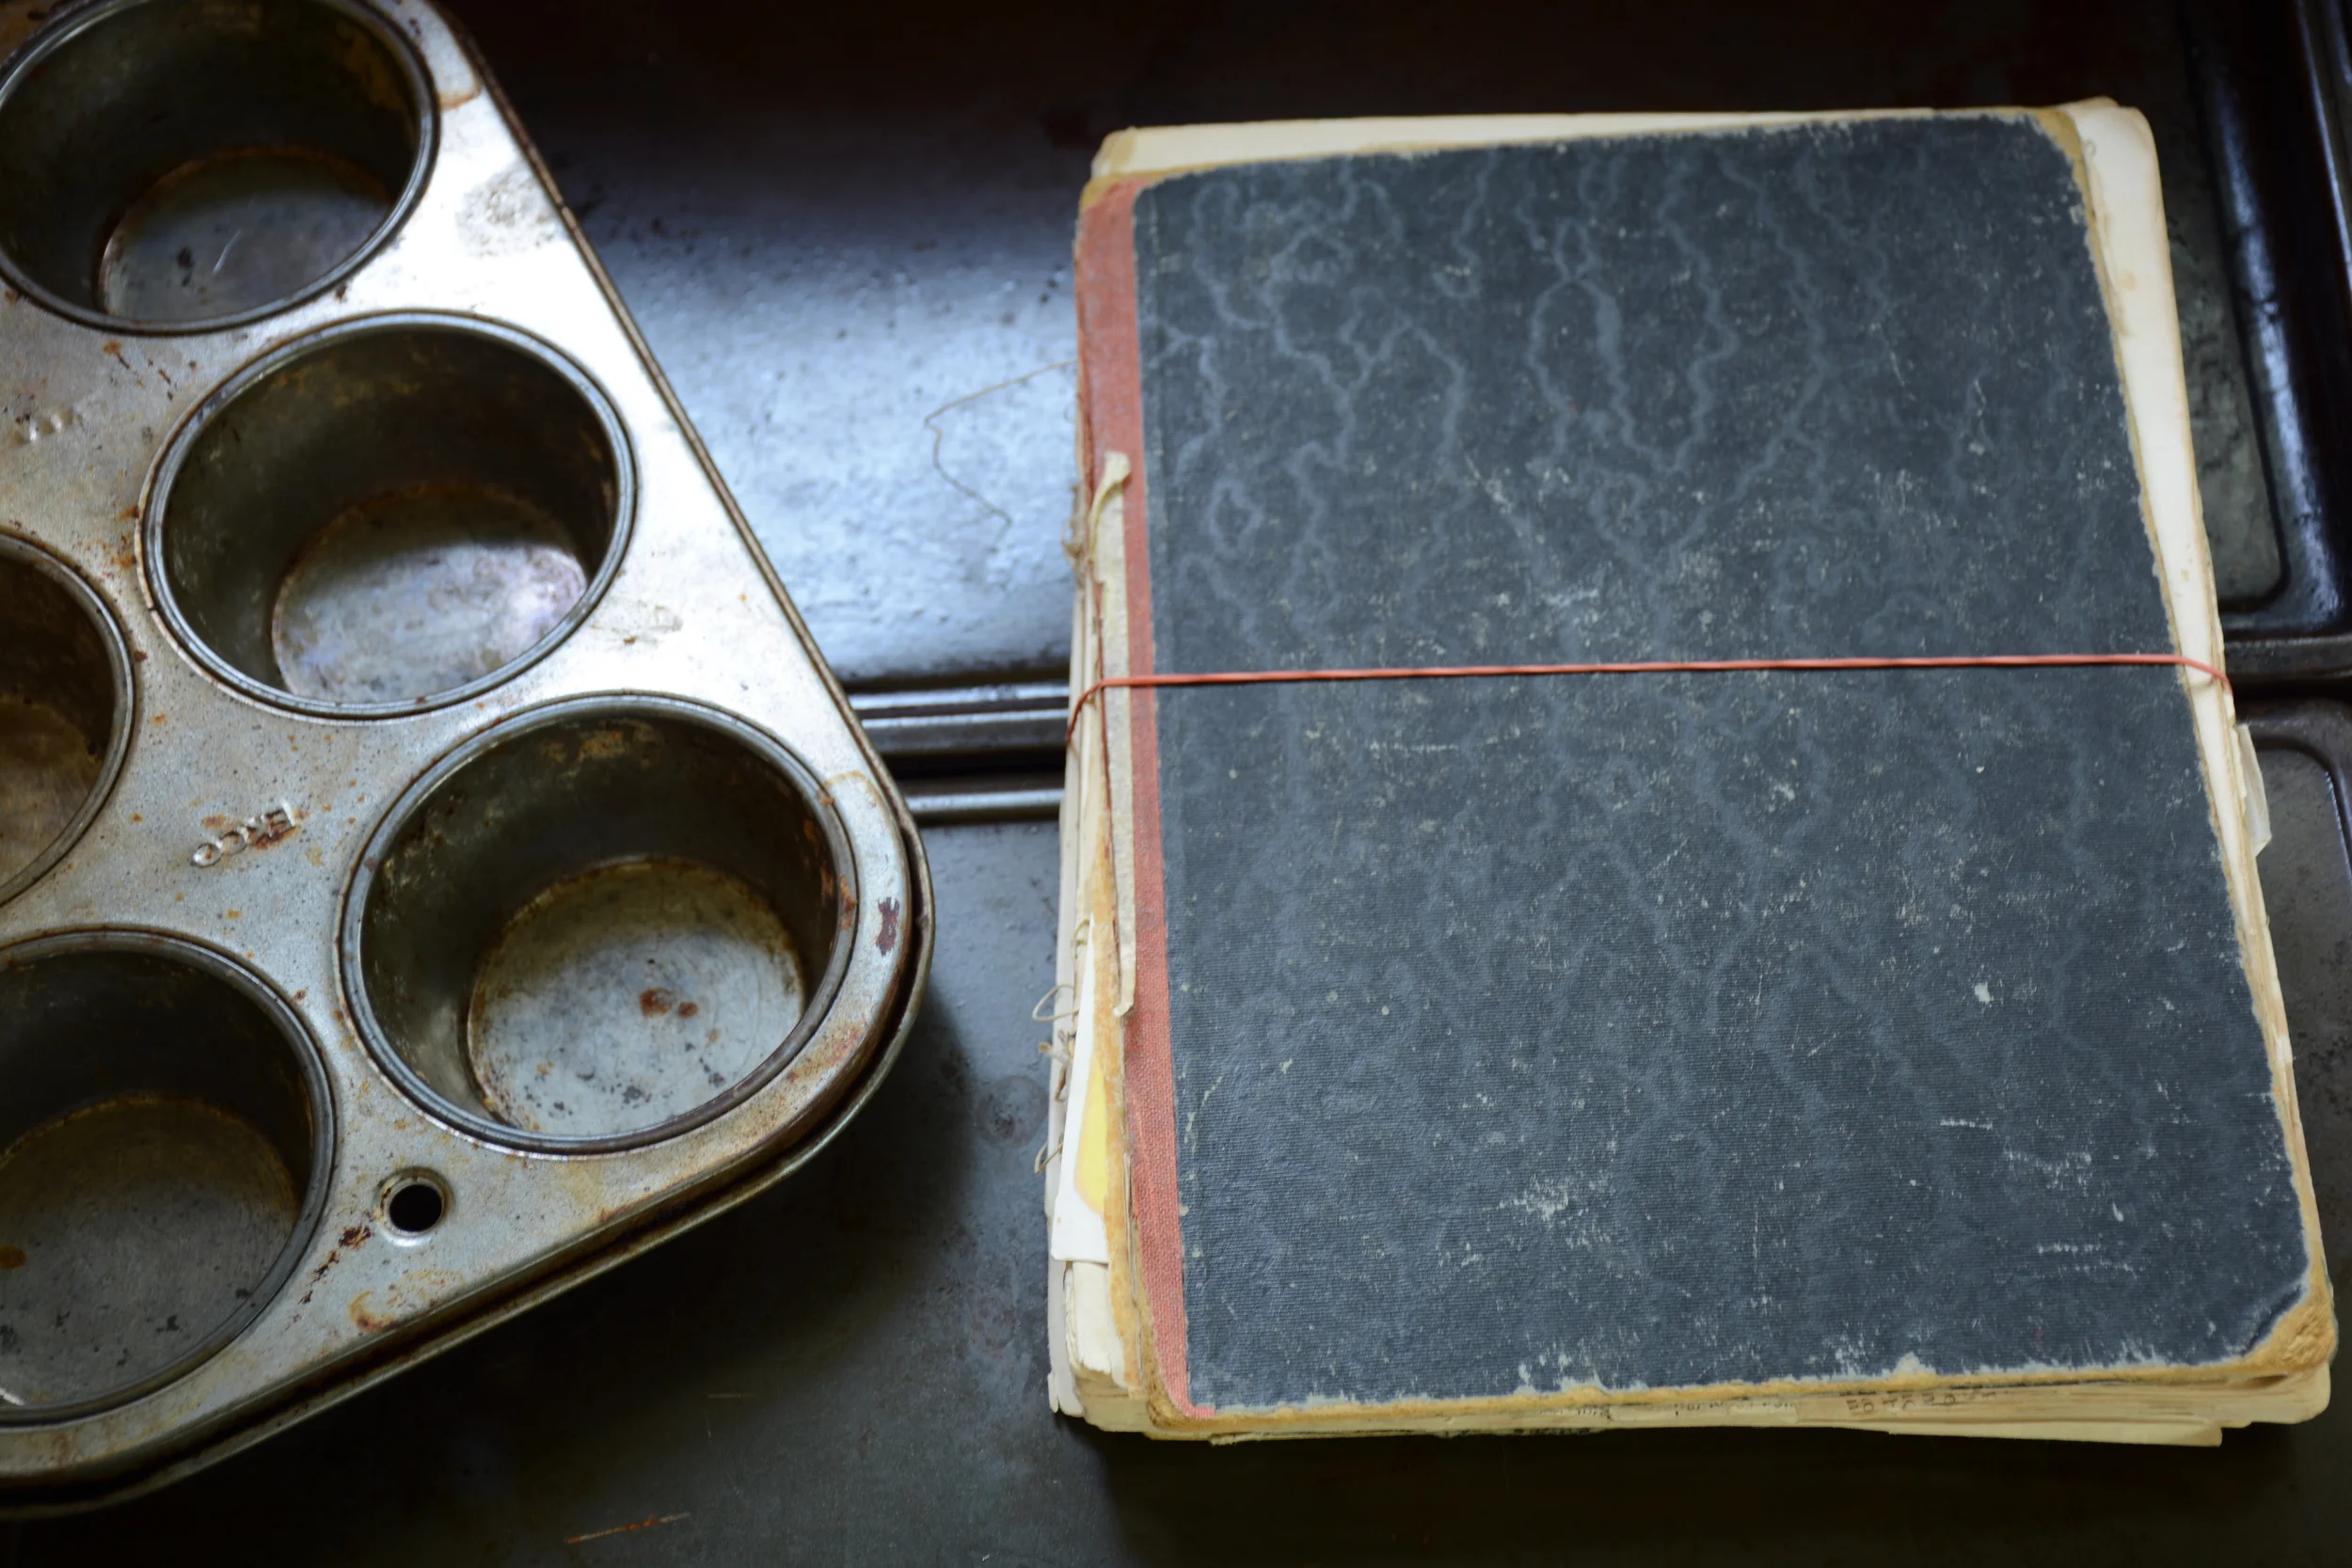
Back in February I was out in Alberta visiting my mom who is currently going through a bit of a rough patch, so while she was resting I decided I was going to make her some chicken stock. While going through her recipe holder I stumbled across a recipe I had never locked eyes on before.

It was typed on an index card, so I could already guess that it wasn't a 'new' recipe so to speak. When I asked her about it she said she used to make them all the time. Now reaching back into the deep recesses of my mind I can remember my mom's home made raspberry and peach jams, I can remember all of her fabulous cookies and I can remember her super crunchy dill pickles. But I know I have never seen nor heard of her pickled eggs.

We determined that she had to have been making them 'before my time'.

It's a simple enough recipe, but the fact that it is older than me tells me that it might not necessarily be safe. What makes me think that? Well first off, the acetic acid in vinegar used to be much higher than it is today. So the balance of water, salt and vinegar in my mom's pickled egg recipe might not necessarily make it safe for water bath canning today. So what does one do next?

The recipe sounded SO good that I had to try it to find out.

I started with a small batch...just enough to follow the recipe exactly as it was laid out. I am letting it age for the typical 4 weeks that a pickle recipe needs in order for the item being pickled to fully absorb the brine. And the final step will be to pH test it this week.


Each time I try a recipe that is newly created or newly uncovered from old family archives, I pH test the final product to ensure that the pH is within the acceptable limits for water bath canning. What is the best way to pH test a product? I use a digital pH tester that goes to 3 decimal points. If you don't want to invest in a pH tester you can also get strips that are much less expensive but also less accurate.

In this instance, I will take a portion of the egg, the brine and the spices and blend them together until they are all liquified. After calibrating my pH tester I will then test this liquified pickle to get an accurate reading of it's pH. It is important not to just test the pH of the brine but get the fruit or vegetable being pickled in the reading as well.

If the final reading shows me we have a product that is not safe for water bath canning - it will be back to the drawing board. Because no matter how great they may have tasted when my mom used to make them - ingredients change and we have to keep that in mind when using old family recipes.


Perfect Pickled Jalapeño Peppers

pickled jalapeno

A couple of weeks ago I headed south over the border with my mom to visit my Uncle in Lewiston, NY. How could I possibly begin to describe my Uncle Louie so you can appreciate the kind of person that he is?

Well to start, his nickname for me is 'the brat'. He has called me that for as long as I can remember. Now you might think that one would find this kind of nickname insulting. But when you hear him say it with his Italian accent, his godfather voice and with the cheeky glint in his eye, you would know that he says it only in love. And like me, you would grow to love the nickname. 

He is an extremely talented man who could build almost anything; from his own house to the most beautiful doll houses for his grandchildren to a stunning birdhouse made of cararra marble. He has endless patience and is a meticulous man - as could be witnessed by the fact that he hand painted all of his tools the same colour blue and each and every tool has a particular spot just for it or by the fact that his tomato plants grow with absolute precision. He pinches them, ties them and trains them to grow in straight lines full of fruit.

Louie's workshop

While we were visiting he brought out a jar of Pickled jalapeño that his neighbour had made for him. He exclaimed about the simplicity of the pickle and how he could sit and eat them straight out of the jar. It reminded me that a couple of years ago I had made jar after jar of a very similar pickle and that my pantry was currently devoid of them. Time to get my pickle jalapeño ON!

Perfect Pickled Jalapeño Peppers

Ingredients

4 cups chopped Jalapeño Peppers

2 cups red wine vinegar

2 cups water

2 tbsp pickling salt

Combine vinegar, water and salt in a non-reactive pot and bring to a boil, add pepper rings and stir to submerge. As soon as the brine and peppers return to a boil, remove the pan from the heat.

Funnel peppers into your previously sterilized jars, top off with brine. Burp your jars to remove any trapped air bubbles and measure your headspace to 1/2 inch.

Wipe rims, apply lids and process jars in a boiling water bath for 10 minutes. Do not start timing until the water is at a boil.

It is best to let these age for at least 2-4 weeks in the jar before opening to enjoy and eat out of the jar as my Uncle Louie does!

IMG_0325.JPG

How to avoid soggy pickles

My mother does not have a green thumb. Even she would admit it. I still remember vividly the first plant that I ever received as a gift when I was still a child and how she mercilessly overwatered it and then underwatered it and how with each passing day it wilted and shrunk until there was nothing left to do but to throw it out.

Over the years, I have watched her murder many plants. She doesn’t do it on purpose as I know she loves them…she simply doesn’t have the touch. This is not a criticism of my mother as she is one of the most talented women I know. She makes amazingly beautiful quilts, crochets tablecloths and bed spreads with some of the most complex patterns and she can cook a meal that will make your mouth water just in the memory of how good it tasted.  But gardening is not one of her skills.

So it will be no surprise when I tell you that I grew up having no personal experience or understanding of how, let’s say tomatoes or cucumbers grew. My aunt and my nona had an amazing garden. And I would spend my summers walking up and down the rows gorging on the fresh sweet peas and raspberries but not really contemplating how these plants produced their bounty.

Now with a garden of my own, which at times can be more weeds than vegetables due to my rather hectic life running two businesses, I have had what I consider the honour to learn more about where our food comes from and just how hard the people who grow it work to bring it to our tables.

When I first read the phrase ‘cut off the blossom end’ in a recipe for Dilly Pickles I had no context for what that could possibly mean. Now, if I were to read that phrase again for the first time having had the experience of growing cucumbers in my garden it would immediately make sense.

But for those of you who grew up in a city, with a plant murdering mother or just no where near where food grows, this is for you ;).

It all starts with the seed, which I get from my friend Laura at Cubits. I love supporting other local small businesses and on top of that, have always had a great success rate with her seeds. Once the plant begins to grow, it produces these lovely yellow flowers.

Cucumber flower

Cucumber flower

You will notice at the base of the flower a itty bitty cucumber will begin to grow pushing the flower further from the stem. These cucumbers are spiny and seem to have little thorns all over them.

Baby Cucumber begins to grow

Baby Cucumber begins to grow

With time, the flower drops off the end and the cucumber continues to grow. As it grows it becomes less thorny.

pickling cucumber

Now here is where we get to the part about how to avoid those soggy pickles that no one loves to eat. I hope that by showing you how a cucumber grows that it is more obvious which end is the blossom end. It is the end furthest from the stem that started out as that lovely yellow flower. But what does it look like?

Blossom end

Blossom end

The blossom end of the cucumber has a smaller circle in general than the stem end and can be slightly rough at the end. 

stem end

stem end

You can generally envision where the stem once attached to the cucumber when you look at it. There is the slight indent from where it was once attached to the plant.

So why do we need to cut off the blossom end if we want our pickles to stay nice and crunchy. Strangely enough, there are enzymes contained in the blossom end that can cause softening of the vegetable once pickled. General rule of thumb is to cut off 1/16" from the blossom end.

Some people also like to use distilled water to help their cucumbers stay nice and crunchy. And don't forget the fresher your cuc is the crisper it will be once pickled.