Pickled Chicken Feet

Don't worry I am not about to share a recipe with you for Pickled Chicken Feet including close up shots of chicken feet floating in a brine of some sort. Instead I am going to share a little story.

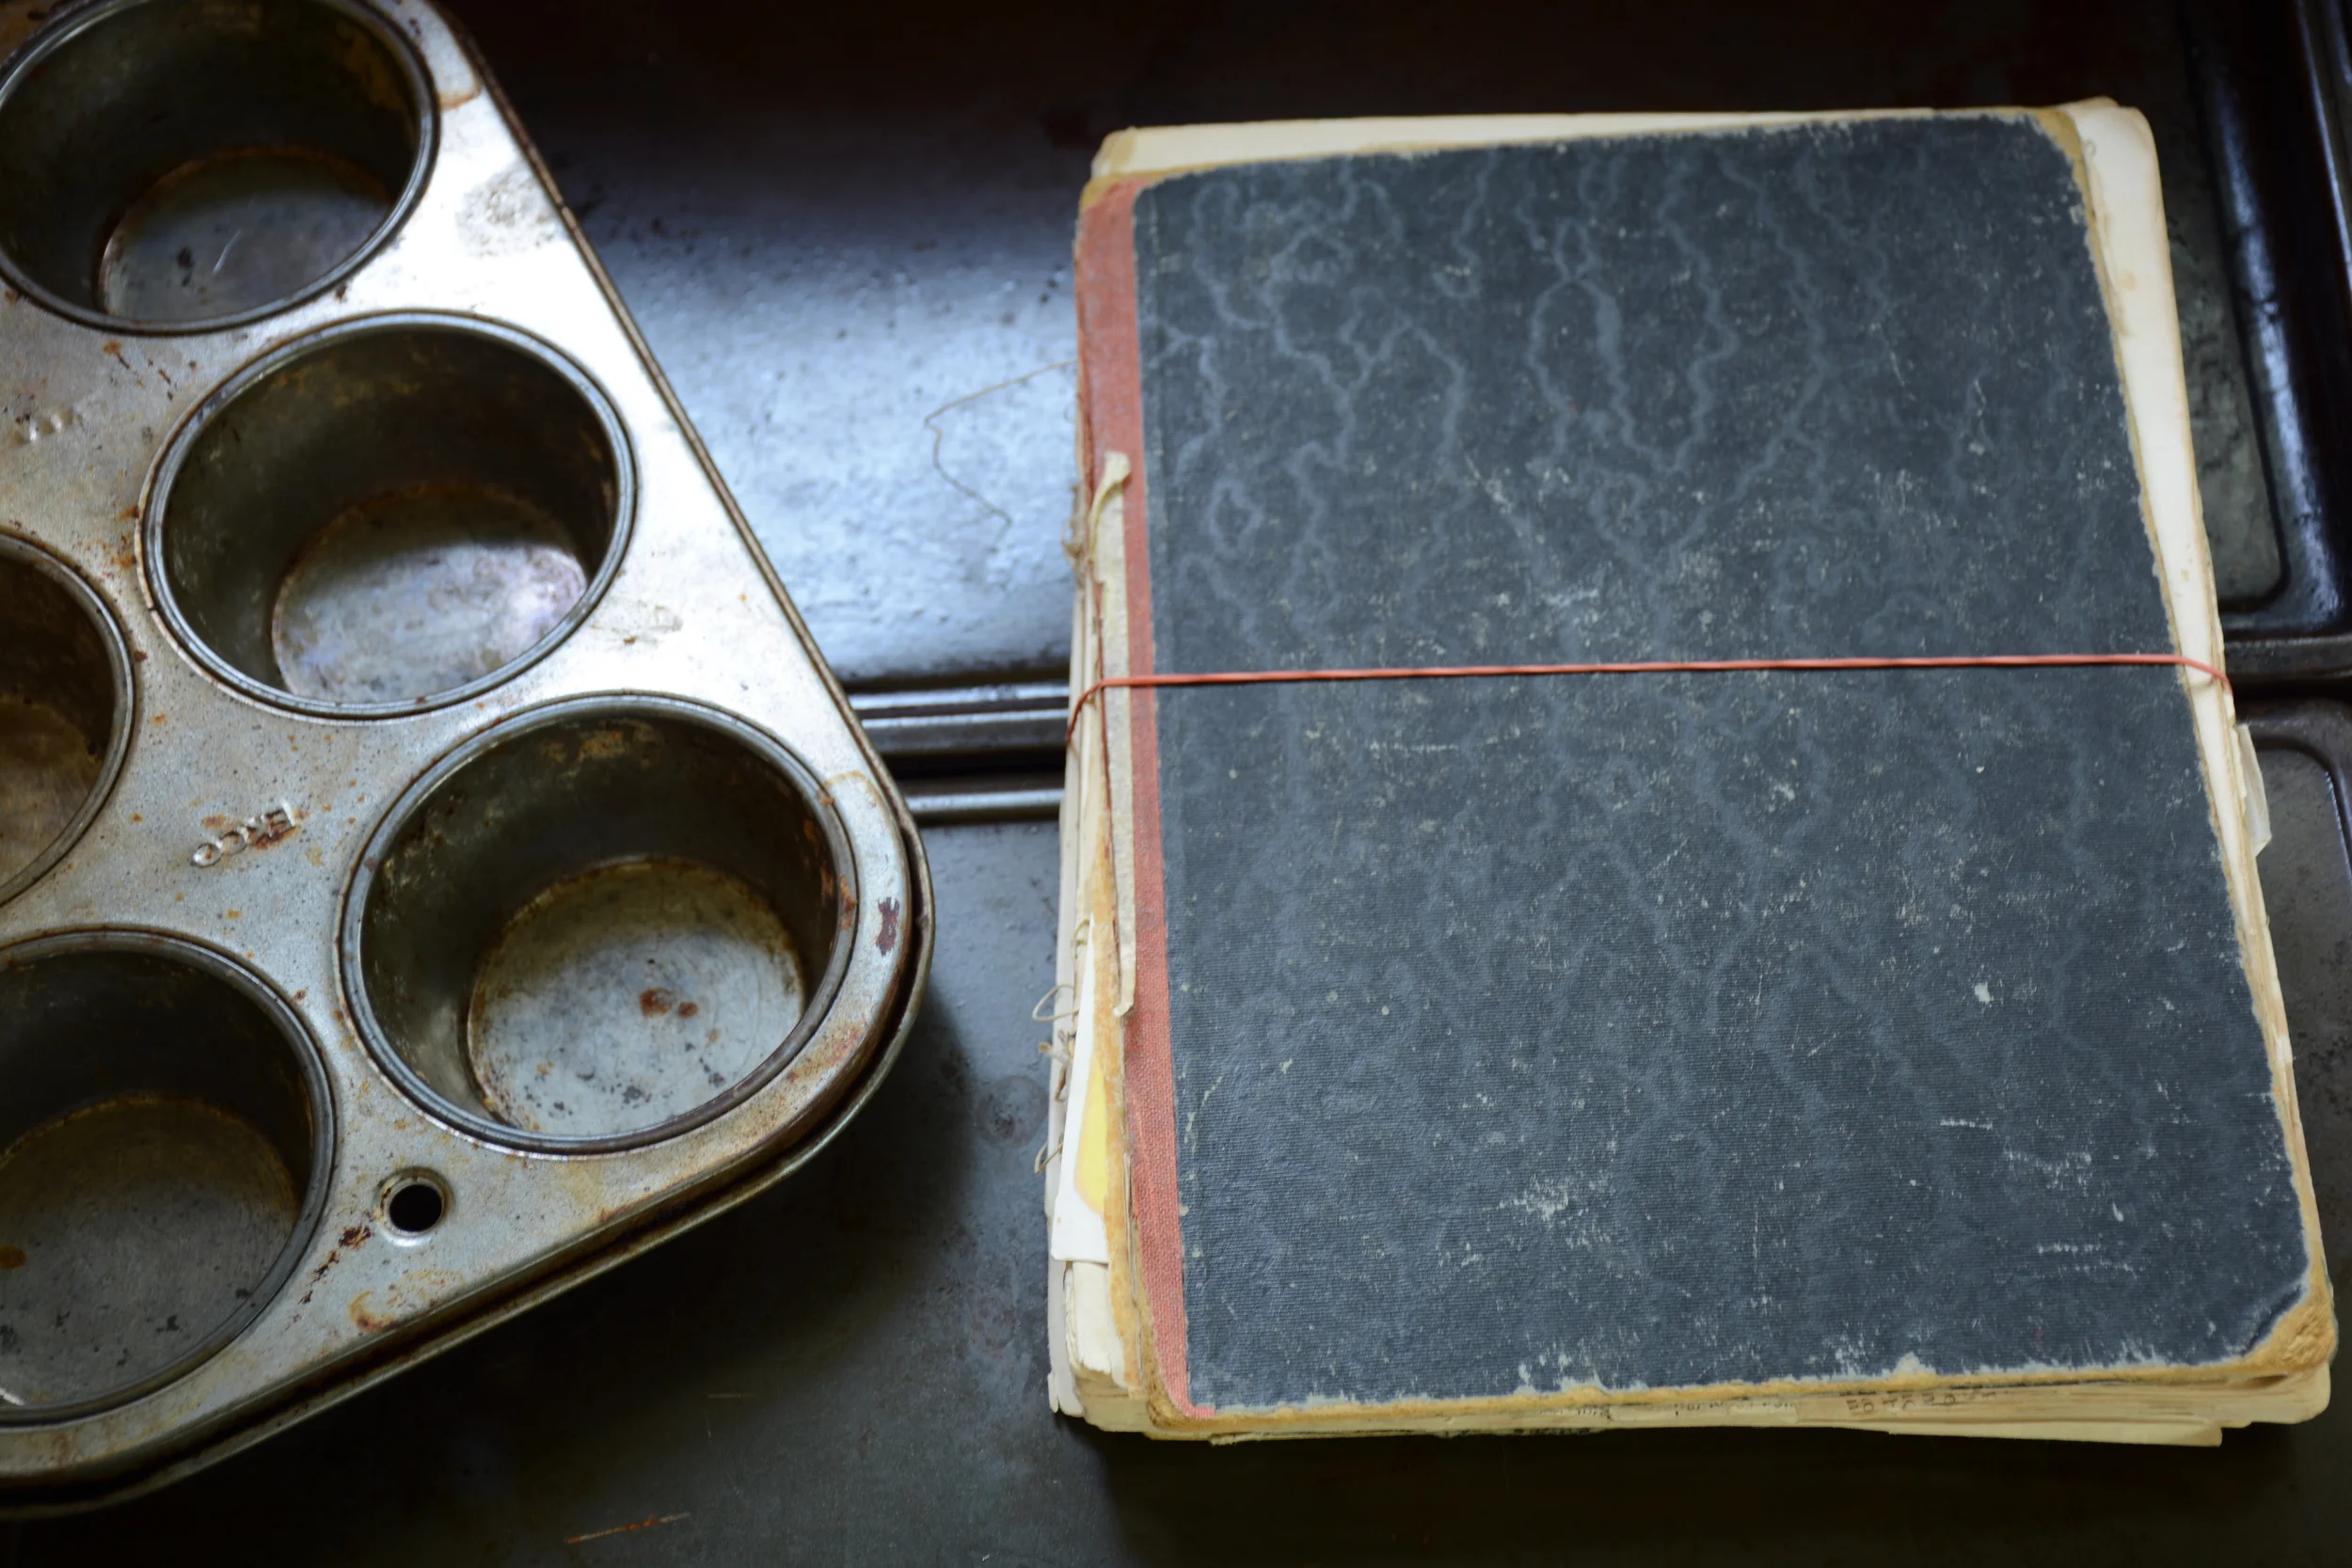
The woman who has made me laugh the most in my adult life is by far my nona. At the ripe old age of 96 she still manages to have a positive outlook on life. Never taking things too seriously, feeling sorry for herself or getting angry when her memory fails her. Instead she has the remarkable ability of being able to laugh at herself.

This wasn't always the case. When I was younger and my mom would tell me we were going to Nona's for a week I would dread it. My nona was constantly yelling at me and my cousins. Phrases like 'you are in and out of the god damn house like yoyo's' was a memorable one that has stuck in my brain. She lived in a coal mining town and at night when it was bath time you could almost hear the horror movie music as her foot falls approached the bathroom door. You knew that in one hand was the Comet and in the other was the SOS pad or steel wool. She was convinced that regular old soap was not going to get our coal covered elbows and knees cleaned and would proceed to practically rub the skin right off of them.

She wasn't a very expressive woman and I remember my 'I love you's' garnering a 'me too' in response.

But then in her 60's she had to have bypass surgery (quadruple I think) and something inside my nona changed. She laughed more and now it is her that tells me she loves me first.

Over the years she has done many things that have made me laugh and I have shared the stories with friends so many times I am sure they are sick of hearing them. I have often thought I should start tweeting about 'Shit my Nona Says'. Well tonight was one of those moments.

Recently my nona moved out of the home that she has spent the last 70 odd years living in. A house that her husband Norino DePaoli built with his own hands. The basement not quite deep enough for a tall man to stand fully upright in because when you are digging it with only a shovel, it was deep enough! She is now in an old folk's home and sounds so happy. I called her tonight because I had tried to call her on Easter weekend but the woman is never in her room anymore. She is out walking the halls, playing bingo, having her nails painted or who knows what else she gets up to in there.

When she asked me what I was doing, I told her that I was making preserves and I started to tell her about the farmers market and the upcoming ' Made By Hand Show'. She sounded amazed that I was doing all of this work on top of having a full time job. This coming from a woman who for the first 80 years of her life had a hard time sitting still and worked harder than any other person I know.

She told me she knew what would sell the best. She claimed I would never be able to keep it on the shelves. Her tip for being a success was, you guessed it "Pickled Chicken Feet". She was adament and started to reminisce about how great they tasted. I tried to tell her that times had changed and her response 'oh, people wouldn't know what tasted good if it bit them in the ass'.

Point taken nona. If anyone has a recipe for Pickled Chicken Feet, I might just have to make a batch in honour of her!

Happy Easter! And Oatmeal pancakes

So this post was really inspired by Brad when he commented on my Coffee Liquor post on my facebook wall. He suggested it might go well with pancakes. Well that thought stuck in my mind like a burr and this morning I decided to treat James to a nice Easter breakfast. Well at least that is what I told him ;). In reality it was more for me.

I have an oatmeal pancake recipe that I just love. I like pancakes but I find they can be rather heavy. These pancakes are almost more like a crepe than they are a pancake. What would you call that a prepe? Anyways, my friend Kim Turner out in BC shared this recipe with me a few years back and since then it is all I ever make.

Kim's Oatmeal Pancakes

1 cup buttermilk fresh*
1 egg
3 tbsp corn oil or butter
3/4tsp  baking powder
3/4tsp  baking soda
1/2 cup white flour (no substitutes)    
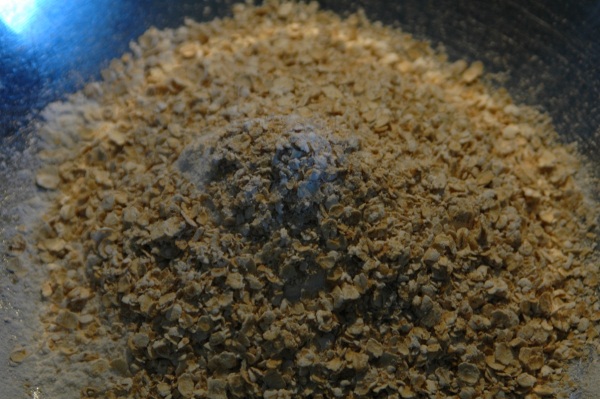
1/2 cup oats  (quaker quick oats not instant are best)

              
mix dry ingredients
mix wet ingredients separately
then add together

Put batter in the pan, once there are bubbles flip and lightly cook the other side.

* I have never used buttermilk when I make them. I take just slightly under a cup of milk and add a tbsp of vinegar and let it sit for 5 minutes.

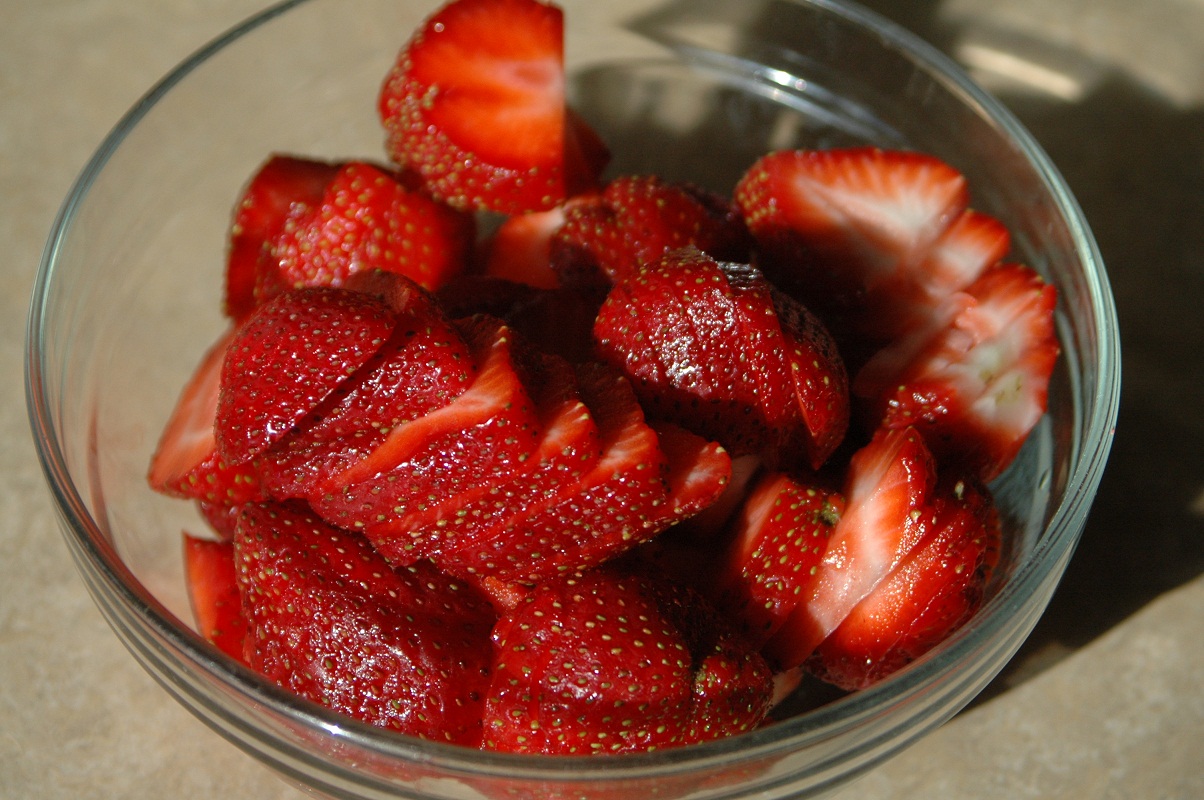
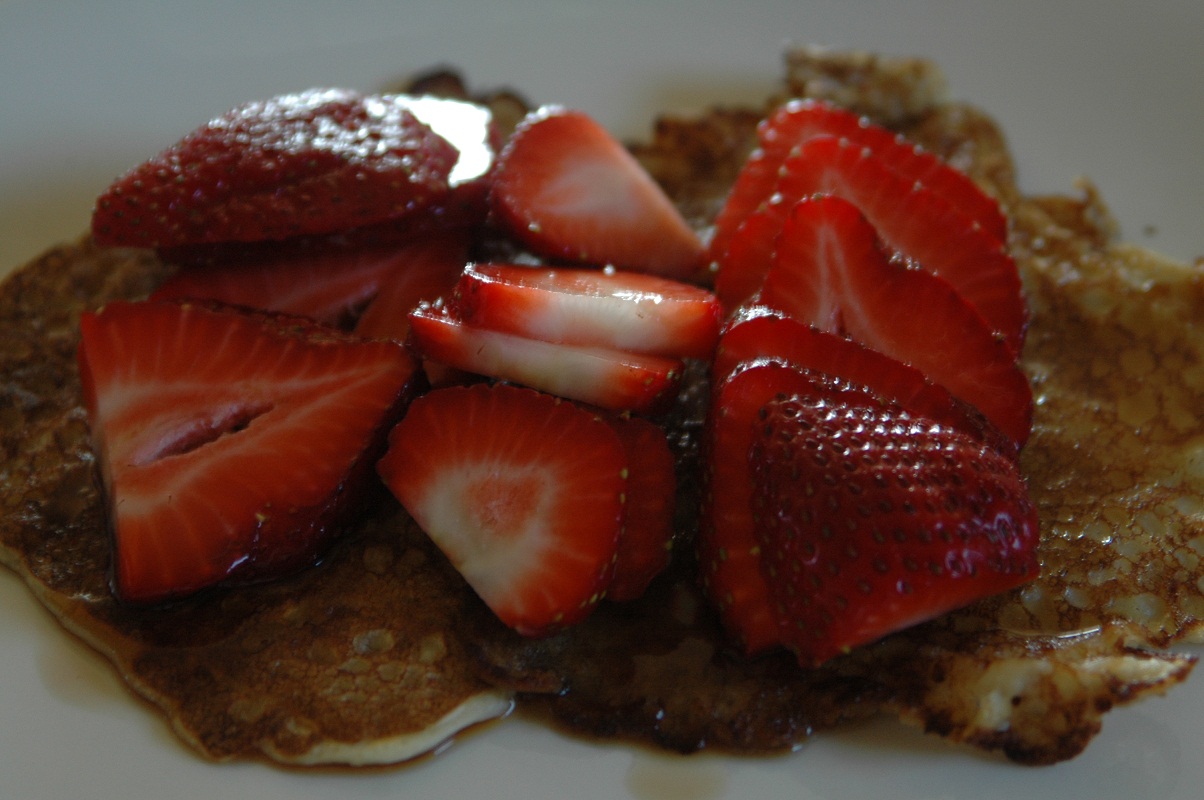
I decided strawberries would be a nice addition to serve with the pancakes alongside the more adult syrup :), but I know my friend Kim cooks blueberries right into the pancakes, so feel free to experiment with whatever fruit you want.

Now doesn't that look like a perfect way to start the long weekend! And Brad you were absolutely right...it was delicious.

Have a great Easter weekend everyone!

Coffee Liquor is Complete!

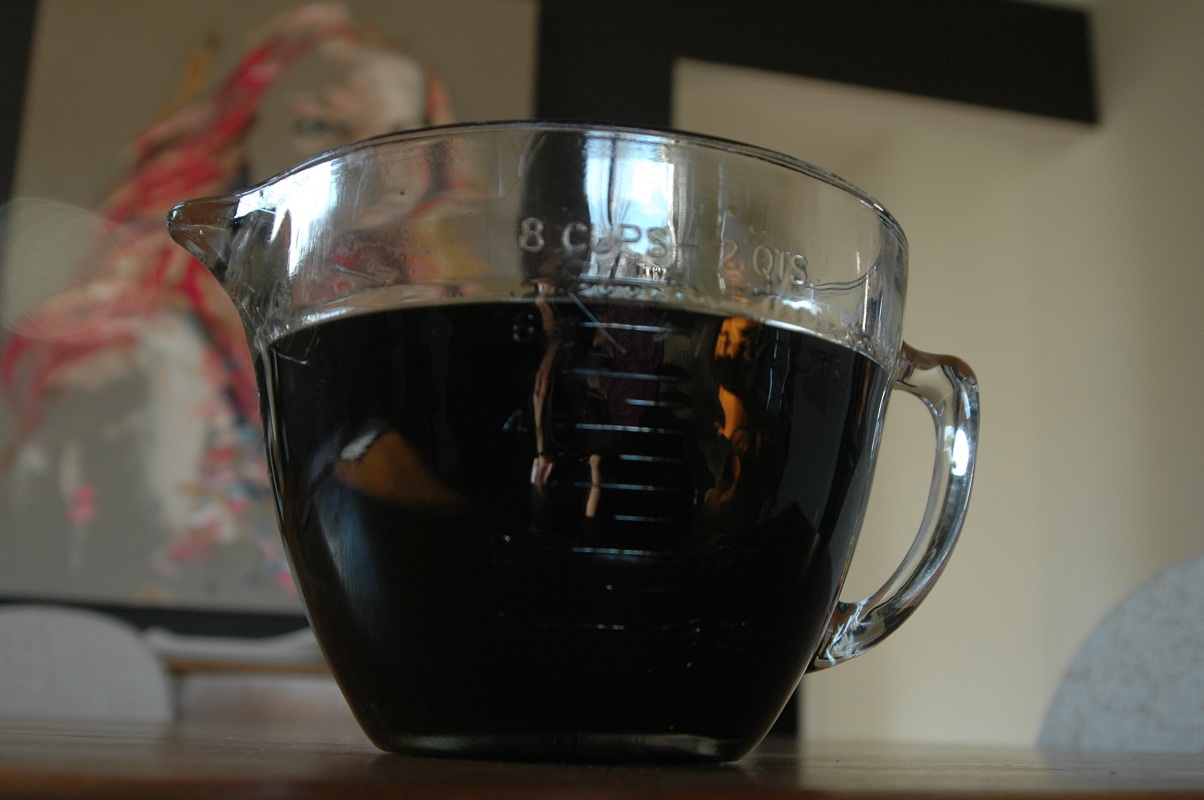
For the past 3.5 weeks I have felt like a stalker in my own home. Finally tonight after a fantastic day at the U of T Scarborough Campus Farmer's Market, I could take it no more, it was time I got better acquainted with my 'stalkee'. I never thought you could become obsessed with an inanimate object, but on March 12th when I completed this post I realized that having something that I knew was going to be ever so tasty sitting in my cupboard for 4 weeks before I could indulge was perhaps going to be a personal challenge.

Every few days I would look in the cupboard and evaluate it's chocolatey brown smoothness. I made the biggest mistake last Sunday when I decided it was time to smell it and determine if it was ready to jar. If only there were a way to capture and share with you the wonderful smell, you would share my obsession. I am not a coffee drinker but I have always loved the smell of coffee as it brews. Well combine that with fresh vanilla and bourbon and it is enough to make a girl go weak in the knees.

I started by washing a couple of decorative jars, because even though I am intrinsically a selfish person :), I knew that this was a delight that I would have to share with others. The first person to invite me over for dinner will get a lovely jar of this Coffee Liquor, so get your invites out quick!

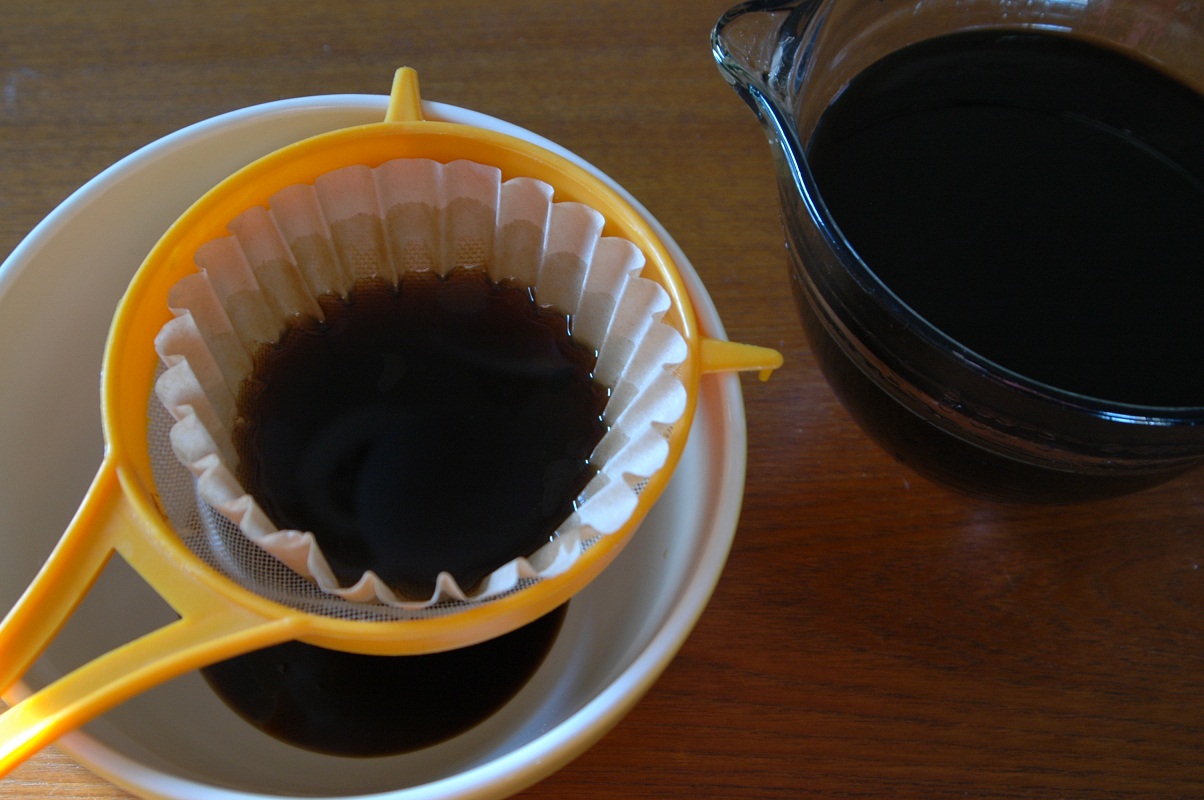
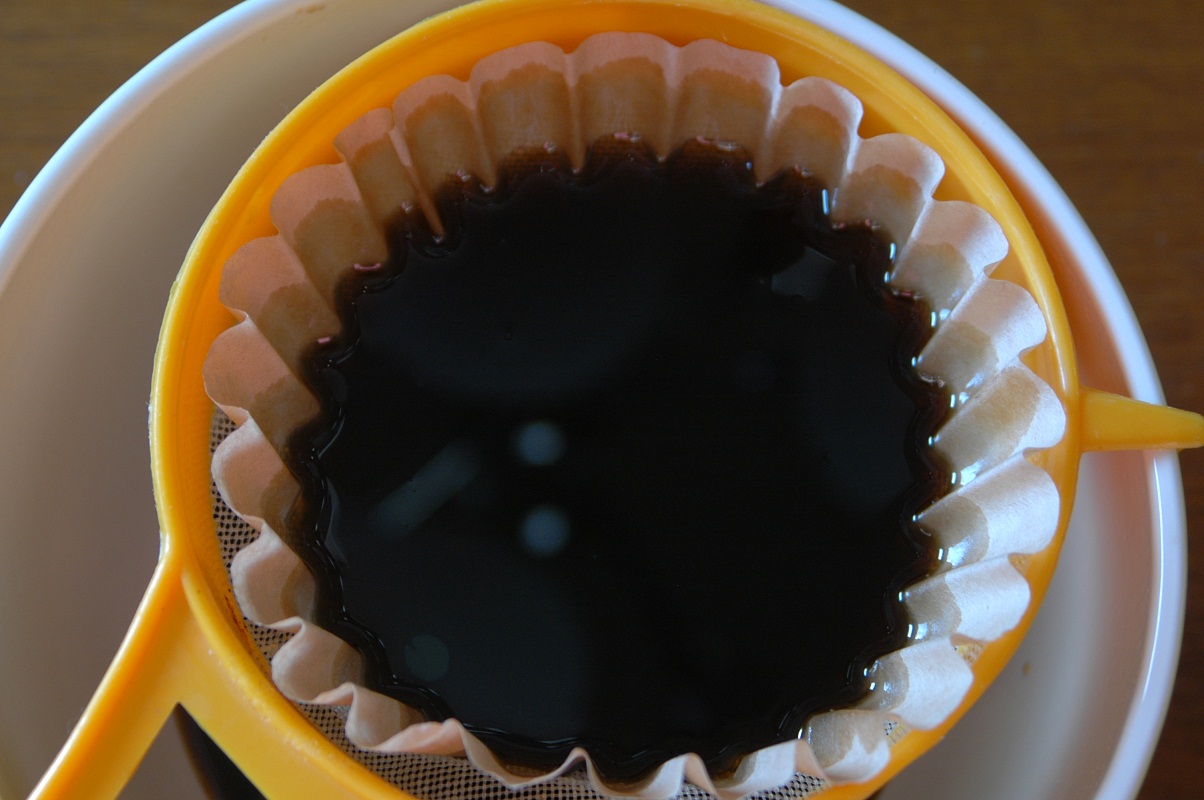
Then I placed a moist coffee filter (I used a moist coffee filter because I didn't want any of this liquid of the Gods to get absorbed unnecessarily)  in a strainer and strained the liquid and removed the vanilla pods, then using another clean moist coffee filter, I strained it again.

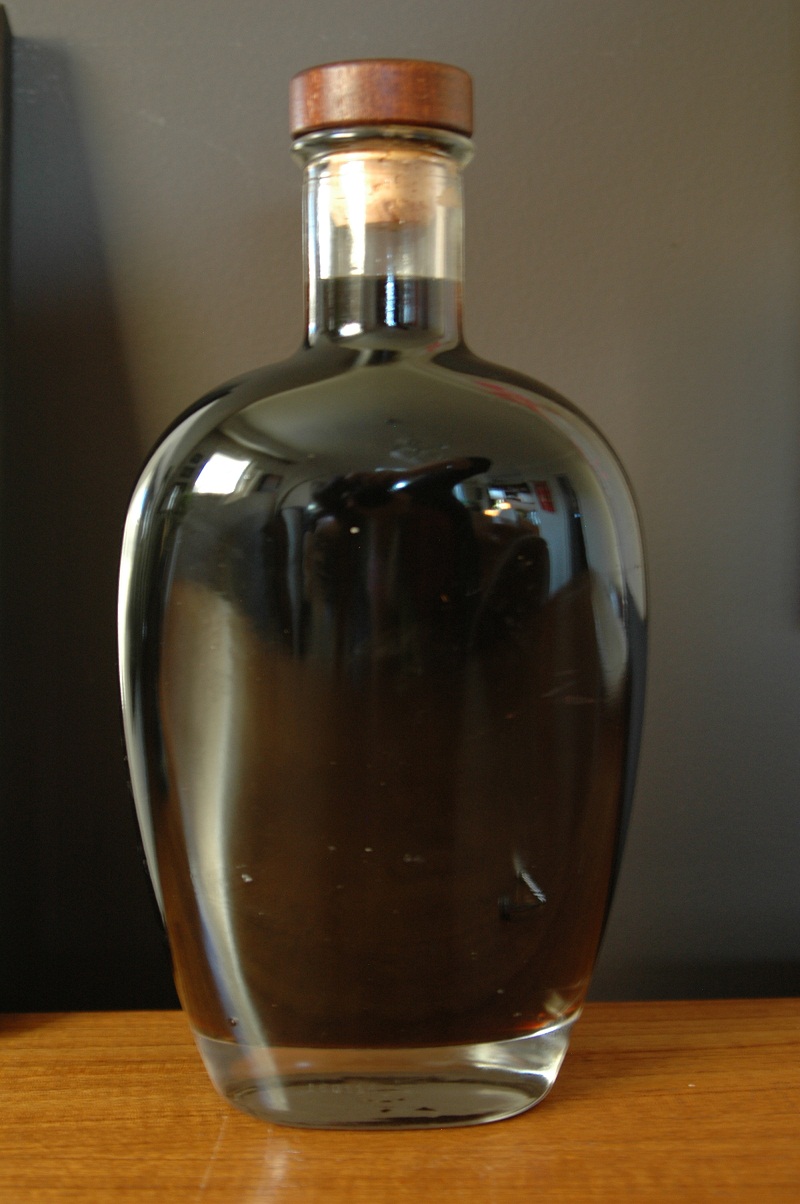
The final step is simple. Using a funnel I transfered the liquid into the decorative jars and sealed them up and put them in the cupboard.

Well actually, I lie...that was the second to last step. With my official taste tester out of town, I felt that I have no choice except to sample a small glass to ensure quality. I put a smal dollop of fresh cream in a glass with the coffee liquor and drank it back. My oh my...it was worth the wait.

Growing Tomatoes from Seed

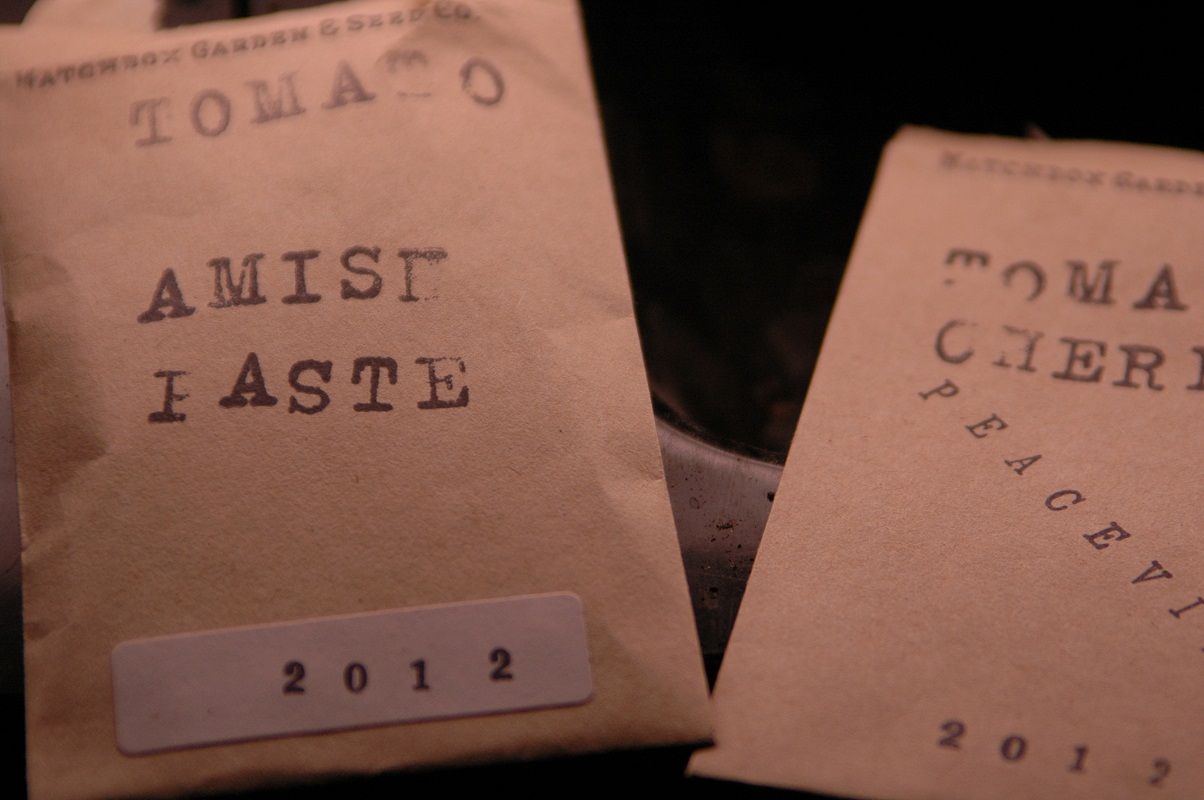
A couple of weeks ago James and I went to Evergreen Brickworks to their 'Seedy Saturday'. If you had seeds of your own, you could trade. Or if you were like us you could come empty handed and leave with bags of seeds as well as a lot more knowledge. I have been experiments and making several different styles of tomato jams, so I was pretty excited to talk to people about the different types of tomatoes and what they were good for. I spoke to several different seed suppliers but ultimately ended up buying all my seeds from 2 different suppliers. Cubit's Organic Living and Matchbox Garden and Seed.

What made me choose these 2 suppliers in particular? Well Laura from Cubit's was extremely patient with my long list of questions and I had researched her site before going so I knew a little bit of her story and I always like to support people trying to make a go of it. Hanna from Matchbox - well to be frank, she knows her shit! When I asked her what types of tomatoes would be good for my jams versus my tomato sauces, she pointed me in some interesting directions and had some great pointers for me on how to make my tomatoes strong for the growing season. They also have a fabulous little book with all the different seeds they offer and the growing conditions required, etc.

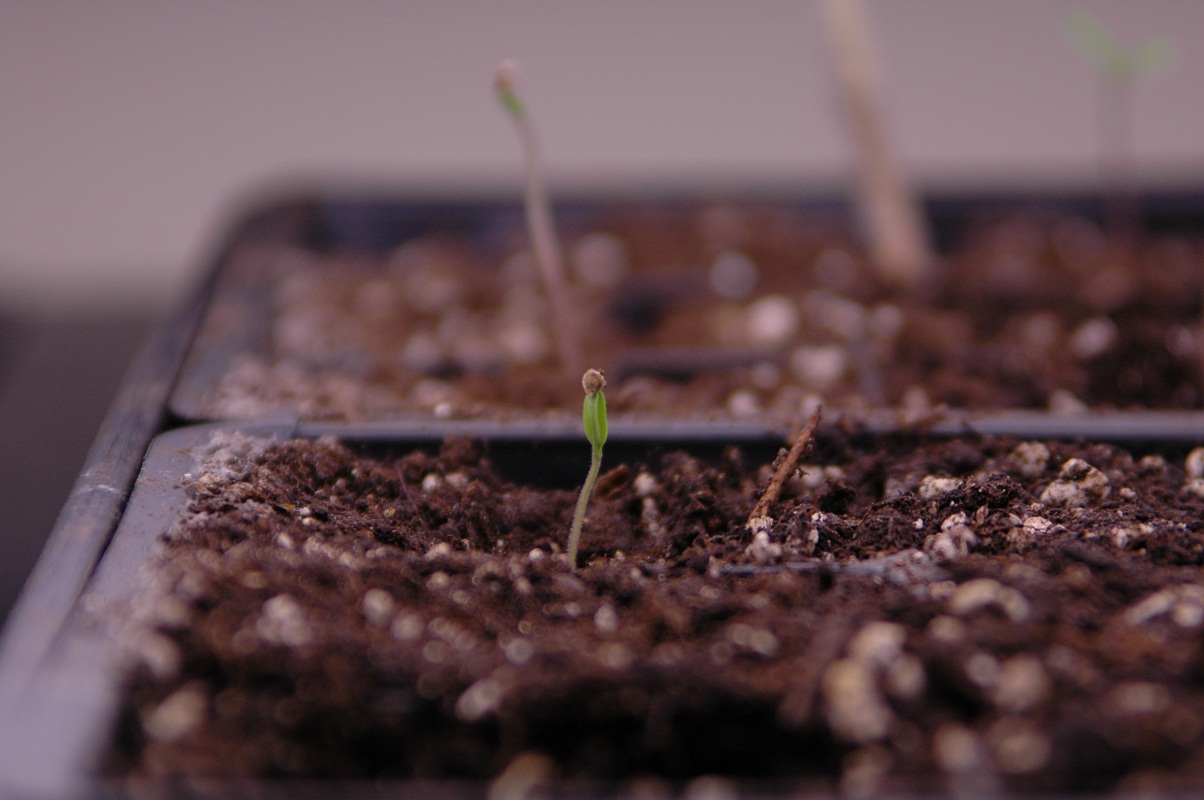
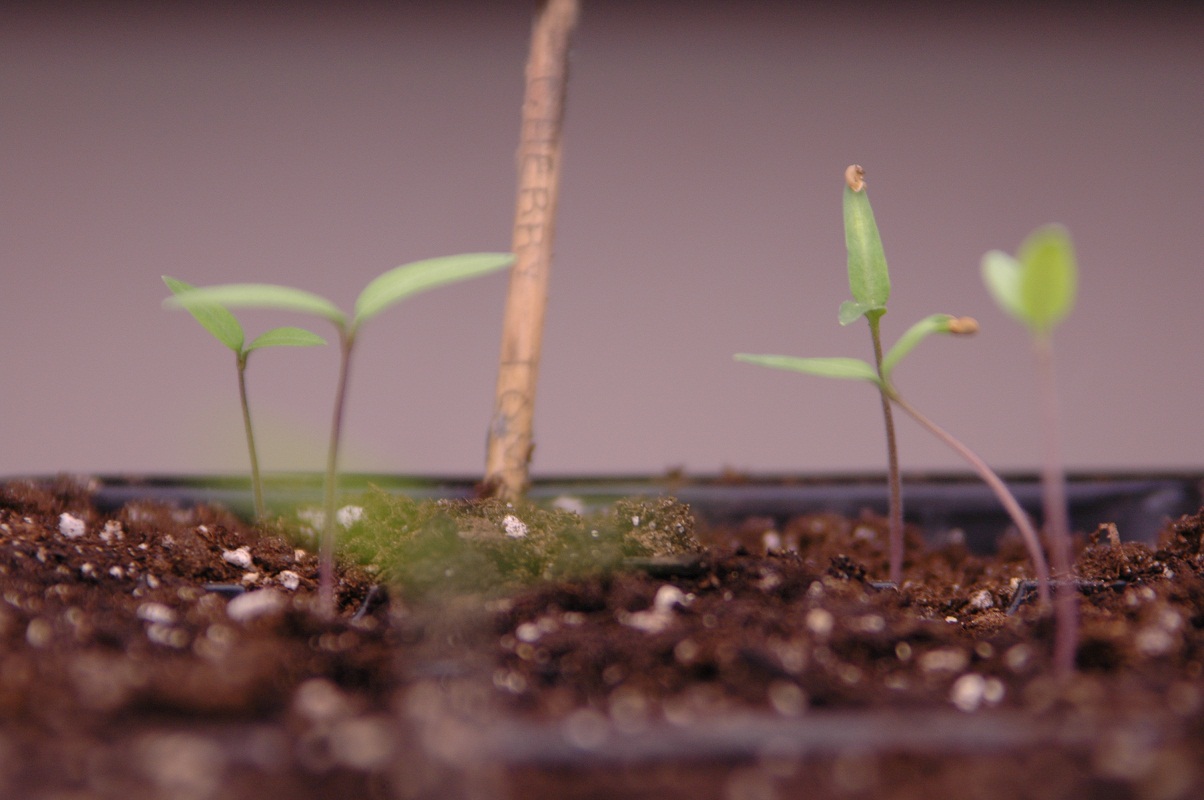
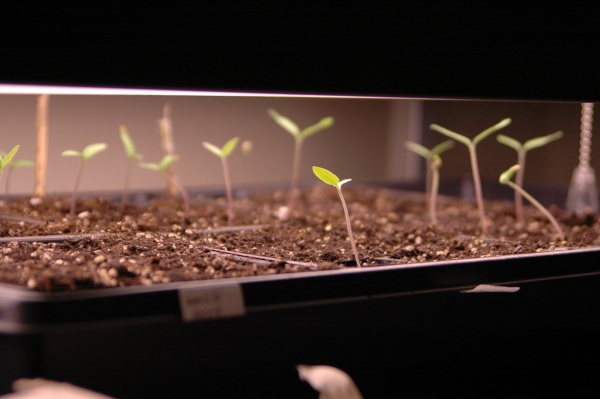
I planted my tomatoes, green onions as well as a few leeks earlier this week and it has been fun to run downstairs and check on their progress each day.

The tomato plants are at the stage where I am turning the fan on them for about 15 minutes twice a day so that they grow nice strong stalks. I can't wait for the time to come when they are ready to plant outdoors and even more so when they are ready to pick cause I will be making some seriously large batches of tomato jam when they are!


Really, really, really super easy raspberry jam

Over the past few weeks my preserving has come up in conversations quite frequently and I have been surprised to hear from so many people that they are intimidated or afraid to try it. I suppose this is not a fair response on my part. After all, I grew up in a family of preservers so it seems almost natural to me. I can understand how it might be intimidating. When you read some articles online you hear all about the fear of botulism and all of the things that can go wrong. But if you follow some pretty simple instructions and start with a really simple recipe, I think you can get break through that initial fear.

One of the easiest recipes I know is the one that my mom passed onto me for raspberry jam and I thought for all of those people out there who are too afraid to try for fear of screwing something up...that I would share it. I even altered is slightly to use FROZEN raspberries. Yes you heard me....FROZEN. The cost of entry with this recipe is SO small that even if things do go wrong it won't matter.

Here is the checklist for what you need:

- 1 large pot (large enough to fit 3 - 250ml jars and be able to have the water to cover the top of them by about 2-3 inches)

- 3-4 250ml jars with lids

- 1 large saucepan

- 1 potato masher

- 1 wooden spoon

- 1 soup ladle

- 1 600 gram bag of frozen raspberries

- 3 cups granulated sugar


INSTRUCTIONS:

Sterilize your jars and lids.

Put your 3 cups of sugar in a pot or pan and place in the oven for 15 minutes at about 250 degrees. Warming the sugar helps it to dissolve.

Place the 600g of raspberries in a large saucepan and heat over high heat. While it warms mash it furiously with your potato masher. The seeds in the raspberry contain pectin and beating the crap out of them helps release it. :) Bring it to a rapid boil and stir constantly for one minute.

Add the 3 cups of warm sugar, stir constantlyand bring it back to a boil. If you have a candy thermometer you can use this to make the whole process even easier. Keep stirring until it reaches 200-220* F. Don't have a thermometer? That's ok, just put a glass plate in your freezer at the same time as you start to sterilize your jars. After the jam has been boiling for about 5 minutes, take the plate out of the freezer and drop about a half of a spoonful of jam on the cold plate and let it sit for about a minute. If a gel forms then your jam is ready. If not keep cooking and try it again until you are happy with the set.

Ladle into hot jars, wipe the rims and seal. Place in hot water bath for 10 minutes and then remove. Now comes my favourite part - when you hear the popping of the lids as they seal. If you press on your lid and there is no give...it means they have sealed properly and if you store them in a cool dark place they should last for at least 6 months. 

This recipe yields 3-4 jars of delicious home made jam.

See...SO simple and even if the jam doesn't set you can still use it in yogourts or as a soft spread on pancakes or waffles.

Now you have no excuse not to try! If you do try it...please share your experience. I would love to hear how it turns out.


Antipasto and red wine

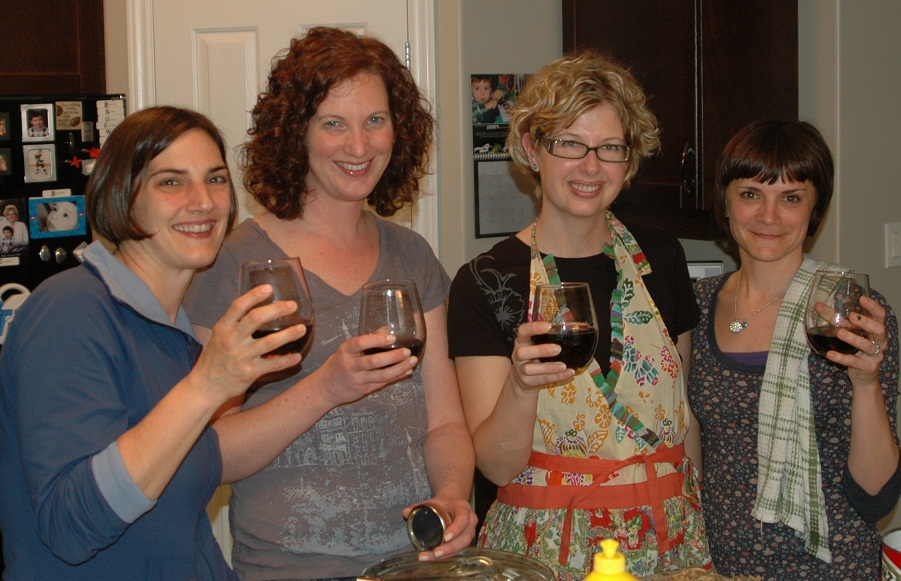
It started with an email from my friend Dana about 6 weeks ago. She wanted me to come to her house in London so we could make antipasto together. I jumped at the chance because if there is one thing I love more than preserving, it is doing it with friends! It brings the sense of community that I love about the history of preserving to life for me. I mentioned it to Megan and Dana mentioned it to Tania and before you knew it there were 4 of us.

Last week was my first week in my new job. It had been a busy week with no shortage of new information to absorb so Saturday morning when I was packing the car for my drive to London I was looking forward to spending some time in the kitchen with friends or soon to be friends and resetting the batteries for week 2.

The antipasto recipe is a family recipe for Dana and she had made it before, so I was excited to try something new. I came loaded with my preserving tools and a bottle of wine. Dana had done all of the shopping and prepared a fantastic lunch for us to get us prepared for the work ahead.

We quickly sorted out our tasks and the chopping begain. Cauliflower, green beans, green olives, black olives, pickles, pickled onions, red, green and yellow peppers. Chop, chop, chop. We were all pretty focused but there was also some pretty lively conversation going on. It was exactly what I pictured took place when my mom, aunt and nona would spend the day peeling silverskin onions or preparing the cucumbers for dill pickles. The only difference perhaps is that I envision their conversation being slightly more PG than ours was, but perhaps I am wrong :).

About an hour into it Dana opened our first bottle of wine, an hour later, she opened the second, a couple of hours later she opened the third. Thankfully by this time the chopping was done, but the conversation hadn't even had the smallest of breaks. Four women making antipasto and drinking red wine I discovered can certainly cover no shortage of topics. We made 2 batches and just over 70 jars. In my opinion it was a perfect way to spend a Saturday and I really hope that it won't be the last time we do this. I have so many recipes to share with friends and I think it is the perfect excuse to make time to get together. Thank you ladies for reminding me that sometimes it is the simple things in life that can be the most enjoyable.

If anyone is interested in this great Antipasto recipe, please let me know and I will see if Dana is willing to share. It is delicious and is the perfect size batch to make with friends.

Shipping an order - the checklist

As I pass each milestone, I have tried to share my learnings, mistakes I may have made, things I would change the next time, etc. Seeing as I shipped my first order to a store this week I thought I would share the little checklist I used to make sure I didn't overlook anything. Some of this is just good old common sense, well perhaps all of it might be. I don't claim to be recreating the wheel, but I think a spirit of sharing and cooperation will only make things easier for the next person who tries to do this.

1) Invoice

Be sure to provide an invoice with the shipment. It should include your company name, address, phone number, email address, HST# if you require one (check out this site and take the quick questionnaire to help figure out if you need one), as well as other important information such as quantity and description of goods shipped.

2) I was advised that for the first few shipments to a new store it is always a good idea to state that your payment terms are COD. At least until you have developed a relationship with the store.

3) Check your jars

Just because you know you make an amazing product, don't take it for granted that all of your jars are sealed. Double check each jar to make sure the seal is perfect and that the colouring of the product inside is as it should be. I always store anything made with vinegar without the rings and put them on when it is time to go to market, etc. It is the best way to tell if your seal is true.

4) Labels

Make sure each jar is labelled appropriately and that each jar looks just as you want it. Remember this is your opportunity to market yourself and your other products as well. They should look great!

5) Commercial Kitchen

I think the first time you ship to a new store you should include a copy of the Food Safety Inspection for the kitchen you use. This way the store has it on hand should they get asked for it and it shows that you are professional and following all of the rules.

6) List of all your products

Include a full price list of all your other products. It acts as a good reminder if the store has only purchased a few of your products that you have others that might be of interest to them.

If you can think of other things to add to this checklist be sure to let me know.

Tip on how to keep your berries fresh

My sister Yvonne shared this tip on how to keep your raspberries and strawberries fresher for longer and I just had to share. It may be a while before we are picking our own raspberries in Ontario even with this crazy warm weather, but as the berries start pouring into your grocery stores this is a good tip to be aware of - especially when you are paying $4 for a tiny little handful of the delicious red things!

Wash them with vinegar.

When you get your berries home, prepare a mixture of one part vinegar (white or apple cider probably work best) and ten parts water. Dump the berries into the mixture and swirl around. Drain, rinse if you want (though the  mixture is so diluted you can't taste the vinegar,) and pop in the fridge.

The vinegar kills any mold spores and other bacteria that might be on the surface of the fruit. Raspberries will last a week or more, and strawberries go almost two weeks without getting moldy and soft.

BBQ Meatloaf with Caramelized Onions

In my on-going challenge to myself to try recipes using my preserves, I decided to use my Caramelized Onion and Garlic Jam on an old favourite - Meatloaf. My Auntie Dena shared this recipe with me years ago and it is by far the best meatloaf recipe I have ever come across and it worked out perfectly with my jam.

Let's just cut right to the recipe, because honestly, you will want to make it for dinner tomorrow night.

2 tbsp olive oil

3 large onions sliced

1 tbsp brown sugar

1 tbsp cide or rice vinegar

2lbs ground beef

1 egg

3/4 cup of your favourite bbq sauce

1tbsp dijon mustard

1tbsp worchestershire sauce

1 tsp salt

1 tsp ground cumin

2 tbsp chopped fresh parsley

3/4 cup bread crumbs

Topping

2 tbsp Caramelized onion and roasted garlic jam

1) Heat oil in a large skillet and cook onions 20-30 minutes or are until brown and tender. Add sugar and vinegar, cook 5 more minutes. Cool. Remove 1/2 cup onion and chop finely for the meat loaf.

2) Place meat in large bown and add cooled chopped onions, egg, bbq sauce, mustard, worchestershire sauce, salt, cumin parsley and bread crumbs. Knead together.

3) Place meat mixture in a large loaf pan lined with parchment paper or aluminum foil. Cover with either. Bake at 350 for 1.5 hours.

4) Uncover. Smear with 2tbsp caramelized onion and roasted garlic jam and remainder of onions. If onions are dark- cover once more. Bake 15 minutes more.

Let rest for a couple of minutes and then serve.

Delicious!!!