Rhubarb Brandy Vanilla Jam

I know it sounds like a mouth full, but trust me your taste buds will be dancing when you taste it. This rhubarb brandy vanilla jam is not only great on toast or pancakes, it is wonderful on all types of cheeses, stirred into yogourt or poured over top of vanilla ice cream.

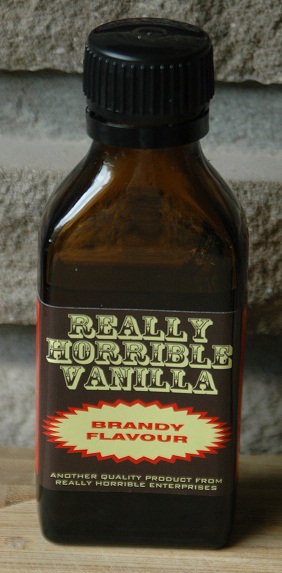
I met Todd Chambers, owner of Really Horrible Enterprises this past weekend at a The Great Canadian Cheese Festival and I was drawn to his booth by the alluring smell of vanilla that seemed to permeate the air around it.

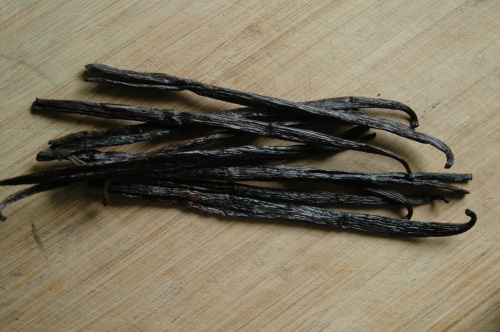
I use vanilla beans a lot in my preserving and am always looking for fresh beans that don't come in the glass little test tubes from major grocery stores. Well Todd did not disappoint. But in addition to some wonderful fresh vanilla, Todd also had some flavoured Vanilla extract that got my creative juices flowing. I picked up a bottle of this and as you can see in less than a week, I have already used 1/3 of it.

Rhubarb Brandy Vanilla Jam


Ingredients

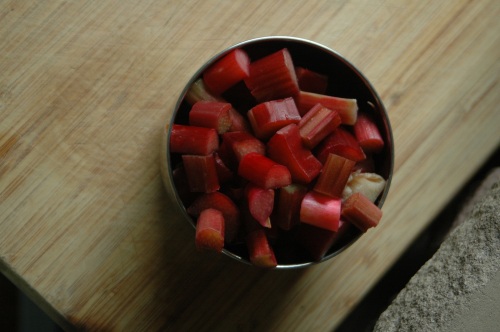
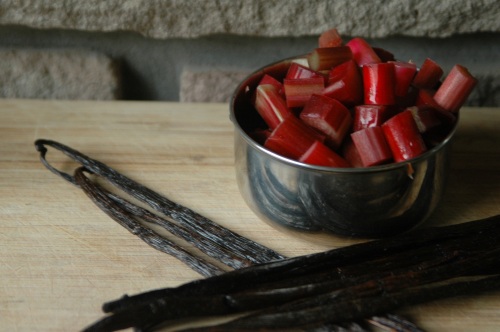
  • 8 cups of chopped rhubarb
  • 4 cups sugar
  • 1 cup earl grey tea
  • 1 lemon, zested and juiced
  • 3 tsp brandy vanilla
  • 1 packet liquid pectin (3oz)

Preparation:

Sterilize jars and warm lids.

In an 8-quart, non-reactive pot over medium heat stir the rhubarb, sugar and tea together and bring to a boil stirring regularly.

Add the lemon juice/zest and brandy vanilla to the pot and let it bubble gently for approximately 10-15 minutes. As the jam cooks, use the back of a spoon to mash any large pieces of rhubarb.

Add the liquid pectin, stir to combine and bring back to a boil and let boil for 1 minute and then remove from the heat.

Add a little more lemon juice if you feel it needs additional brightening.

Fill your pre-sterilized jars, leaving 1/4" headspace. Wipe rim of the jars with a clean damp cloth and place lids and hand tighten rings. Process jars in gently boiling water for 10 minutes.

Yield approximately: 4 – 250ml jars.


St Lucia Inspired Pineapple Jam

If you were to ask my husband what his favourite part of our trip to St Lucia was, you would imagine his response to perhaps include the incredible warmth, the view of the sea from the little house we had rented, the great snorkelling, the fresh fish available at the local restaurants. All good guesses, yet every single one of them wrong.

His answer quite simply would be 'the rum punch'. Even I have to admit that it was the PERFECT thirst quenching drink on days where the weather climbed into the mid 30's.

One evening as an apertif, I ordered their local coconut rum and my tastebuds were very pleased. It is that little glass of coconut rum served with a wedge of fresh pineapple that inspired this recipe.

Pineapple Jam with Rum

1 ripe pineapple, cored and chopped into small pieces

3 cups sugar

2 tbsp lemon juice

1 tsp unsalted butter

3 oz liquid pectin

1/4 cup rum (you can add up to 1/2 cup)

Start by peeling, coring and cutting up the pineapple into very small pieces. Place it into a wide bottom non reactive pot. Add 3 cups of sugar and set aside for an hour, stirring once or twice. You will notice this brings the juices out in the pineapple and help dissolve the sugar.

After an hour transfer the pot to the stove and turn the heat to medium and add 2 tbsp of lemon. Stir the mixture until the sugar has completely dissolved and then add the butter.

Turning the heat to med high ,bring the pineapples to a gentle boil stirring constantly, add the rum and then reduce the heat, cover the pot and let them simmer for 10 minutes. By now you will notice that the pineapple chunks have begun to reduce in size and the mixture has gotten quite liquidy.

Turning the heat once again to med high bring the pineapple mixture to a rolling boil, stirring constantly. Added 3oz of liquid pectin and stirred again constantly until the mixture returned to a rolling boil and let it boil for 60 seconds and then turned off the heat.

Leaving the pineapples to cool for several minutes so your fruit doesn't float (stir once or twice) and then ladle into sterilized jars leaving 1/4" headspace and put in water bath for 10 minutes.

My plan is to make this cocount cake, heat some of the jam in a pan and pour over the slices of cake as served. Is it wrong to have that for breakfast?

Beer Jam

When you think Beer and then you think Jam what other ingredients come to mind? First of all, there are all of the different types of beer to consider; lager, al, wheat beer, stout, etc. And then once you have settled on a beer what goes with it?

I should ask my friends at Peerless Beers as I have had the pleasure of tasting many a fine beer in their company and under their guidance.

But my creative juices are flowing and there is simply no time for such counsel ;). Yesterday, James and I were out in the garden picking all of the ripe tomatoes that we have on our plants in the backyard. (btw...it has been a busy morning as those are already cut up and on the stove being turned into Spicy Tomato Jam for our personal stock) and I noticed that my rhubarb has exploded once again. I was thinking about this new bounty of rhubarb last night and wondering if I should make more Rhubarb Vanilla Jam, when suddenly Rhubarb and Beer were together side by side in my mind.

Rhubarb Beer Jam. I even like the sounds of it. I am thinking that it would go nicely with a wheat beer...what do you think?

To be honest, it was not where I was going originally when I started to think of Beer Jam. I was thinking of something heavier, kinda syrupy. And that may still happen. But I have been side-tracked and now I need to know if I am onto something good.

Stay tuned....


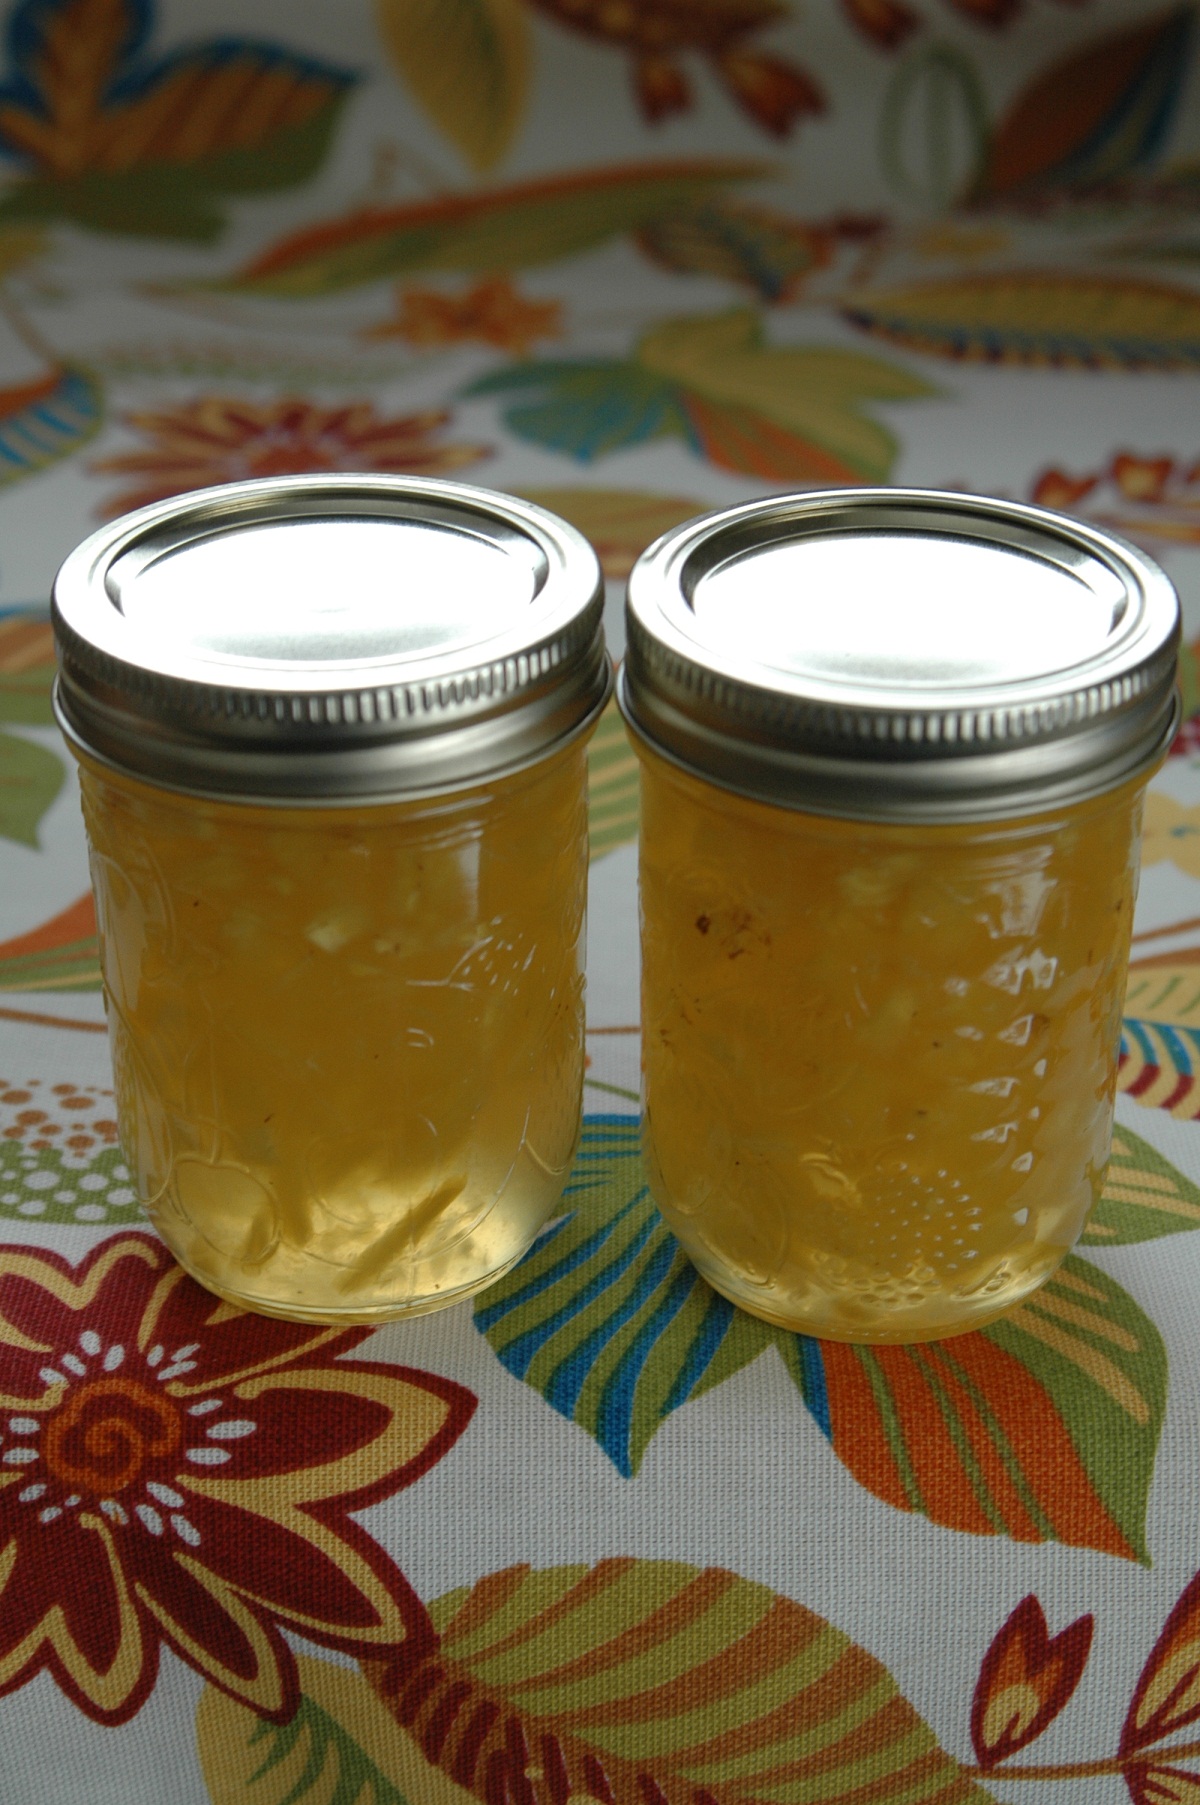
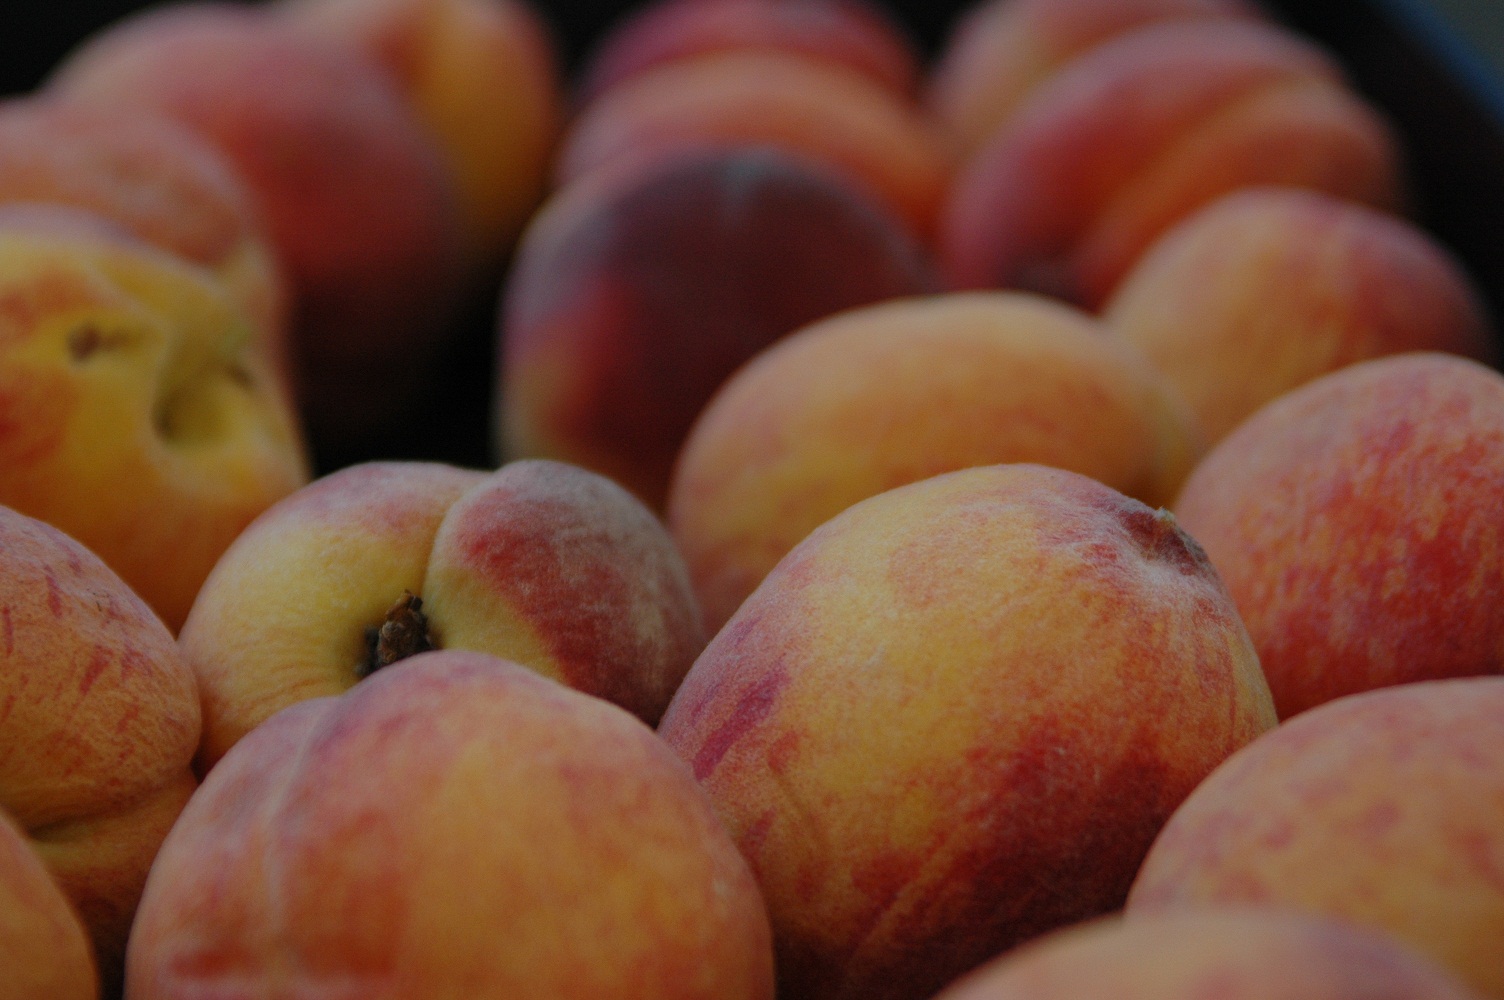
Peach Jam with a twist

This might not be the year to decide to experiment with my peach jam recipe with everyone saying what a horrible year it is going to be for peaches. Each year I try to preserve enough peaches and make enough jam to carry me through the winter months and I hope that this year is no different. Yes, peaches might be more expensive, yet I can't seem to imagine they will be so expensive that I won't find preserving enough to get me through the winter worthwhile.

But to take a great batch of fresh peaches picked up at the market and instead of making the tried, tested and true peach jam recipe to experiment with these precious peaches, is that just madness?

Madness or not it is what I decided to do today. I have a great peach jam recipe. I can't remember if my mom gave it to me or my sister Yvonne. They can both lay claim cause I am sure at one point or another they both shared their peach jam recipes with me. Whether my mom's or my sisters, it is good! But I had an idea on how to make it better. Now by making it better I am also making it perhaps not suitable to be spread on toast in the morning, which is how I have always loved my peach jam. All these things aside...I had an idea.

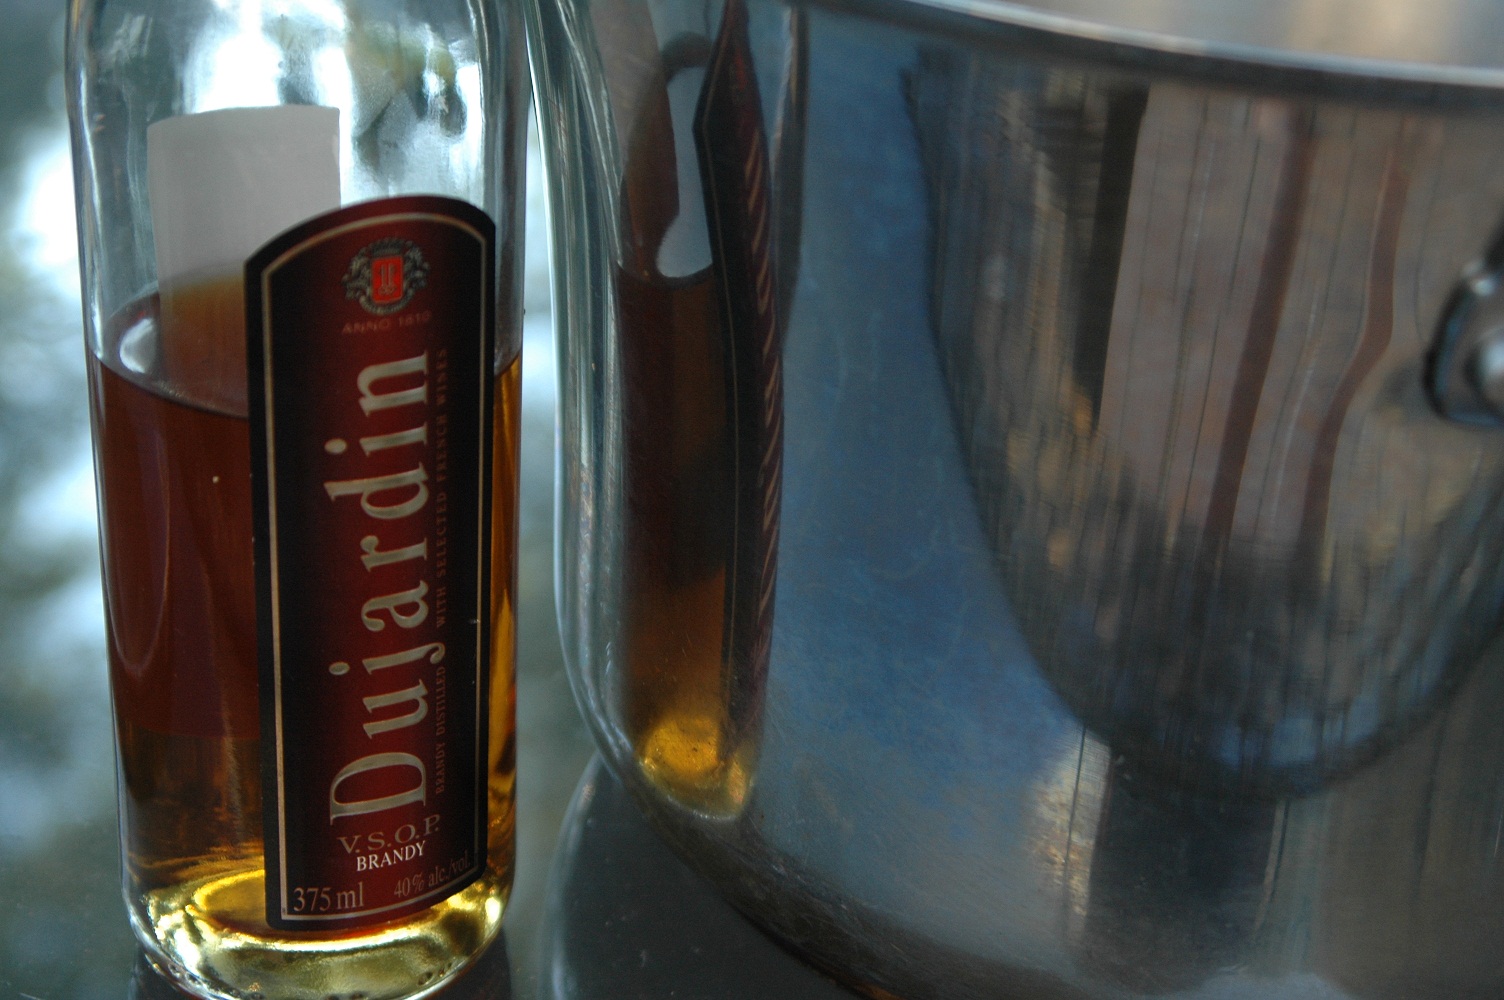
What if I were to add brandy to my peach jam recipe...what might that taste like? I was determined to find out.

Dizzy Peach Jam

4 pounds peaches (peel, remove the pit and then crush)

3/4 cup brandy

1/4 cup fresh lemon juice

1/2 tsp butter (unsalted)

7 cups sugar

2 pouches liquide pectin (3oz)

If you decide you are going to make the PG version of this and take out the brandy, there are a couple of alterations you will need to make to this recipe. The first is that you will only need 1 pouch of liquid pectin and the 2nd is that you might want to add about 1/2 cup more of sugar.

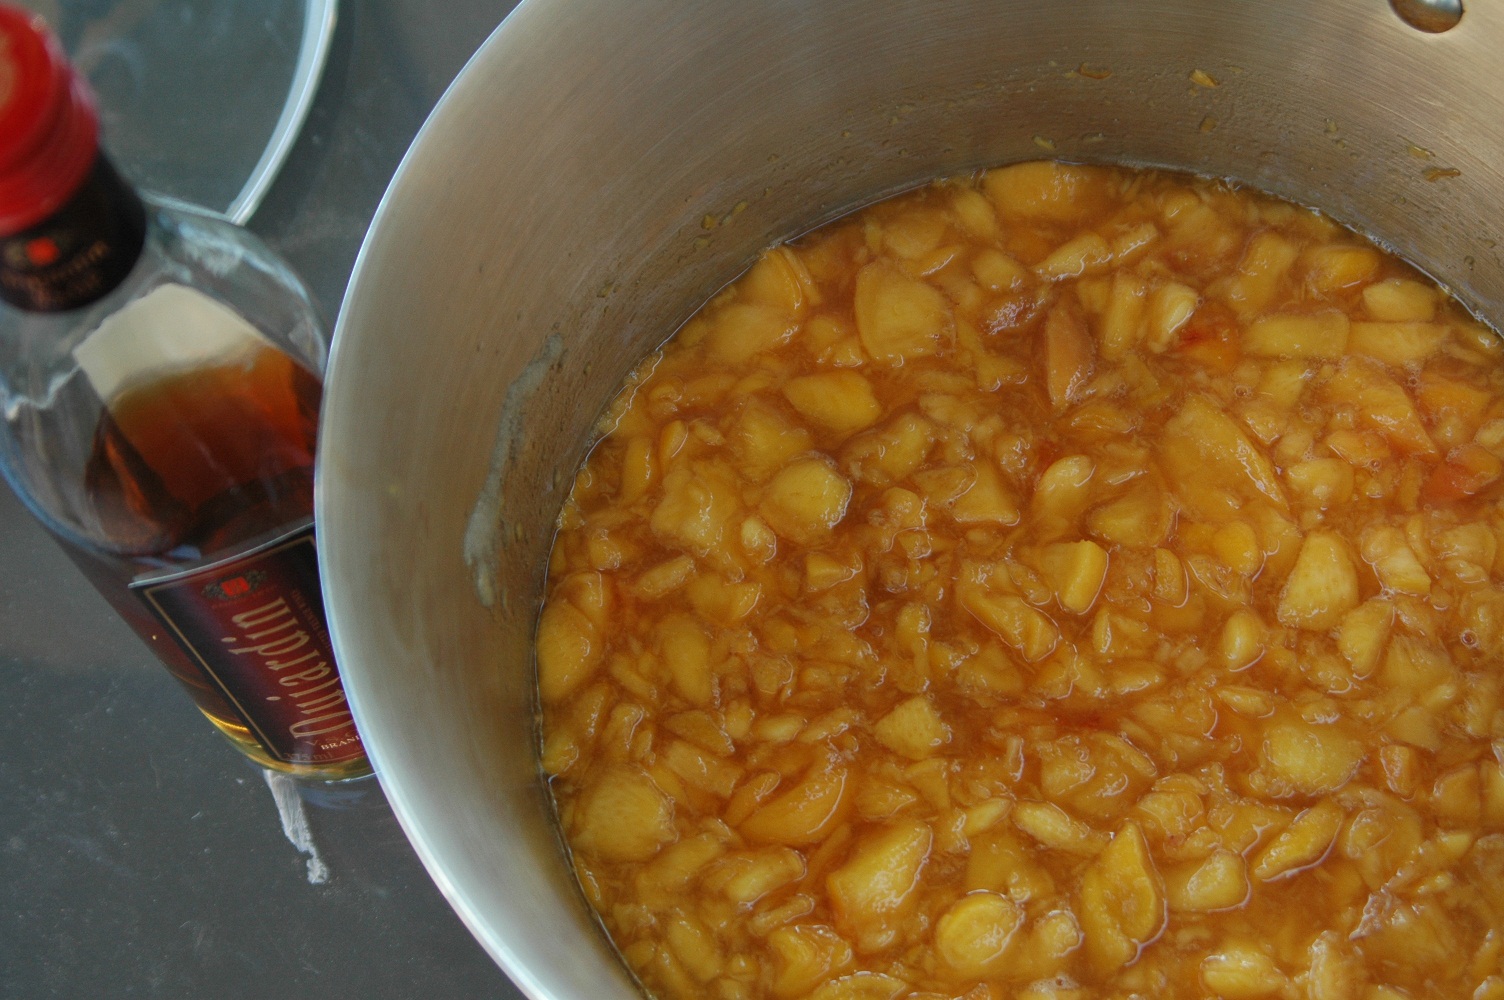
In a large pot. combine the peaches, brandy, lemon juice and 3.5 cups sugar. Place the lid on and cover for at least an hour. I gave it 3 hours so that the brandy would soak in real good :).

Remove the lid and add the rest of the sugar. Place the pot over med/low heat and stir until the sugar you just added dissolves. Once it is fully dissolved, turn the heat to high and continue to stir until it reaches a full rolling boil. If you continue to stir constantly this will take 20-30 minutes. Don't rush it as you want to allow some of the brandy to evaporate, otherwise the jam won't set. At this point take the pan off the burner and with a wooden spoon, skim off the foam.

Place the pot back on the stove and return it to a full boil. Add the pectin and continue stirring until it reaches a full rolling boil again. Boil and stir for another minute and then remove from the stove.

In order to prevent the fruit from separating, I usually let the jam sit for 5-8 minutes stirring from time to time before I ladle them into my previously sanitized and prepared jars. Once I wipe the rim and put on the lids I return it to the water bath and process 250ml jars for 10 minutes.

My official taste tester gave it a taste and claims that he wishes we had a loaf of white bread in the house to eat a jar with and I found myself craving Kawartha Dairy Vanilla Ice Cream. Tell me what you think it would taste best with and the person who makes my mouth water the most with their idea will get a jar to taste test for me!

Sour Cherry Jam for Ms. Sandler

My dear friend Cori deserted her Toronto friends when her and her lovely partner Alice packed up, sold their house and moved to the west coast. They bought a house on the island and have settled into a nice new life that seems to suit them both amazingly well. Going out to visit them is high on my wish list.

When Cori tweeted this earlier this week, I knew I had to dig out an old recipe that my cousin gave me a few years ago and share it with her. I hope it is not too late :).


Sour Cherry Jam

6 cups sour cherries. You will want approx 4 cups after you have pitted and chopped them

1 tbsp fresh lemon juice

4.5 cups sugar

1/2 tsp butter (unsalted)

1 pouch liquid pectin (3 oz)

Combine the cherries and the sugar and let sit for 45 minutes. Place the cherries in a large pot and add the lemon juice and butter. Over medium low heat heat the mixture until the sugar completely dissolves stirring constantly.

Once the sugar has dissolved, increase the heat and bring the cherry mixture to a full rolling boil. This should take 15-20 minutes to get to a boil.

Stir in the pectin and continue to stir constantly , returning the mixture to a rolling boil for 60 seconds. During this 60 seconds test the consistency on a spoon to ensure it has achieved the consistency you want. Remove the pan from the stove and quickly skim off any foam.

Let it sit and cool for 4-5 minutes before ladling it into the jars. You should have sterilized the jars and lids before hand and will want to ensure you are ladling the jam into warm jars. Leave 1/4" head space.

Clean the rims of any jam that may have gotten on it during the ladling process and screw on your lids. Place in a hot water bath for 10 minutes assuming you are using 250ml jars.

Remove and allow to cool. Then enjoy.


Picking raspberries and raspberry jam

I have mentioned my love of picking fruits and vegetables in the past. There is something about it that I just love. It might be the fact that it gets you outdoors, perhaps I just love being around food ;), whatever it is there is no denying that it is something I could spend hours doing.

I have been telling my husband for the past week that I want to get out and pick some raspberries but life has just been so busy. He keeps telling me that instead of 'picking' raspberries it would make so much more sense if I just went out and 'bought' some. And for a few days I was starting to think he was right. When was I ever going to find the time to actually do it this year.

This morning I got up at 7am, jumped into some clothes, grabbed my fruit baskets and took a slight drive north to Whittamore Farms. On the way there I was thinking about all of the things that I need to get done today and by the time I made it to the farm I had almost convinced myself that my husband was right. It just made more sense for me to go into the store, buy the berries and get back in my car so that I could get home and start knocking things off the to-do list.

Am I ever happy I told that inner voice to shut up!

From 7:30am til just past 9am, I stood in amongst rows and rows of ripe juicy berries forgetting completely about all of the things on my to-do list, eating half of what I picked :) and just letting my mind be a blank. The birds were chirping, there was a gentle breeze and the raspberries were so ripe that they were just falling right off into my hands and into my baskets. By about the 2nd basket all you could smell was the sweet smell of fresh rasperries, and the earthy aromas of the farm. It was almost therapeutic.

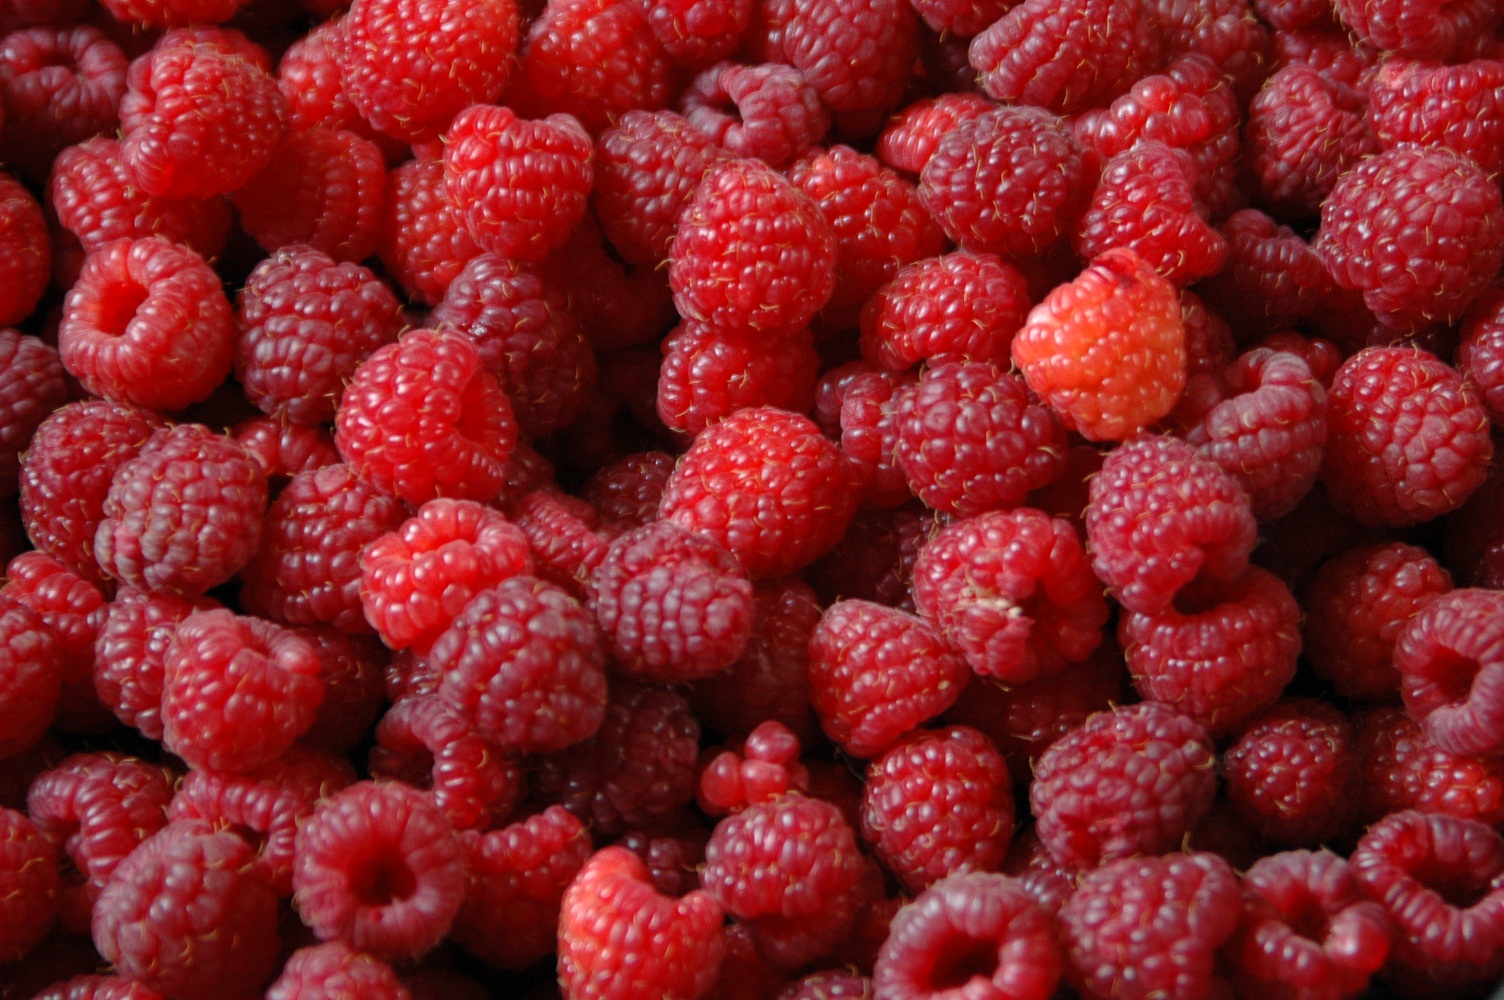
And now I am home and I have half of the berries in my deep freeze to carry me through the winter and the other half washed and ready to be made into jam. I have a simple recipe that I have used for years and has never let me down. I posted it a couple of months ago using frozen berries but it is exactly the same with fresh. You will find me in the kitchen for the next couple of hours mashing away!

Raspberry Jalapeno Jam

The truth is, I love to pick raspberries. I have done it almost every summer of my life. From my youth when I used to go out into my Nona's garden and pick bucket full after bucket full of fresh ripe berries to my adult life where I annually go to Whittamore Farm and once again pick bucket after bucket full. I make jam (of course) but I also freeze a lot of berries so that throughout the long, cold winter I can go to my deep freeze whenever I feel like a burst of summer and pull out a bag of berries I froze in the summer and make freezer jam or simply defrost and stir into a bowl of yogourt.

I have been hoarding my last bag of berries, almost afraid to eat them until berry season was so close that I knew it wouldn't be long before I could refresh my 'fix'. Tonight I finally broke down and decided it was time to do something with the last bag that has been taunting me every time I opened my deep freeze over the last few weeks.

At the start of the year I had a wonderful conversation with a woman named Barb, or Mrs V Preserves as she is also known. She was giving me some tips on where to get pectin in bulk and what type of jar she uses for her preserves and what she has found sells well for her at the markets she attends. She mentioned Raspberry Jalapeno Jam and to be honest that has been stuck in my brain like a burr ever since our conversation. But there has always been something more pressing in season that I was making.

Well tonight, that bag of berries screamed out "Mix me with Jalapeno's pretty please". I was powerless to resist.

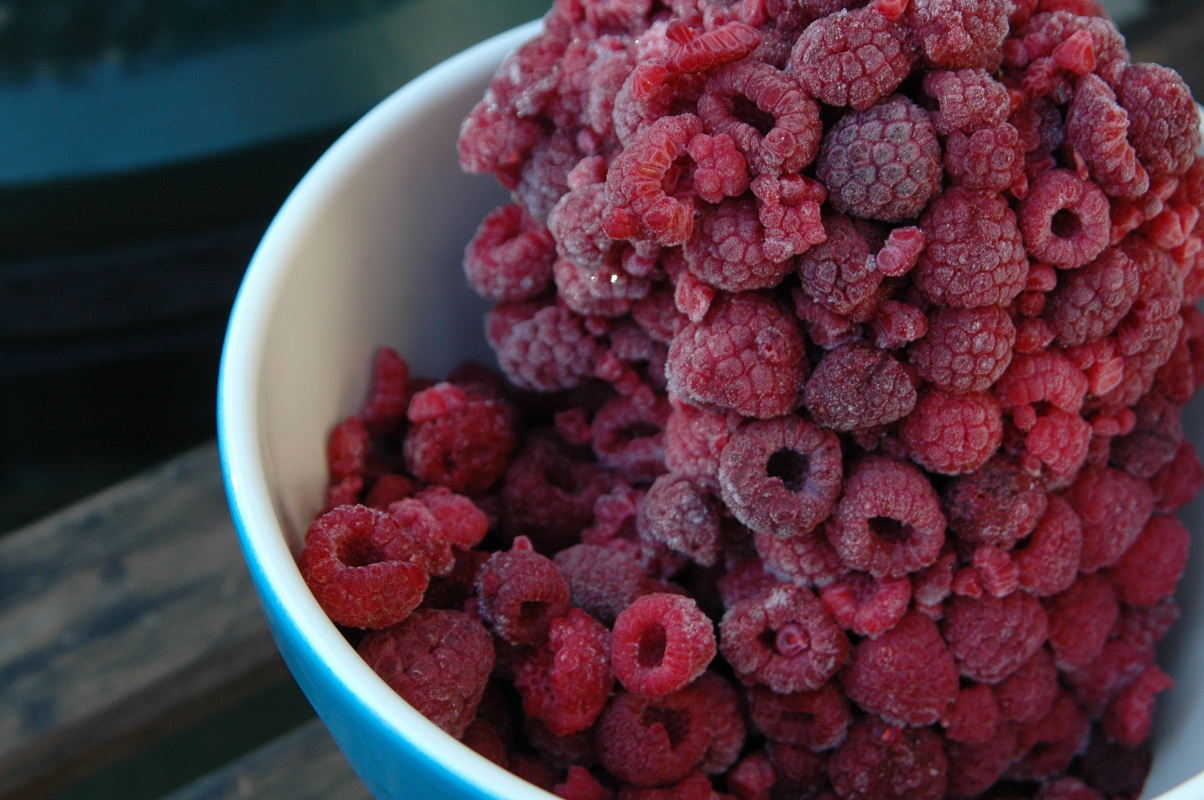
What you are looking at here is my very last bag of frozen fresh raspberries from last summer. It is hard to admit that I have no more, but it is made easier by the fact that I know it won't be long before I am once again in the raspberry patch breathing in that delicious scent of fresh berries, picking ripe berries and placing them in my basket. Getting lost in the simplicity and repitition of the process and glowing from the inside out.
I adapted my favourite raspberry jam recipe to make this and the end result is something that I never quite expected. You still get the sweetness of the berries but it ends with a heat that dances across your tongue. I picture it with a sharp cheddar. In fact the entire time I was making it I was imagining it with cheese. Let's be honest, I imagine almost every savoury jam with cheese, it is a weakness I am not ashamed to admit. But because of that, I chose to use slightly less sugar so the consistency of the final product will be slightly runnier than my usual somewhat firm raspberry jam.

Raspberry Jalapeno Jam (makes 3-250ml jars)

Wash and prepare your jars and warm your lids accordingly.

3 cups frozen or fresh raspberries

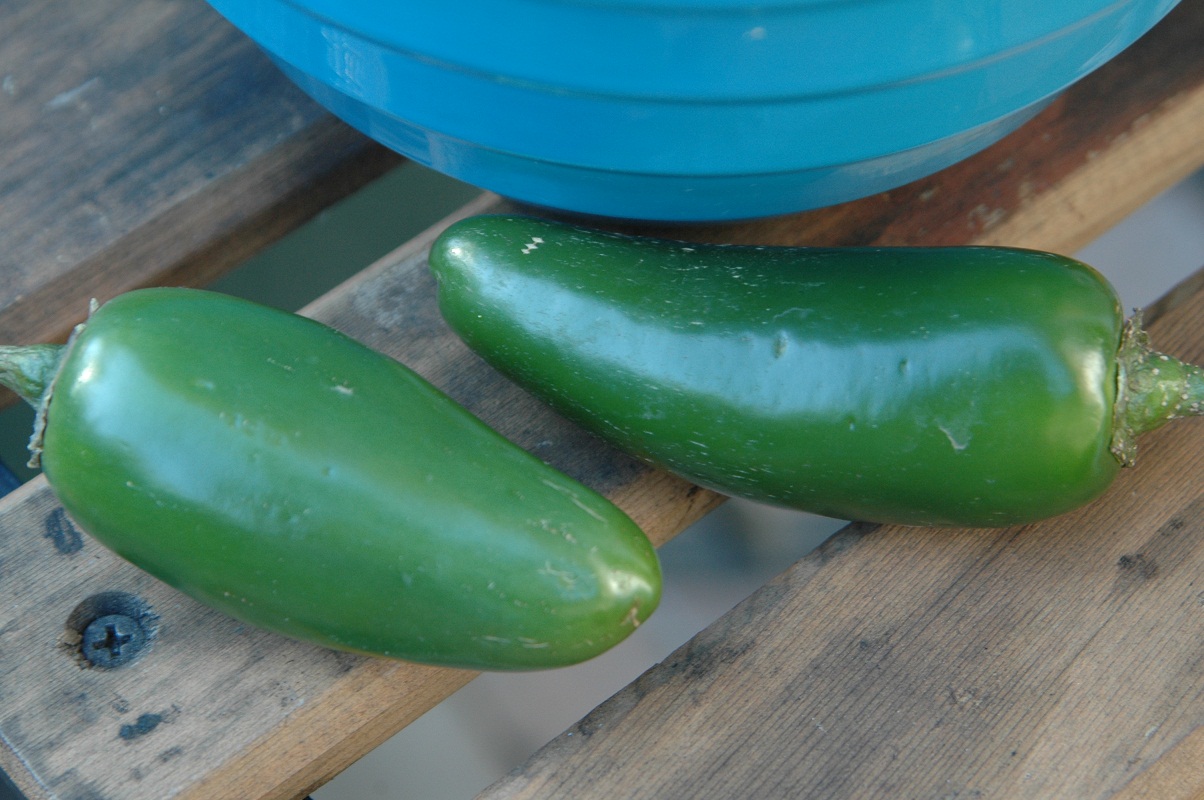
2 jalapenos

2 cups sugar

Cut the jalapeno's in half and wrap them in cheesecloth seeds and all. Set aside

Pour the berries into your pot and place over medium heat and mash frantically (you don't have to get quite that into it, but I get some sort of strange enjoyment over beating up my raspberries :) ) until liquified. This helps release the natural pectins in the seeds and eliminates the need for pectin in your jam.

Add the jalapenos wrapped in cheesecloth and simmer over low heat for approximately 20 minutes. Remove jalapenos from the liquified berries and remove from the cloth. Cut the seeds out of 2 halves and place the jalapeno back into the pot. Discard the second jalapeno.

Add the 2 cups of sugar and stir until the sugar completely dissolves and then increase the heat to medium high and bring to a low boil, stirring constantly. As soon as the fruit begin to foam, remove the jalapenos and skim off the foam. Once the jam has reached the desired consistency remove from heat, ladle into hot jars and seal with lids. Place jars in a hot water bath for 10 minutes.

This Saturday at Withrow Market you can guarantee that I will be buying some sharp cheddar cheese so I can try my new jam!
Really, really, really super easy raspberry jam

Over the past few weeks my preserving has come up in conversations quite frequently and I have been surprised to hear from so many people that they are intimidated or afraid to try it. I suppose this is not a fair response on my part. After all, I grew up in a family of preservers so it seems almost natural to me. I can understand how it might be intimidating. When you read some articles online you hear all about the fear of botulism and all of the things that can go wrong. But if you follow some pretty simple instructions and start with a really simple recipe, I think you can get break through that initial fear.

One of the easiest recipes I know is the one that my mom passed onto me for raspberry jam and I thought for all of those people out there who are too afraid to try for fear of screwing something up...that I would share it. I even altered is slightly to use FROZEN raspberries. Yes you heard me....FROZEN. The cost of entry with this recipe is SO small that even if things do go wrong it won't matter.

Here is the checklist for what you need:

- 1 large pot (large enough to fit 3 - 250ml jars and be able to have the water to cover the top of them by about 2-3 inches)

- 3-4 250ml jars with lids

- 1 large saucepan

- 1 potato masher

- 1 wooden spoon

- 1 soup ladle

- 1 600 gram bag of frozen raspberries

- 3 cups granulated sugar


INSTRUCTIONS:

Sterilize your jars and lids.

Put your 3 cups of sugar in a pot or pan and place in the oven for 15 minutes at about 250 degrees. Warming the sugar helps it to dissolve.

Place the 600g of raspberries in a large saucepan and heat over high heat. While it warms mash it furiously with your potato masher. The seeds in the raspberry contain pectin and beating the crap out of them helps release it. :) Bring it to a rapid boil and stir constantly for one minute.

Add the 3 cups of warm sugar, stir constantlyand bring it back to a boil. If you have a candy thermometer you can use this to make the whole process even easier. Keep stirring until it reaches 200-220* F. Don't have a thermometer? That's ok, just put a glass plate in your freezer at the same time as you start to sterilize your jars. After the jam has been boiling for about 5 minutes, take the plate out of the freezer and drop about a half of a spoonful of jam on the cold plate and let it sit for about a minute. If a gel forms then your jam is ready. If not keep cooking and try it again until you are happy with the set.

Ladle into hot jars, wipe the rims and seal. Place in hot water bath for 10 minutes and then remove. Now comes my favourite part - when you hear the popping of the lids as they seal. If you press on your lid and there is no give...it means they have sealed properly and if you store them in a cool dark place they should last for at least 6 months. 

This recipe yields 3-4 jars of delicious home made jam.

See...SO simple and even if the jam doesn't set you can still use it in yogourts or as a soft spread on pancakes or waffles.

Now you have no excuse not to try! If you do try it...please share your experience. I would love to hear how it turns out.