New Year's Eve Jelly

When I think of New Year's Eve I think of shimmery objects, whether it is the sparkle of a sequin dress, the diamond like quality of a crystal champagne flute or the fireworks that light up the sky as the clock strikes midnight. New Year's Eve has a sparkle to it that just simply isn't matched on any other holiday.

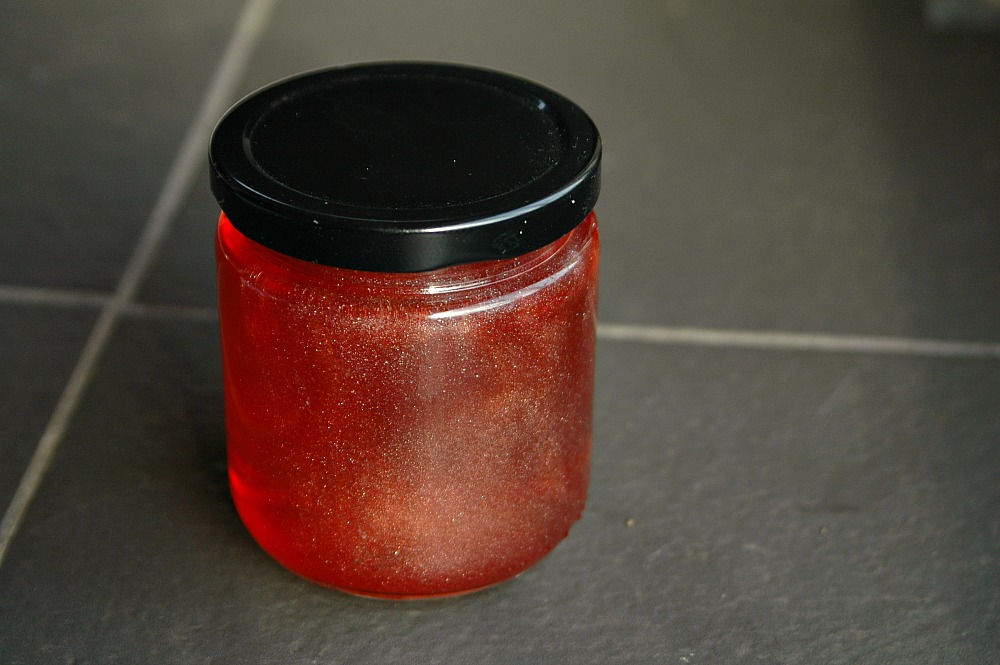
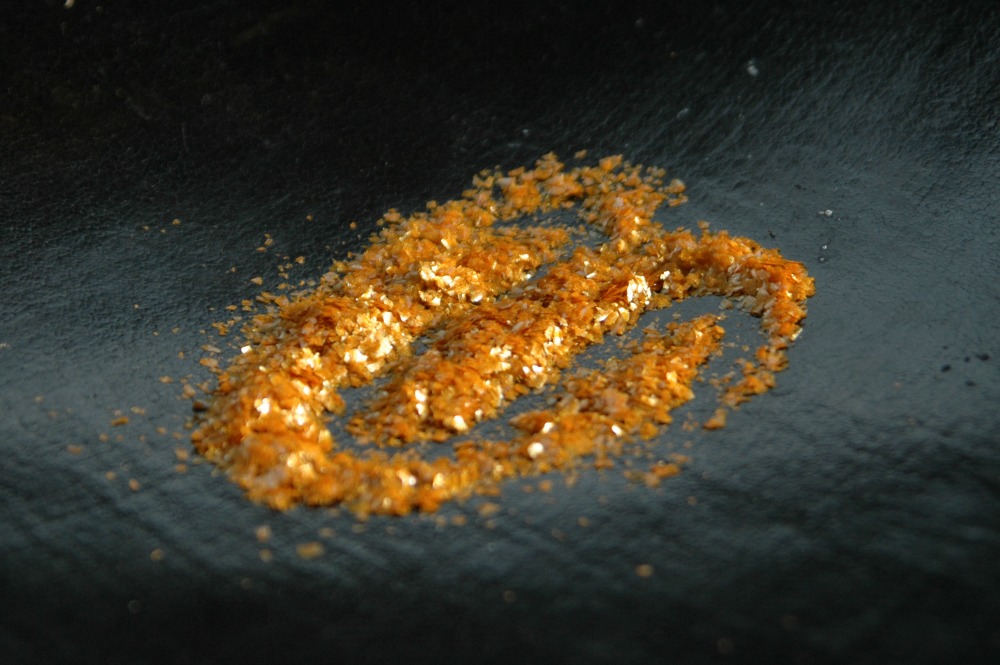
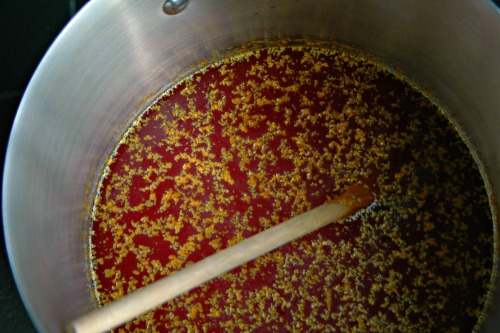
So when I thought about making the perfect jelly to celebrate this occasion I just knew it had to shimmer. This was the beginning of my hunt for edible glitter which pretty much became an obsession in November if I am to be totally honest. I finally sourced it online from CK Products. This glitter is intended for the purpose of baking, so it did not maintain it's flake like form in a hot liquid environment, but the final result is perfect.

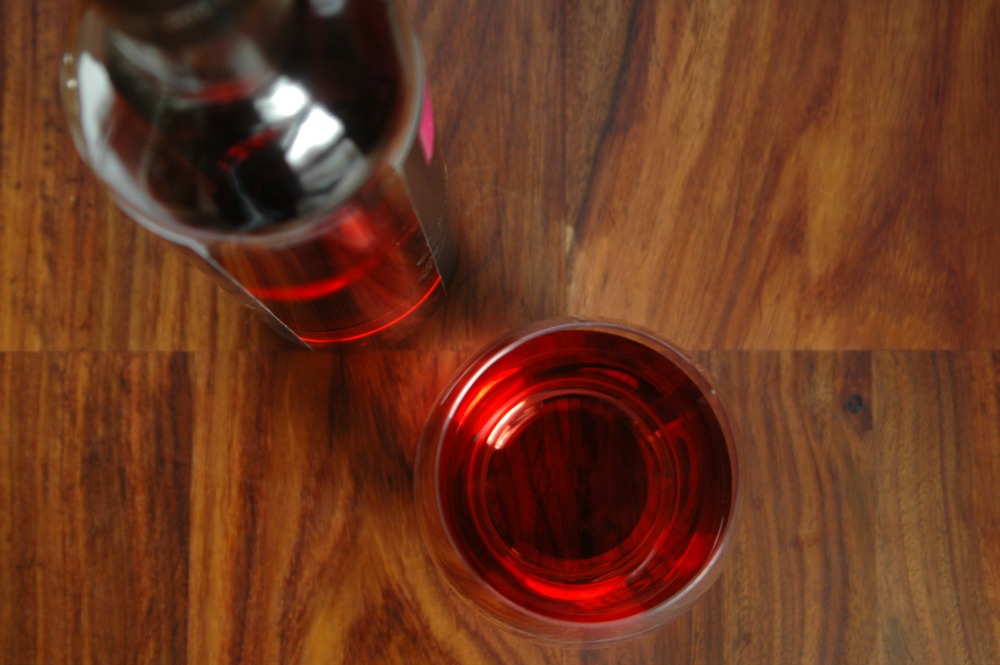
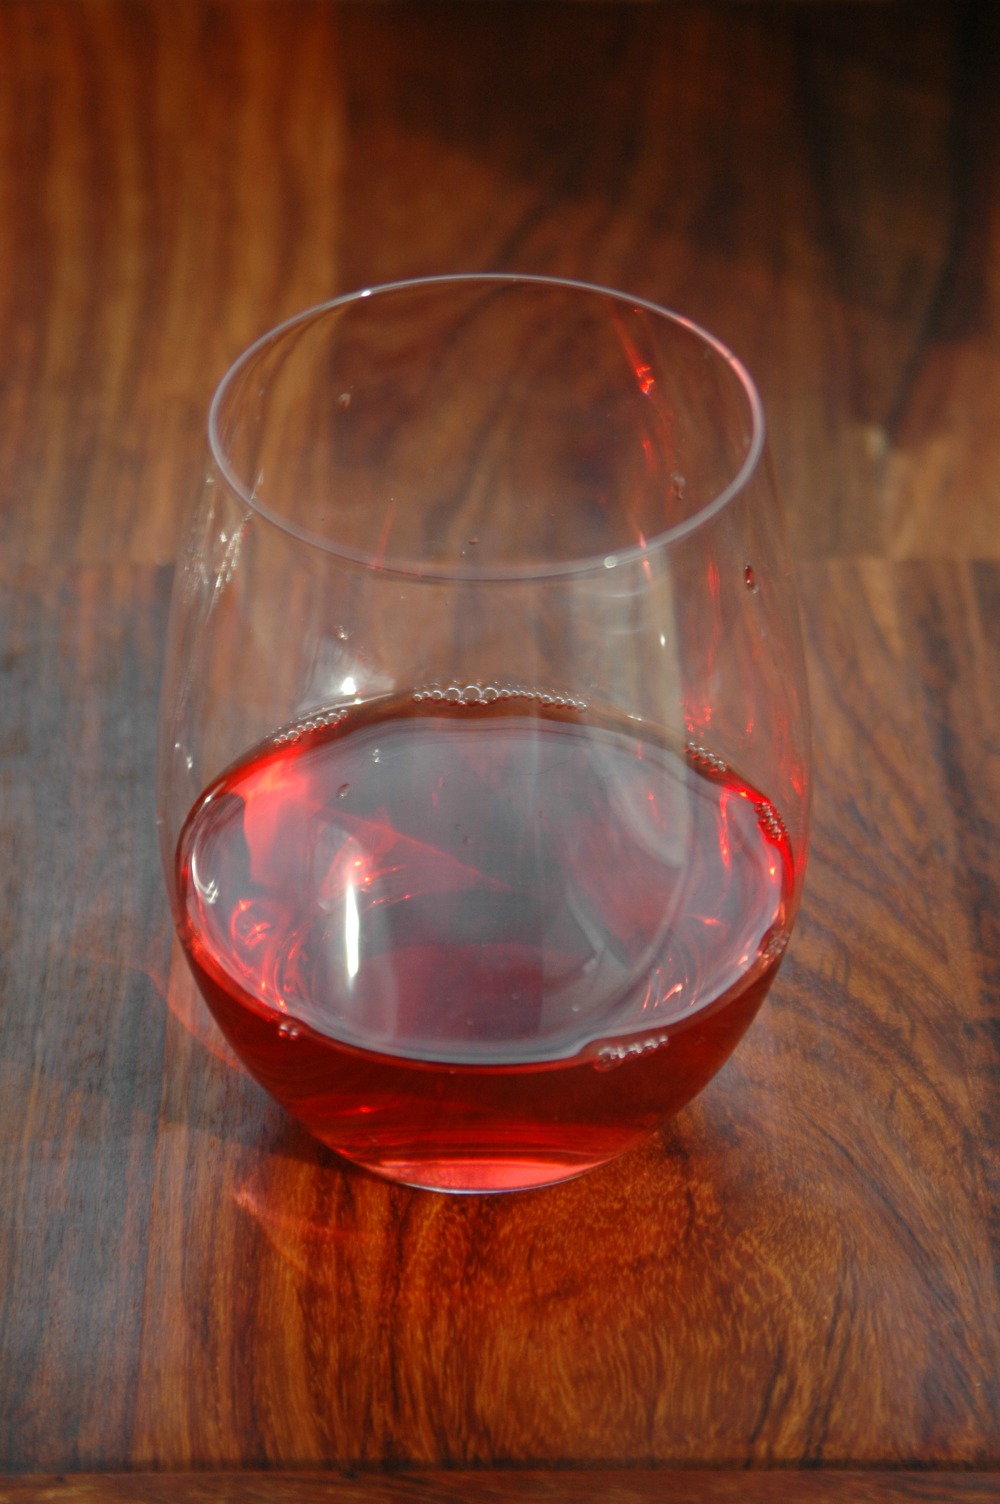
The other requirement for the perfect New Year's Eve Jelly is really - you guessed it - WINE. I chose a rose because of the beautiful colour but this recipe would also work with a white wine. If you choose to go the route of something bubbly, keep in mind that you will need to boil the champagne/prosecco before adding the pectin in order to boil off the carbon dioxide.

The other GREAT thing about this recipe is that it is SUPER easy. You could have 7 jars made in 45 minutes from start to finish. What a great gift to give to the friends you are having over to help you celebrate the start of another fabulous year!

New Year's Eve Jelly

Ingredients
4 cups wine
6 cups sugar
4 tbsp edible glitter
2 - 3 oz packages liquid pectin

Directions

Place the 4 cups in a medium pot, over medium-high and heat the wine until warm to the touch. Add the 6 cups of sugar and 4 tbsp of edible glitter. Stir until sugar completely dissolves. Continue stirring constantly until the wine just begins to simmer. You may be able to see bubbles on the bottom of the pot begin to appear. Do not bring to a full boil or it could alter the taste of the jelly in an unfavourable way.

Remove the pot from the heat and stir in the pectin.

Ladle the jelly into hot sterile jars, leaving 1/4 inch headspace. Wipe lids and jar edges clean before finger tightening lids and placing them back in the hot water bath. Process jars for 10 minutes.

Spicy Red Pepper Jelly and Pickled Roasted Red Peppers


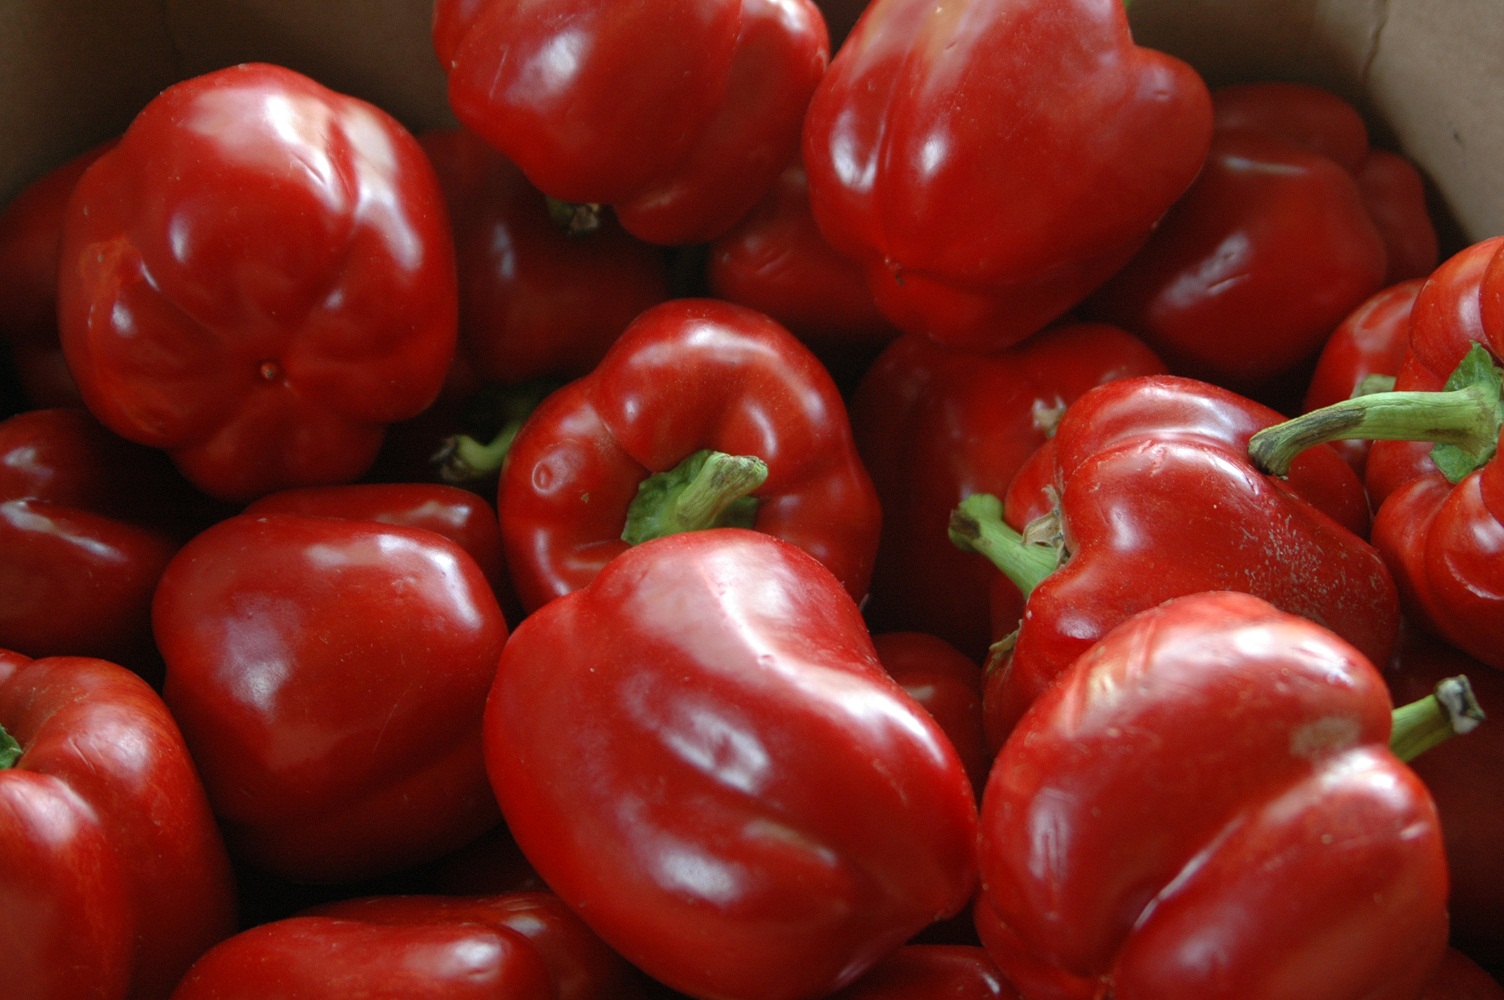
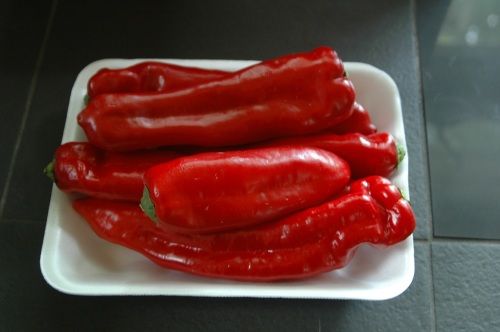
Now that I am one of the fortunate few who has access to some fairly large steam kettles, I am in the process of batching up some of my most favourite recipes. A side effect of this process is that I sometimes over estimate how much produce will be required in the commercial kitchen. When this happens, I am left with excess produce that I simply can not allow to go to waste. This is why I was left with a bushel of red peppers and why today instead of just sitting around on my caboose I was futzing around in the kitchen.

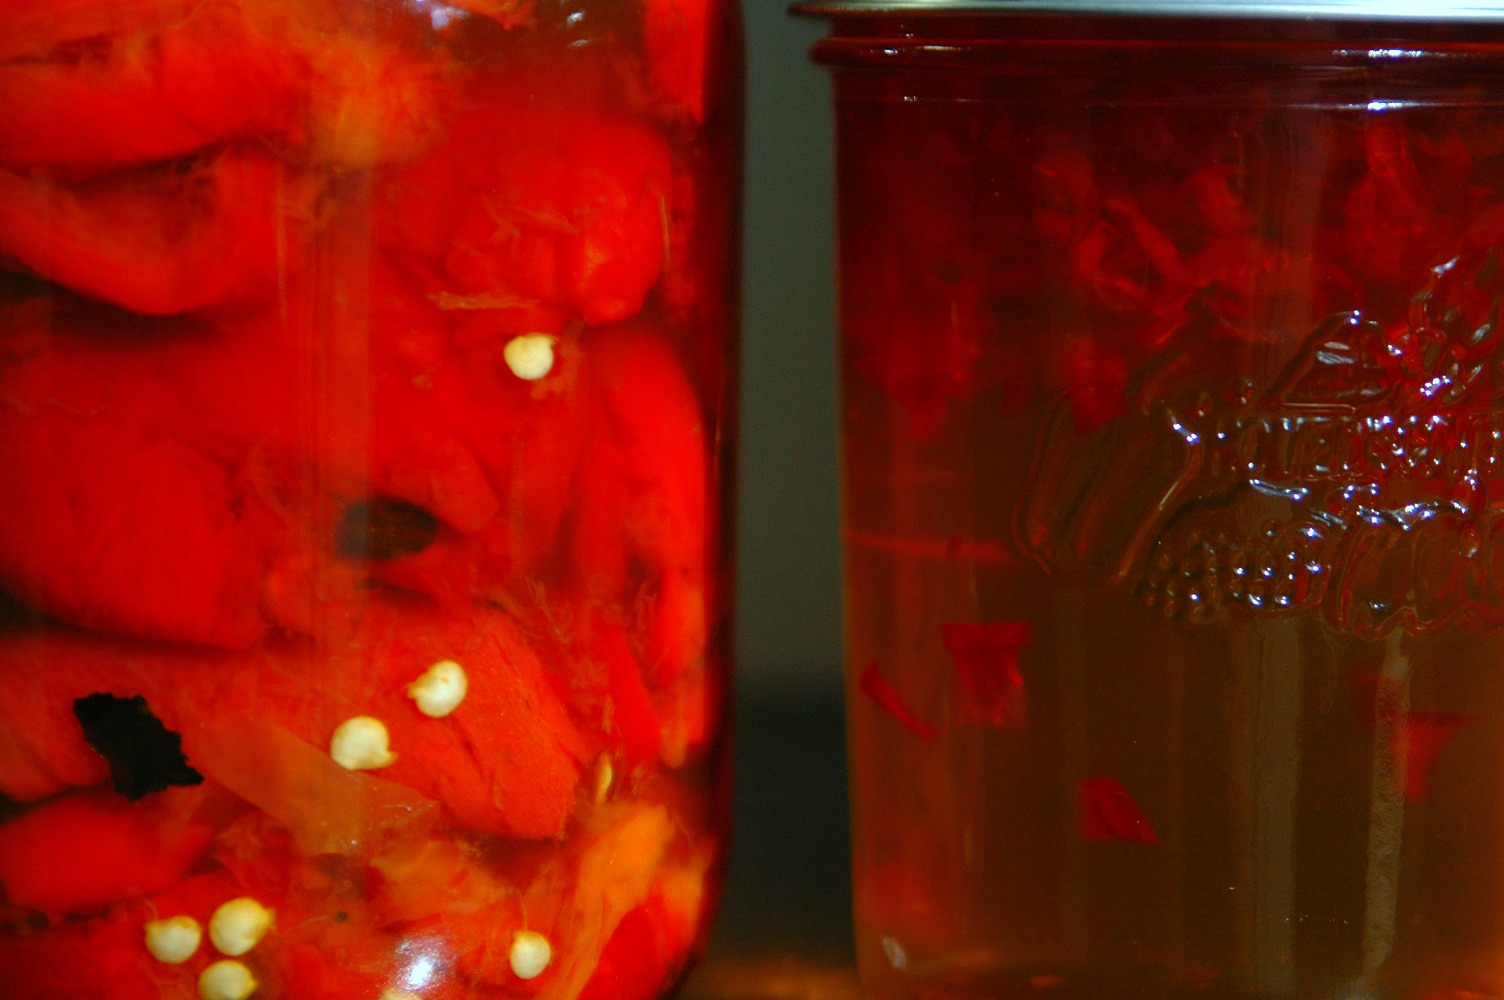
I decided to try two completely different things. The first a spicy red pepper jelly. I always get asked at the market if I have red pepper jelly and my answer is always 'Yes I do...I just don't have any here". The second is a recipe that I read several months ago and have always wanted to adjust slightly and try...Pickled Roasted Red Peppers.

I will share the jelly recipe now because it is tried and tested...the roasted red peppers you will have to wait a couple of weeks so that I can taste them once they have sat in the brine for a while.


Spicy Red Pepper Jelly (Yield: approximately 4-5 – 250ml jars)

Ingredients

  • 1 cup finely diced sweet red peppers
  • 1 tbsp minced hot red peppers
  • 3 cups granulated sugar
  • 3/4 cup cider vinegar
  • 1/4 tsp hot pepper sauce
  • 1 pouch (85 ml) liquid pectin

In large saucepan, bring red and hot peppers, sugar, hot pepper sauce and vinegar to full rolling boil over medium-high heat, stirring constantly. Boil for 5 minutes.

Stir in liquid pectin and stir constantly. Return to a rolling boil and remain at a boil for 1 minute. Remove from heat and skim off foam. Allow to cool for 5 minutes stirring occasionally before filling jars. Using funnel and measure, fill jars, leaving 1/4-inch (5 mm) headspace. If necessary, wipe rims with damp paper towel. Centre lids on jars; screw on bands fingertip tight.

Process jars in a boiling water bath canner for 10 minutes.

When time is up, remove jars from pot and let them cool on a kitchen towel. When jars are cool enough to handle, remove rings and test seals. Place any unsealed jars in the refrigerator and use promptly. All sealed jars can be stored in a cool, dark place for up to 1 year.

English Mint Jelly

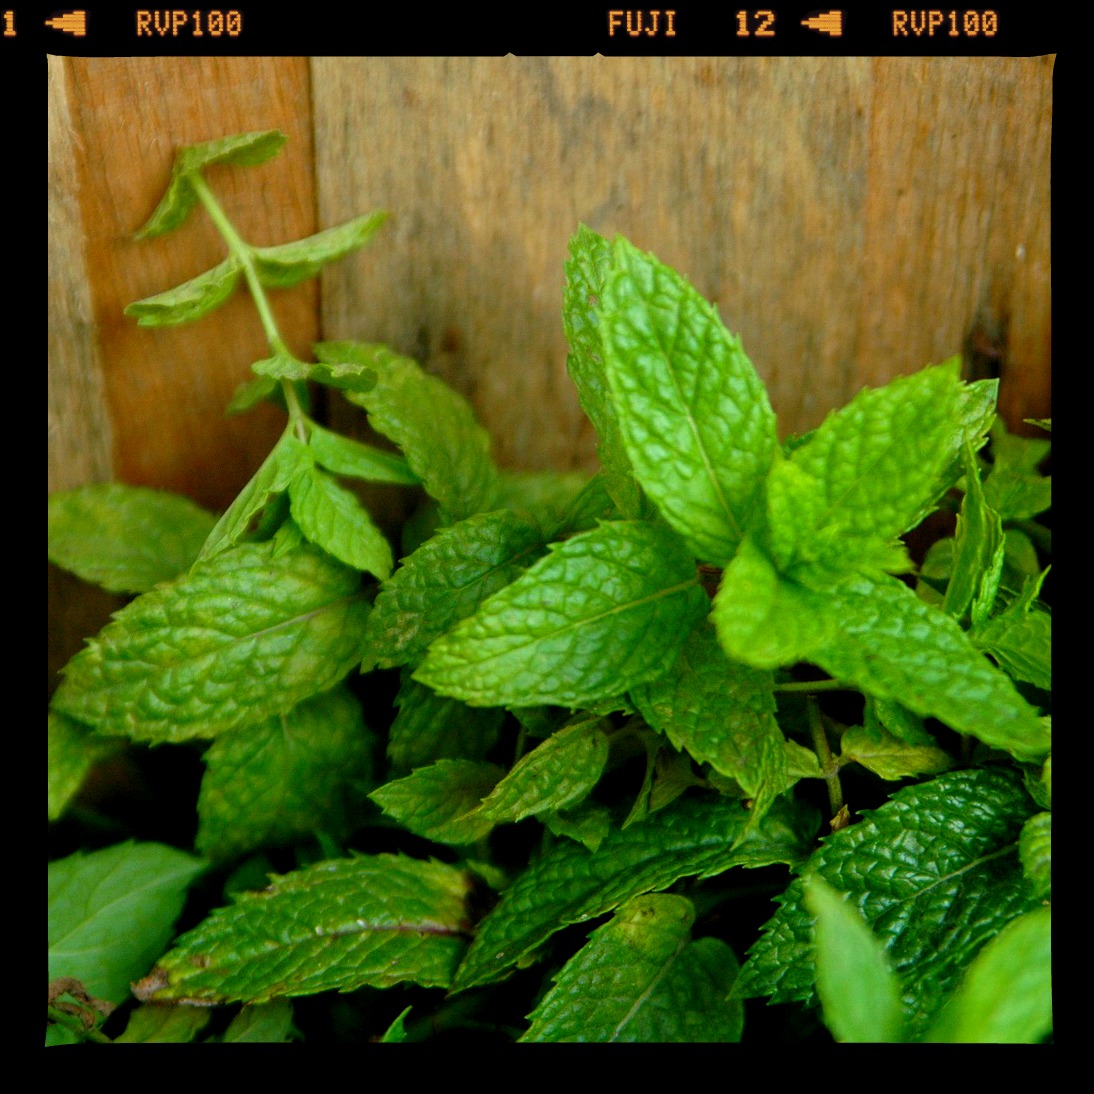
It all started with a visit from my mother in law. Now that is not as ominous as it sounds, in fact I think I won the 'mother in law' lottery. We get along like a house on fire. On this particular visit she didn't come empty handed. She came clutching a small mint plant from her garden and that mint plant originally came from her mother's garden located in South Molton in England. I don't know if you have ever had the pleasure of trying english mint, but it is different than the mint you may be used to seeing in our Canadian grocery stores. The flavour and aroma are much stronger and the leaves of the plant itself are thicker and more rigid in structure.

It was last summer and we had requested some mint to add to our own herb garden. We already had basil, sage, lavender and lemon thyme and the mint was welcomed with open arms. However, we learned the hard way that mint is perhaps better suited for container gardening. In our excitement we had planted it in a small area in the garden that we had prepared for it earlier that day. Within 4 weeks it had completely filled the previously empty space and was travelling into the lawn, the basil and had even creeped out into the lettuce area.
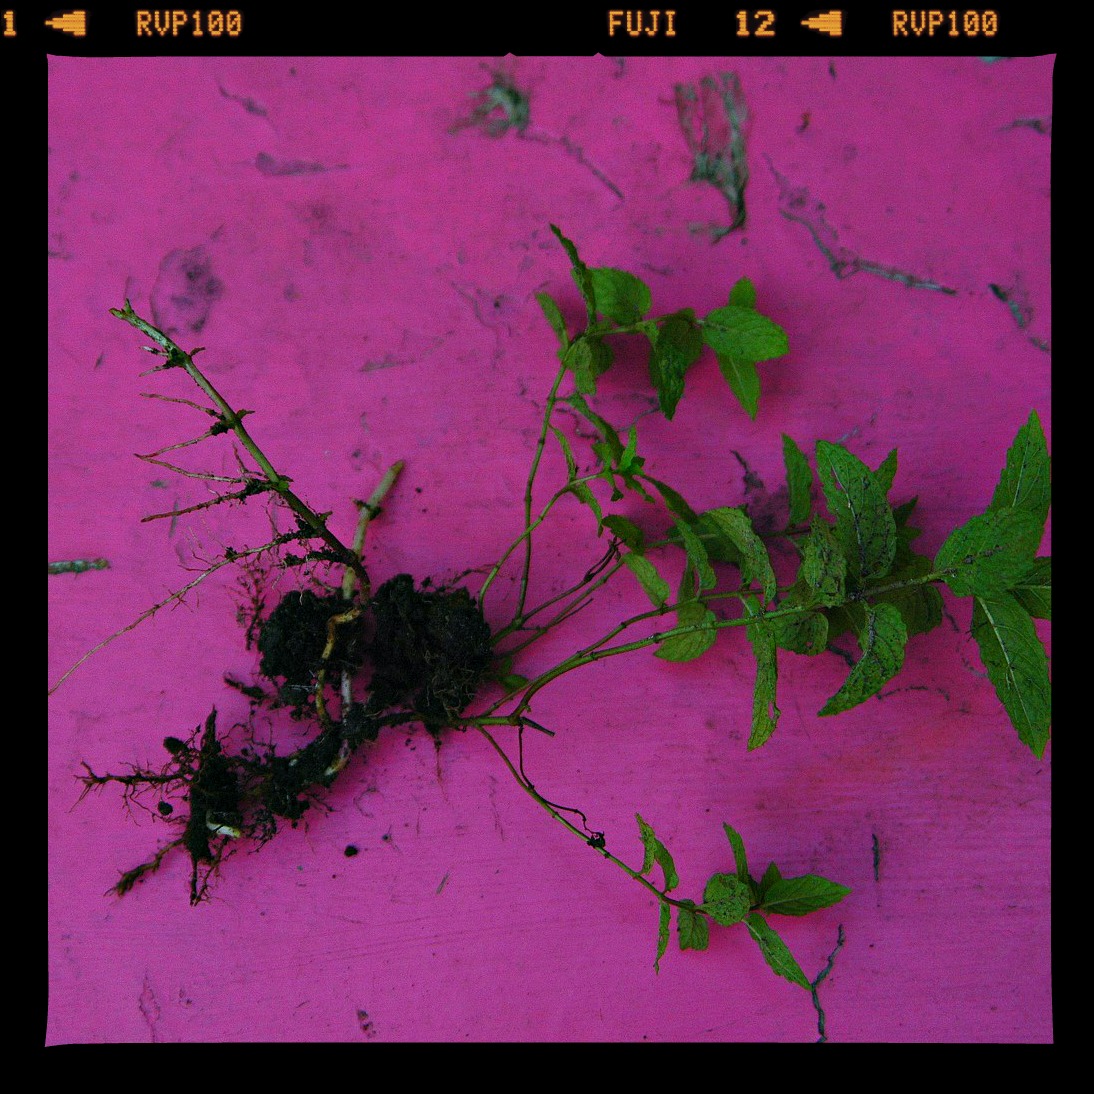
This summer before we expanded and planted our garden, we dug up what we thought was all of it's root structure and relocated it into 4 different containers in our yard. That was back in early May and it is now the end of September and I am still pulling up persistent mint from our garden on a weekly basis.

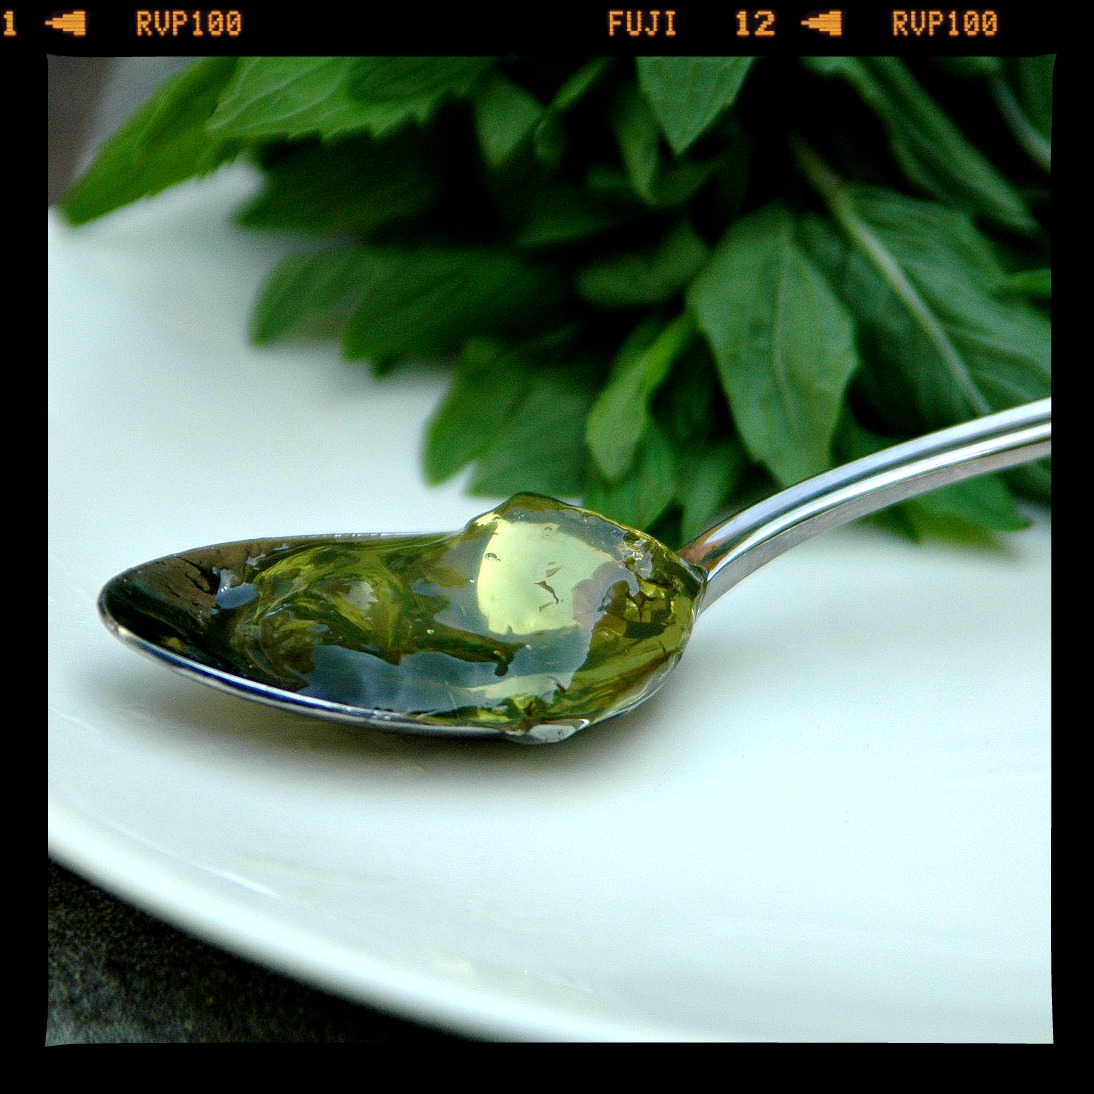
What does one do when their garden is bursting with mint? Mojitos are always a good first stop, but when you want a non-alcoholic option - mint jelly is always a great next step.
English Mint Jelly

Yield: Approx 6 - 250ml jars

7 cups lightly packed and finely chopped English Mint leaves (divided in 2)

4.5 cups water

1/4 cup fresh lemon juice, filtered

4-6 drops green food colouring

7 cups sugar

2 pouches liquid pectin (6 oz total)


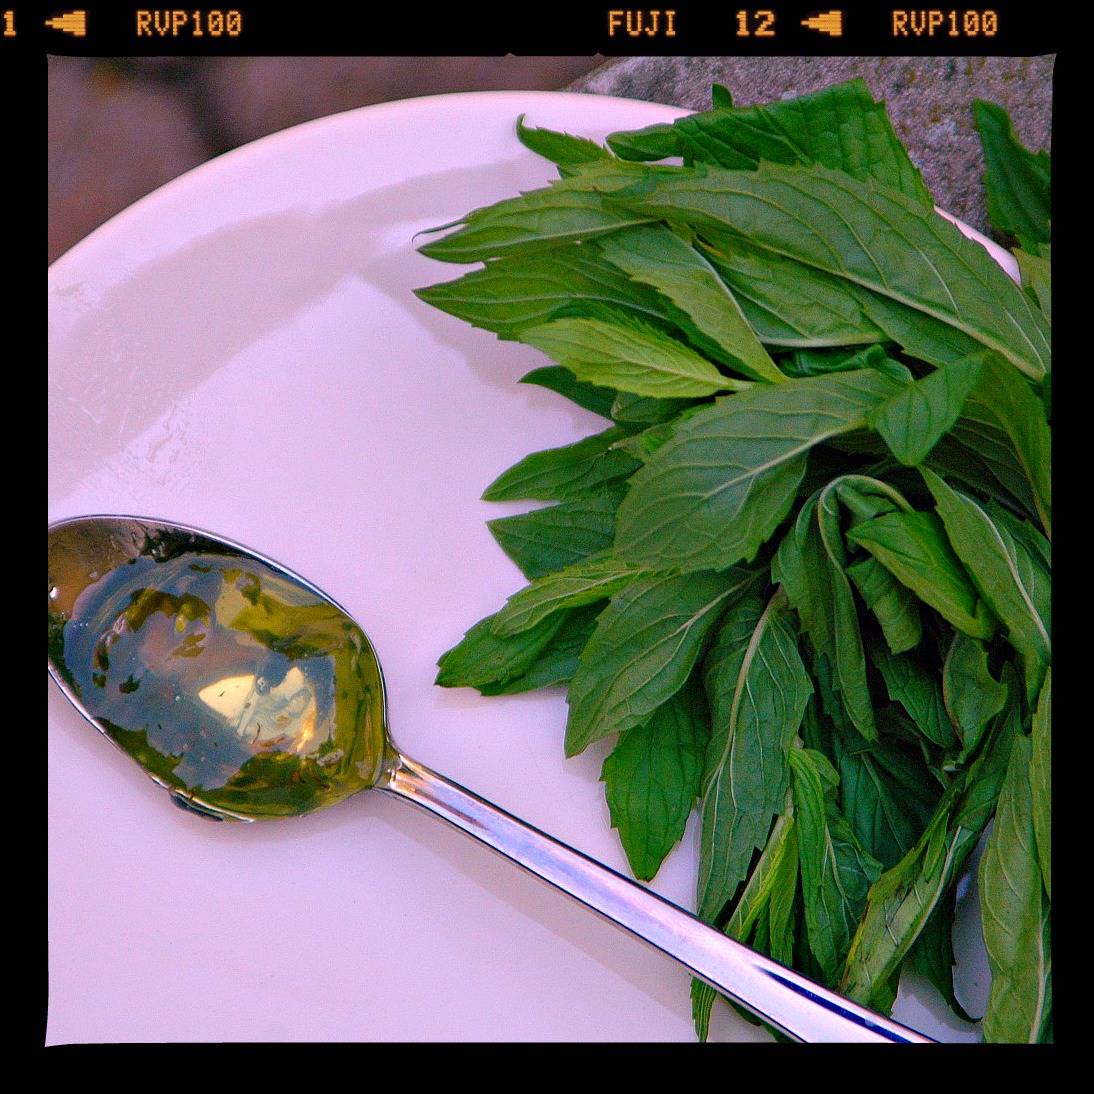
You will start with approximately 16 cups of mint leaves that have been removed from the stems. You want the leaves only. Wash and rinse 8 cups and then pat dry. Leave the remaining 8 cups until you are cooking the jam and repeat the same chopping process for them. Get the leaves as dry as possible and then finely chop either by hand or using a food processor.

Place the first 3.5 cups chopped mint into a pot and cover with 4.5 cups of water and bring to a boil. Remove from the heat, cover and let soak for at least an hour or overnight in the fridge.

Strain the juice over a bowl using a fine mesh sieve or a cheese cloth or bag. Throw out the mint and keep the juice. Cover it in the bowl and let it sit for an hour or overnight once again. Ladle the juice into another container being sure not to stir up any of the sediment that is resting on the bottom of the bowl. Throw out the sediment. Then if you want a nice clear jelly, strain the juice 2-3 times more using a coffee filter.

You will end up with 3.5 cups of the mint juice, nicely strained and clear.

In a medium pot, pour the mint juice, add the strained lemon juice and the green food colouring. Over medium heat warm the mixture slightly. While the mixture is heating, take your remaining 8 cups of mint leaves and chop finely and set aside.  Once the mint juice is warm add all 7 cups of sugar. Stirring constantly until the suar dissolves and then increase the heat slightly to bring the mixture to a rolling boil. Stir in the liquid pectin and stirring constantly once again bring to a rolling boil. Once it achieves the rolling boil status keep it at this heat for a full minute. Remove the pan from the heat and add the chopped mint leaves.

Let mixture sit for 5 minutes so not all of the mint will float and then ladle into previously sanitized jars. Leave 1/4 headspace. Wipe the rims with a clean damp cloth and apply lids. Water bath for 10 minutes.
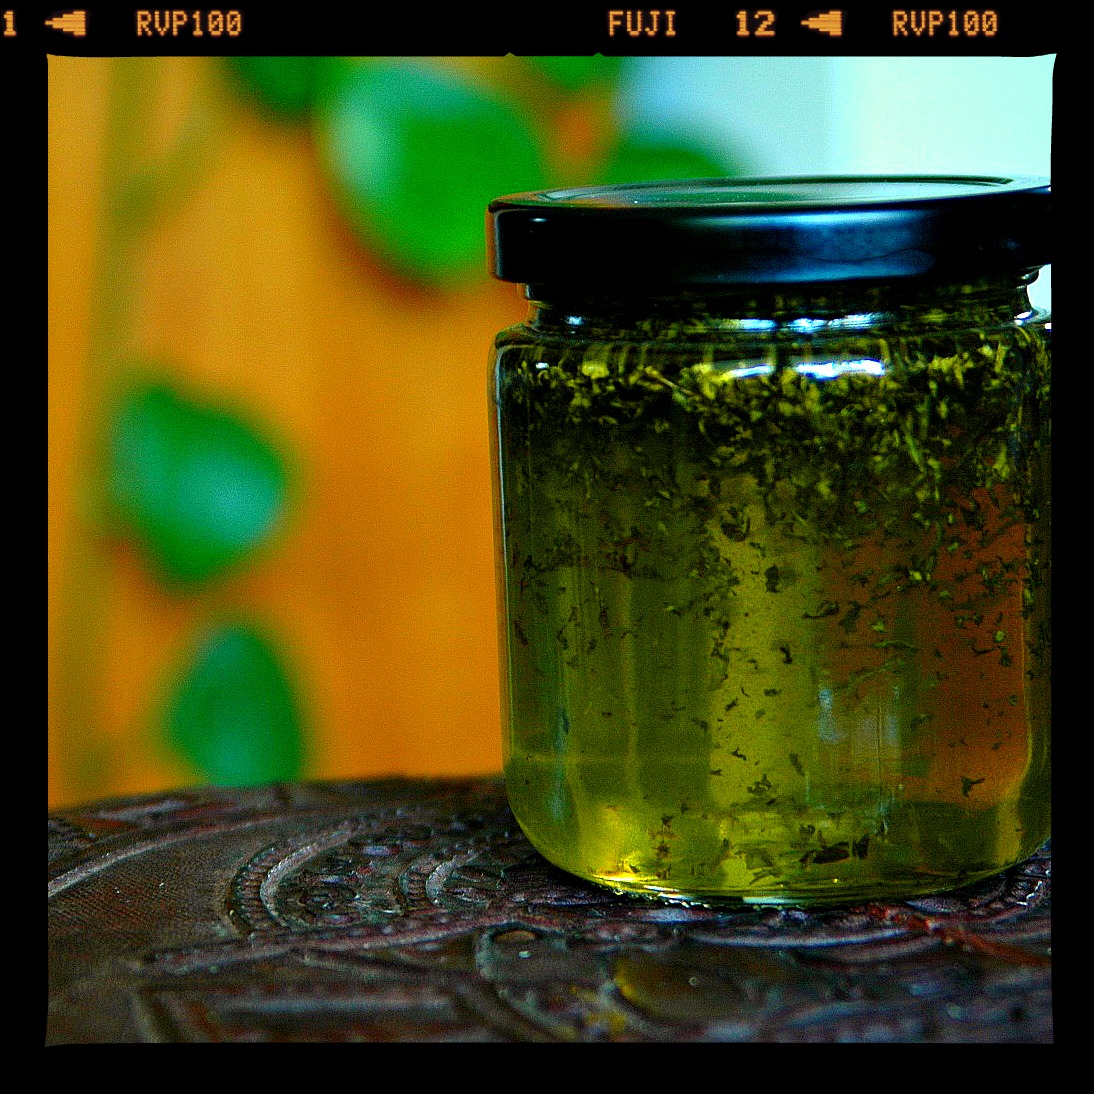
How to use Ginger Jelly

This week at the farmer's market I had a lot of great responses to my Ginger Jelly. In fact, besides the Raspberry Jam it was the only other item to sell out. But I did get a lot of questions around where and how to use it. So I thought I would share some of my personal favourites:

  • Put a dollop in your yogourt or cottage cheese and then add sliced almonds. This is so good your eyes will almost roll into the back of your head...honest!
  • Use 1 tbsp of ginger jelly and thin it out with some cider vinegar and use it as a salad dressing.
  • It is amazing on toast, french or pancakes. Mix equal part ginger jelly and soft cream cheese and then spread it over your bread of choice (I like challah) and then sandwich 2 slices together. Brush with an egg wash and then pan fry. Serve with maple syrup and some warmed apple slices.
  • Mix it with soy sauce and use it as a dipping sauce for dumplings or spring rolls
  • It is an amazing rub for pork chops or ham
  • Add it to your favourite stir fry
  • Stir it into your GIGANTIC bowl of vanilla ice cream (or is it just me that would do this?)


Looking for inspiration at St. Lawrence Market

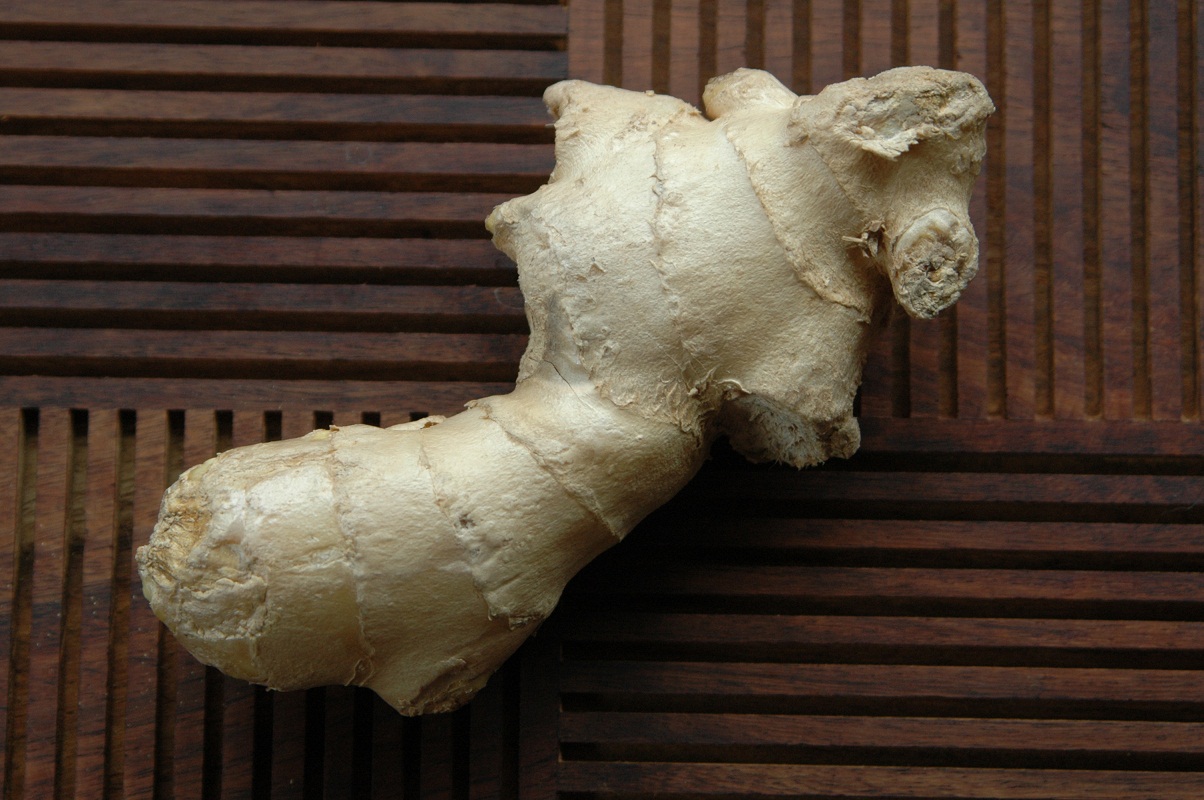
I was walking through the market the other day which is something that I really miss. Now that I no longer live downtown I don't get there anywhere near often enough. Even when you don't particularly need to buy something it is nice to walk through and look at what all of the different vendors have on offer. On this particular day they just happened to be unloading a giant basket of ginger. It was so fresh you could smell it as soon as you turned the corner. The skin was nice and smooth with no signs of wrinking, which is just what you want if you want your ginger to be FULL of flavour.

Before I knew it I had a giant bag of ginger in my hand and I was practically skipping out of the market with happiness, my mind whirling with thoughts of what I could do with it. Should I candy it? Nope...I was going to make a ginger jelly.

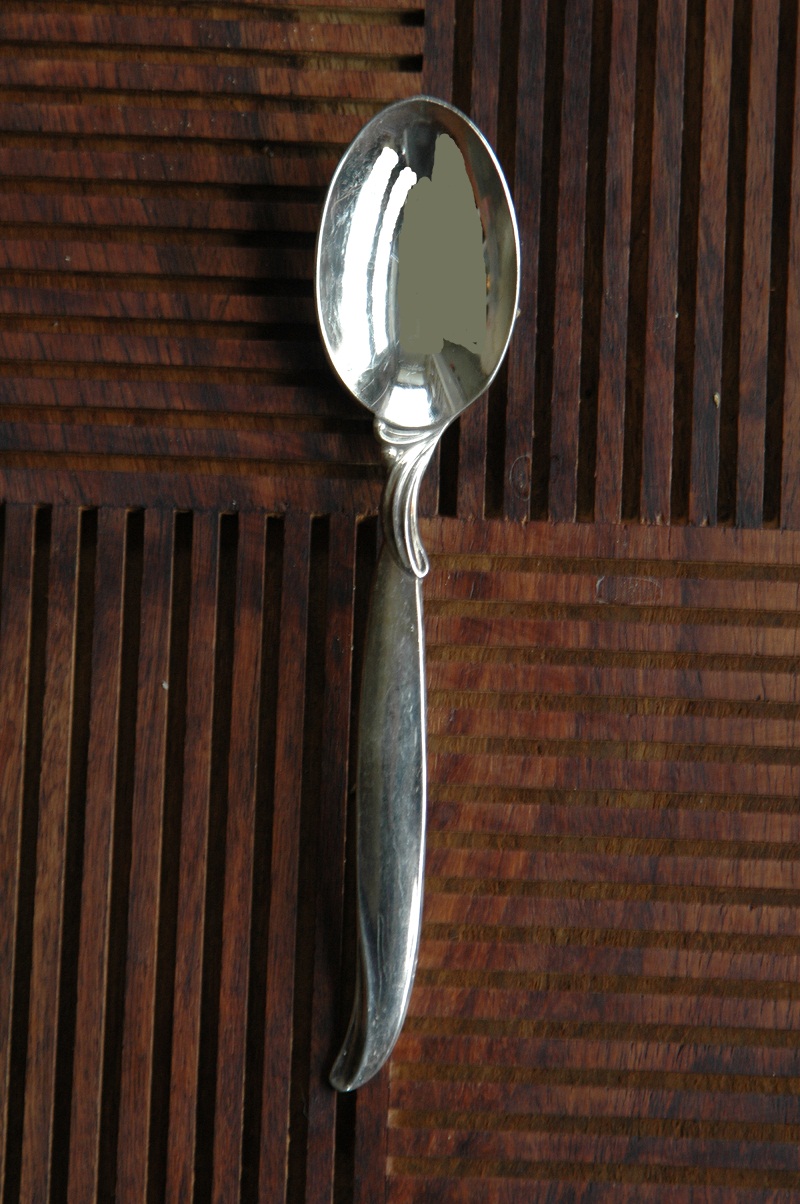
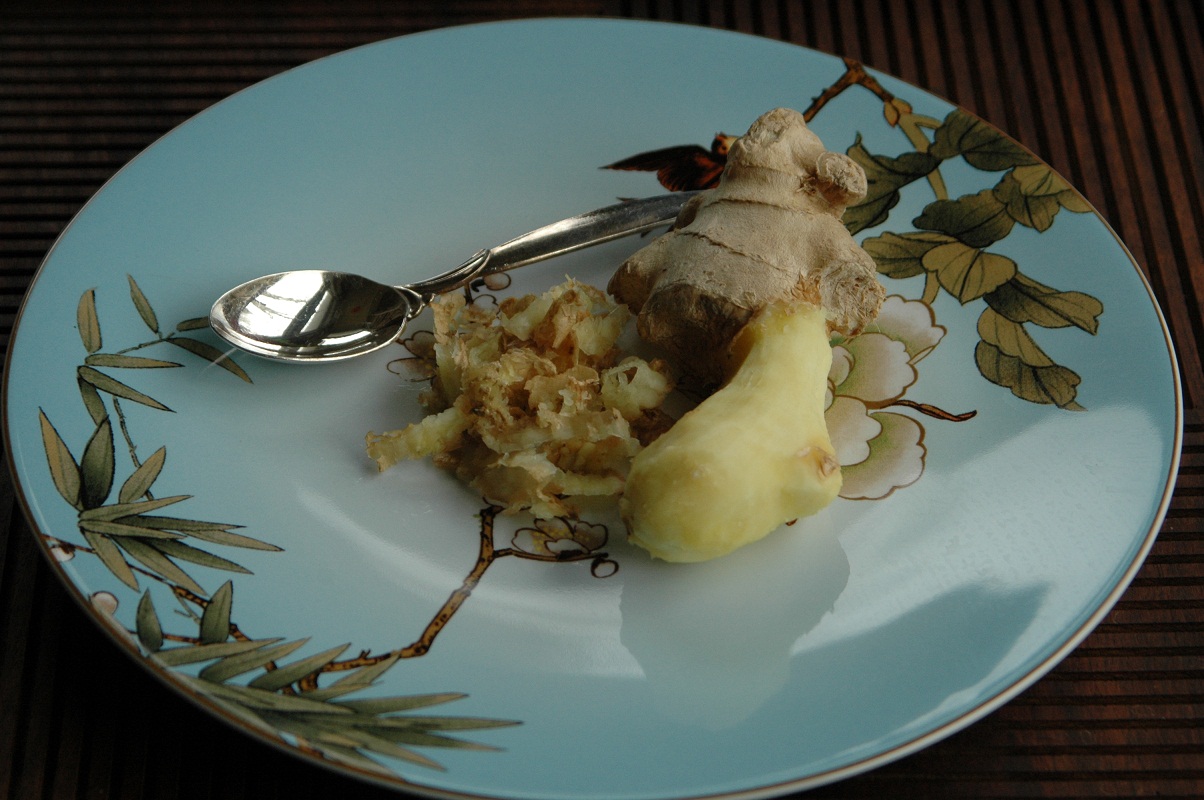
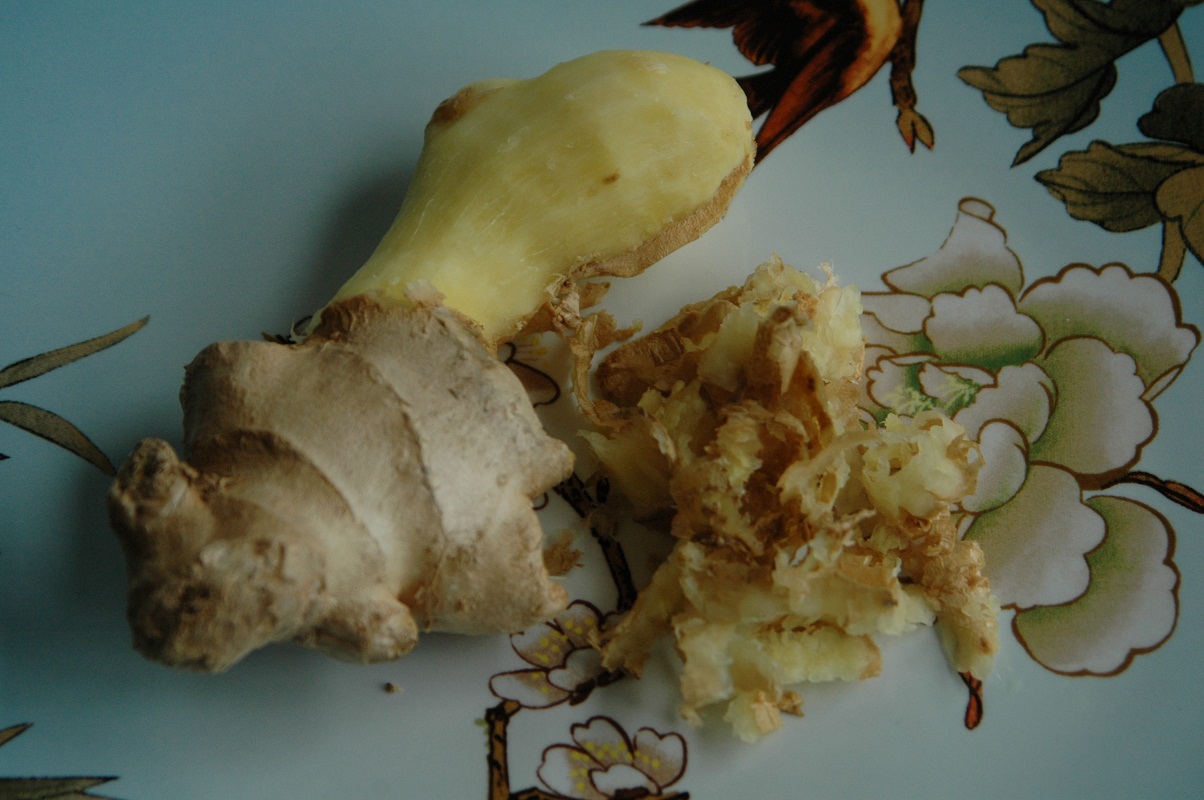
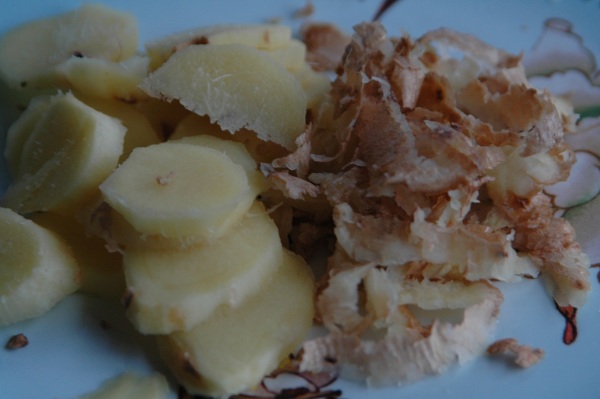
Now when you have a GIANT bag of ginger, the thought of peeling it all can be rather daunting unless you know this little trick. Peeling ginger is the easiest when you simply use a spoon and scrape off the skin. I never knew this until I was in Asia and I saw one of the street vendors doing it. I had always struggled with a carrot peeler, cursing and swearing and wondering how you ever got into all the little nooks and crannies. With a simple spoon the skin just seems to peel away and there is no need for even the slightest cursing in the kitchen.

So now let's talk about the jelly. I wanted to get the most flavour out of the ginger but still produce a nice clear jelly, so I peeled 3-4 pieces of ginger and thinly sliced them to get about 2 cups.

Ingredients

3-4 nice smooth large pieces of Ginger with no wrinkling in the skin

3 tbsp lemon juice (I used fresh squeezed...and if you want your jelly clear be sure to strain it)

2 1/4 tbsp rice vinegar

4 cups sugar

1 3oz package liquid pectin

Using the edge of your spoon, peel the ginger as I described above and then thinly slice until you have 2 cups of ginger. Place the sliced ginger in a medium sized saucepan and cover with 3 cups of water. Over medium low heat bring the mixture to a nice hot temperature, but do not boil. Once the water is hot remove from heat.

Using damp cheese cloth and a sieve, strain the mixture as you pour it into the bowl. The more layers of cheese cloth, the clearer your jelly. I folded mine 3 times. It is important to make the cheese cloth damp so that it just doesn't absorb all your delicious ginger water. Then if you want to take it one step further, using a coffee filter, line the sieve again and strain it once more. Keep in mind that any sediment will settle at the bottom of the coffee filter so you will have to scrape the bottom once or twice as it is straining to clear the way. Then cover the bowl with saran wrap and let it sit overnight in the fridge. This allows any sediment you didn't catch to settle on the bottom.

The next day carefully ladle the liquid out of the bowl leaving any sediment on the bottom...being very careful not to disturb it or all your hard work will have gone to waste.

You can again line the sieve and strain the liquid through a coffee filter. Consider doubling up your coffee filter for a super clear jelly. At the end you should get about 2 cups of ginger water.

In a medium sized pan, combine your 2 cups of ginger juice with the lemon and vinegar. Over medium heat warm the mixture up and then add your sugar and stir. I like to warm my sugar in the oven for about 15 minutes before adding to the liquid. Stir constantly until the sugar has completely dissolved, then increase the heat and bring the mixture to a full rolling boil. Once it has reached the point where you can't stir away the bubbles, add your liquid pectin and bring it back up to a boil the whole time stirring the mixture. Once it returns to that rolling boil stir for 1 minute and remove from heat.

Quickly skim off any foam and ladle the liquid into hot jars leaving 1/4" headspace. Wipe the rims with a damp paper towel. Cover with lids and process in hot water bath for 10 minutes.

Then spread on a piece of bread or cracker and enjoy!