Meyer Lemon Marmalade

I remember the first time I saw Meyer Lemons, I had no idea what they were or how they differed from regular lemons...and then I tried one and now I patiently wait for this time of year when Meyer Lemons begin to appear in stores around Toronto. Their availability here is limited, so I am filled with envy when I hear people in California talking about the abundance of meyer lemons and how they don't know what to do with the meyer lemons that are practically dripping off their trees.

Meyer Lemons are a cross between a regular lemon and a mandarin or regular orange. Their flavour is sweeter and less acidic than a regular lemon and they are great for baking. So if you are dying to make some marmalade and like me, you have yet to see Seville oranges in the grocery stores, consider making meyer lemon marmalade. It is great on toast, or even in small pie crusts with a little whipped cream ;)

Meyer Lemon Marmalade

Ingredients

25 Meyer Lemons

1 - 1/4 cup zested Meyer lemon peel

2 cups of water

1/2 cup strained Meyer lemon juice

1/8 tsp baking soda

5 cups sugar

1- 3oz package of liquid pectin

1/4 tsp unsalted butter (optional)


Begin by zesting enough lemons so that you have 1 cup of zest and then supreme and then chop the lemon so that you have roughly 2.5 - 3 cups of lemon segments (including the juice from the lemons).

Combine the peel and 1 cup of water and let it soak for 10-15 minutes. Drain the peel and discard the water. You will then combine the peel with the lemon juice, 1 cup of water and the baking soda in a 6 quart pan. Over medium heat, bring the combination to a full boil then reduce the heat to a simmer, cover and continue to simmer for 10 minutes, stirring occasionally. Stir in the supremed lemons and cover once again and simmer for another 10 minutes.

While the liquid is simmering, place the 5 cups of sugar in an oven proof container at 250F for 10 minutes. Stir the warm sugar and butter into the 6 quart pan and stir until the sugar completely dissolves.

Turn the heat up to medium-high and stirring constantly, bring it to a rolling boil. Stir in the 3 oz of pectin and return the mix to a full rolling boil and let it boil for a full minute. Remove the pan from the stove and ladle off any foam.

Allow the marmalade to cool for 5 minutes, stirring occasionally. Then ladle into hot jars allowing 1/4" head space. Wipe the rim of the jar with a damp cloth and apply lids. Process 250ml jars in a hot water bath for 10 minutes.

Remove and allow to cool on your counter overnight before moving.

Quick and Easy Fig Jam

We are keeping it pretty low key this New Years. Having a few friends over for a nice meal, drink some wine by the fire...a quiet evening in. But just because it is low key, doesn't mean the dinner has to be mac n' cheese (not that there is anything wrong with mac n' cheese...I personally love it). I have been thinking about the menu since before Christmas. The Manning Canning kitchen has been closed since Dec 23rd, so I have time to cook other things, which is a nice change.

For the main I decided to brine a pork roast and then stuff it with this really simple fig jam, because come on...even though the kitchen has been closed, this girl still likes to get her jam on ;). It is a super simple recipe...and the final contents will keep in the fridge for about a month once you make it. But before I stuff it into the pork roast, I am going to cook it up with some garlic, shallots, bread, chicken stock and some herbs. You can use many different combinations for the stuffing...the jam just takes it over the top in flavour.


Fig Jam

2 pounds figs, coarsely chopped

1.5 cups granulated sugar

.5 cup balsamic vinegar

1 tsp white peppercorns

Juice from half a lemon

Now for this particular recipe, because I know that in the end I am going to be cooking up this jam again with other ingredients, I keep the figs in rather large pieces. You can choose to chop them a lot finer if you would prefer...the only difference it makes is to the overall consistency and does nothing to the flavour.

Place the figs, sugar and vinegar in a pan together over low-medium heat until and mix together thoroughly. You can either place the peppercorns right into the jam and leave them there or you can place them in some cheesecloth and remove them once the jam has cooked.

Start with the heat to be on low just until all of the sugar dissolves and then turn it up to medium and continue to stir occassionally. You will notice as the jam cooks that some of the fig starts to break up and almost melt into the jam. You can help this along with a wooden spoon if you want smaller pieces once you start to cook.

You will notice everything start to thicken up after about 10 minutes and at this point, you will want to test your set using a spoon or other method that you are comfortable with. Once you are happy with the set, remove from the heat, stir in the lemon juice and if you placed the peppercorns in cheesecloth, remove them and then ladle the jam into your jar. Allow the jam to cool slightly on the counter and then move to the fridge until you are ready to use it.


Perfect Fall Preserving

The view to my neighbours house across the street has been blocked from view for the last 6 months because the leaves of the maple tree that grows on the boulevard provide a nice cover. Well in the last few weeks as the leaves began to fall, their house started to appear almost as if the pieces of a puzzle were being put together.

In the last 48 hours as the winds pick up with the expected arrival of Hurricane Sandy the last remaining leaves that were hanging on for dear life fell and my lawn is a blanket of yellow and orange.

These blustery winds and cooler temperatures have me craving comfort food and I want to fill my house with the smell of cinnamon, nutmeg and ginger. If you are having similar feelings, you may want to check out these great posts that have provided me with some inspiration for these fall days ahead of us.

Nectarine Butter - now nectarines might not be in season where you are but there are certainly a lot of great pears available and this recipe sounds like it would work with them as well.

Pear Slices Preserved in Whiskey - if the sound of that recipe alone doesn't start making you feel warmer all on it's own, read it again ;)

Cranberry, Orange and Port Sauce - a nice twist on Cranberry Sauce. This would make a great gift for the upcoming holiday season

Banana Jam - the addition of Vanilla made this jam for me

Pickled Grapes with Cinnamon and Black Pepper - I could just picture these on my next cheese plate

What are your fall favourites?

Peach Preserves vs Peaches in a Light Syrup


Inquiring minds wanted to know. Well that might be an overstatement so let me rephrase. An inquiring mind wanted to know and that mind was me! What did I want to know, you ask? It’s simple. After years of putting up peaches in a light syrup to carry me through the winter, I wondered if there was a recipe out there that could top my current ‘go to’ recipe for peaches. It wasn’t that I was tired of the favourite peaches. It’s not like I was going to cheat on them so stop judging me. I was just curious…and I had a bushel of peaches fresh from the farmer’s market staring up at me from their wooden box.

I scoured some preserving cook books, checked out some of my favourite blogs and shortlisted it to three different recipes, made all 3 and personally chose one that was different enough but delicious enough to be a contender for my taste testers to put through the paces.

But before I get into the results let me tell you a bit about each recipe. The Peaches in a Light Syrup are quite simply peach slices in a very light sugar syrup. When you open the jar you get the fresh sweet smell of natural peaches. The colour is light and clear and the flavour is pure peach. The Preserved Peaches are different in that you let the peach slices macerate before you preserve them so the peach slices and the sugar get all juicy together. The addition of pectin to this recipe makes the syrup slightly thicker and to be honest there is just simply more sugar. The colour is bold and rich and the flavour is deep and rich but not as ‘peachy’. NOTE: I did not include the cinnamon or the almond extract as I wanted the peach flavour to stand on it's own.

Photo: On my "To Do" list today is to do my taste testing for Manning Canning preserves by Christine Manning. Nice work if you can get it yes?

photo credit: Nancy Lismer

I delivered a jar of both to each taste tester alongside a little questionnaire. Now not all of the results are in but there were some clear lines in the results that I will share with you now and they seemed to revolve around sweetness. If you like a sweeter product, the Preserved Peached are for you. The comments listed in the box below are highlights from some of the taste testers. Check it out.


Preserved Peaches

Peaches Preserved in Syrup

Texture

LOVED the texture, thick, rich and syrupy. Because of the thickness the flavour lingered longer. It flirted on the palette

Peaches were still nice and firm so they didn’t fall apart

Rating

If you like sweet – that average rating came in between 8.5 and 9

For those taste testers who like a product that is less sugar-y the peaches in light syrup rocked a score of 10

Sweetness

9.5 – 10 (by those who liked and disliked the sweetness level)

3 - 6.5

Uses

All parties seemed to agree that this preserve would be great on ice cream or served as a desert. A suggestion came through that you could drizzle the juice on a pork chop and serve the peaches on the side.

Excellent for breakfast with yogourt or granola. Or as a key ingredient in a cocktail with sparkling wine

What would you tell someone about this product

The colour is gorgeous. Has a wonderful smoothness from a flavour and texture perspective. The syrup alone is so good and then you bite into the peach and the flavours just explode

It’s like a taste of summer in a jar.

 Taste testers - are you ready for your next delivery?

Scrumptious Preserved Ginger Pears

I remember vividly the first time I tried it. From who I was with, to the lighting in the restaurant. I was nervous - this was my first exploration into the land of sushi. I was with an old, dear friend; Blair Shimbashi. I figured if anyone would steer me down the path to good sushi, it would be Blair. I was not a very adventurous eater as a child. In fact one might say that I swayed closer to the term 'picky' than I did adventurous.

It wasn't until I was in University that I was brave enough to try Thai food and I was well past university when I decided I was ready for sushi.

To my surprise and Blair's delight, I loved it. I gobbled up everything on my plate; from the tuna to the eel. I couldn't get enough washabi, but the one thing that stopped me in my tracks was the ginger. I didn't like it. I am not sure if it was the texture, the aroma or the flavour, but there was something about it that turned me right off.

It took almost a decade until my taste buds changed their minds. And change their mind they did. I don't just suffer through or tolerate ginger now. I LOVE IT! I could add ginger to almost everything if given the chance.

A few years ago, a friend of mind knowing about my most recent love affair handed me a recipe for Ginger Pears. She had found it tucked in the back of a recipe book and she was uncertain of the source. Using Google Recipe Search, I was able to track it down to here. I can't be certain that is where she got it from, but it is pretty darn close.

Not to take away from the source that Google Recipe gave me, but I am going to share the recipe with you as she shared it with me. There are subtle differences and I think the yield in her recipe is much more accurate.

I hope that the people that have signed up for my first canning class at The Depanneur are as crazy about Ginger as I am as we will be making this together in just a couple of nights.

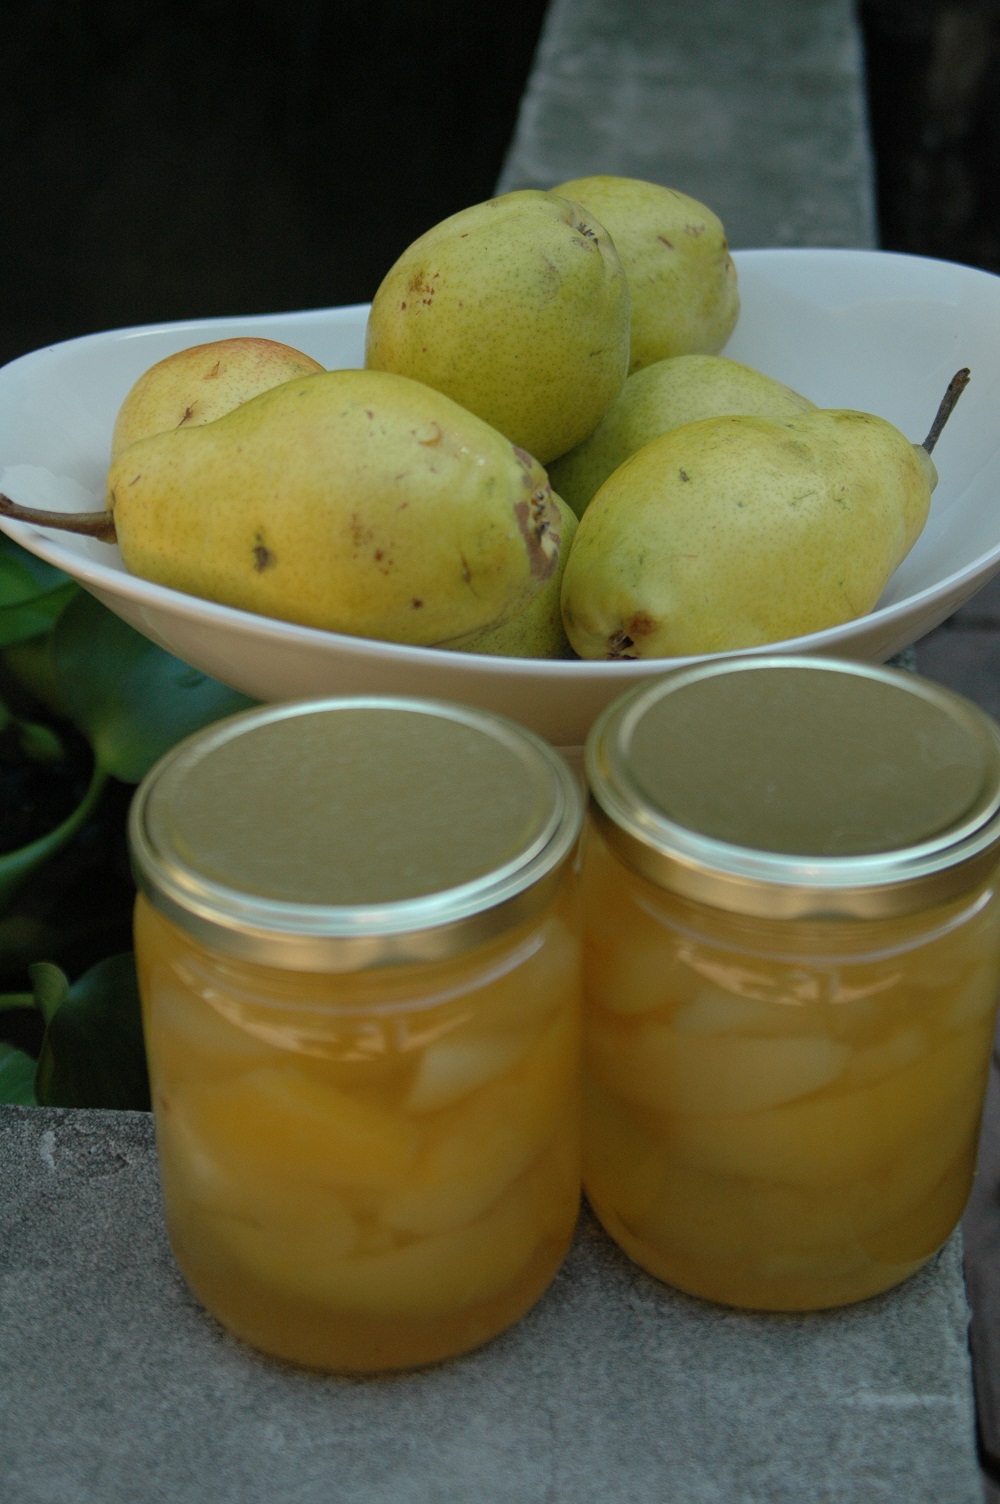
Preserved Pears with Ginger

Ingredients

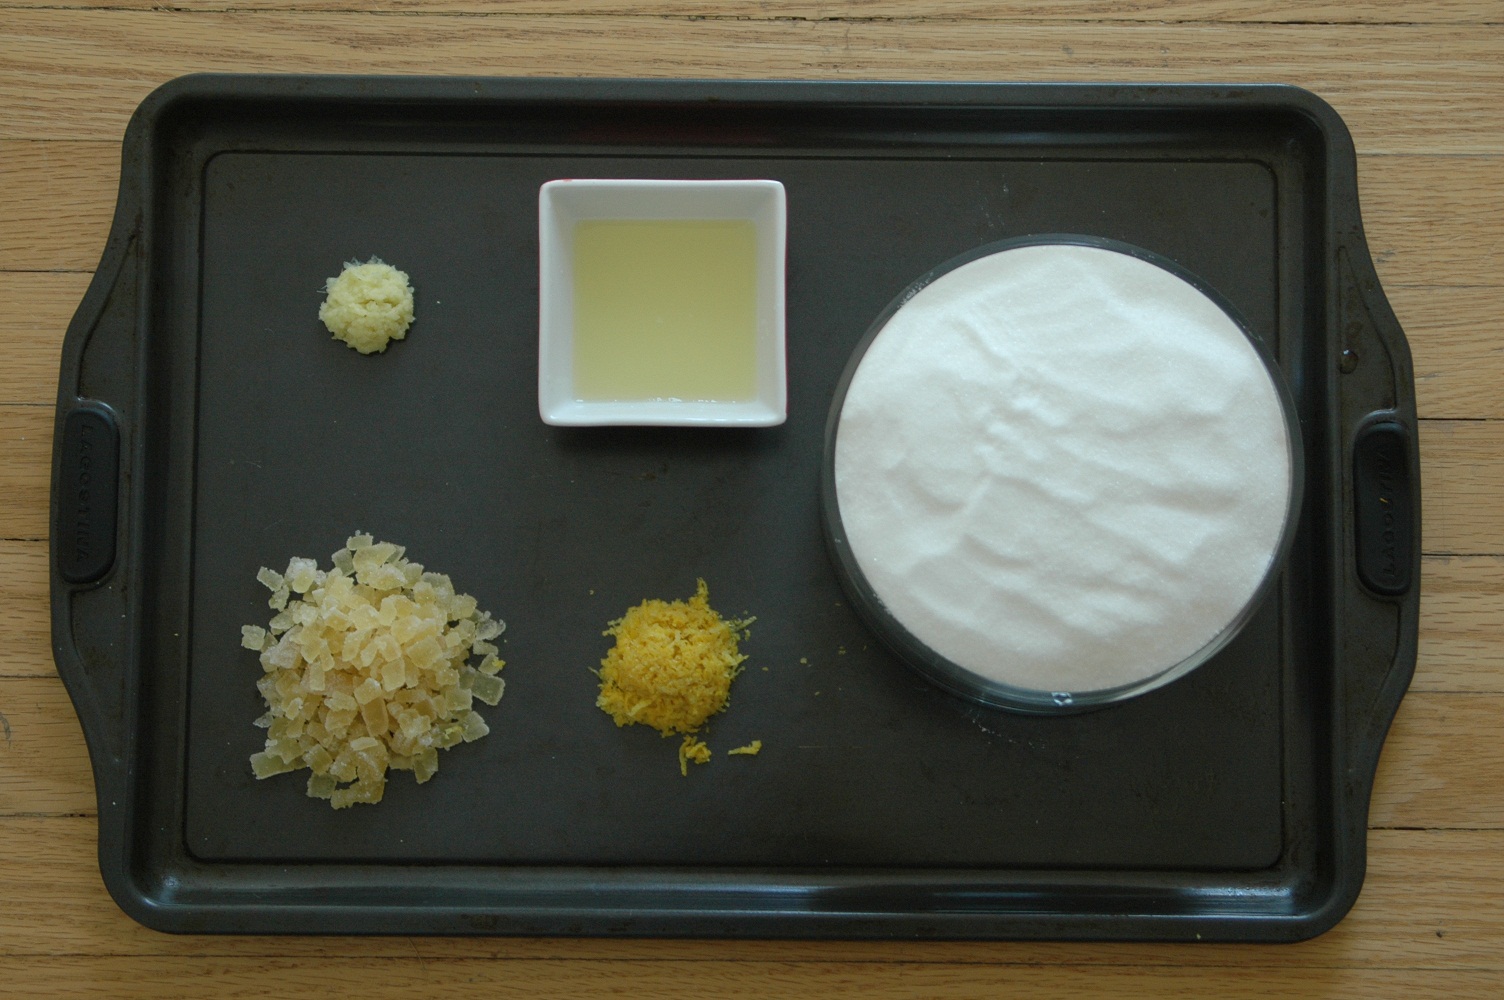
  • 3 cups granulated sugar
  • 3 cups water
  • 3 tablespoons lemon juice
  • 1 tablespoon lemon zest*
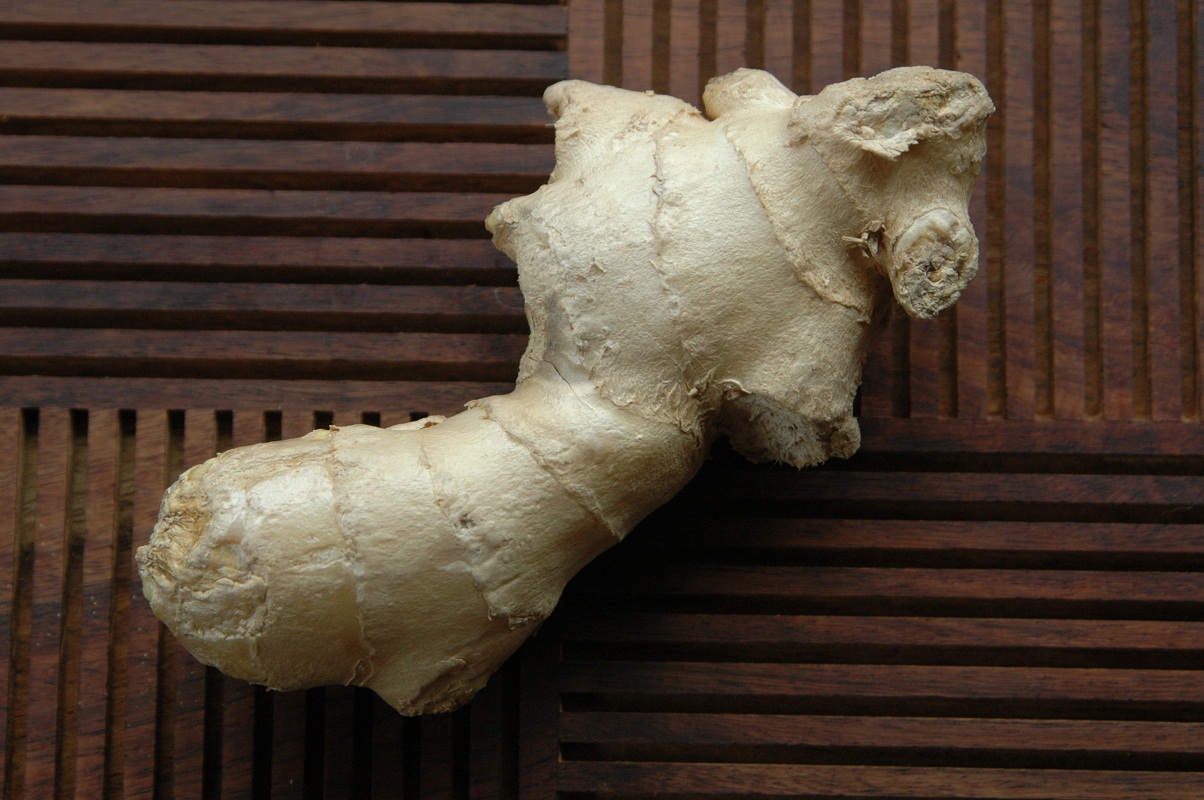
  • 1 teaspoon fresh ginger, finely chopped or grated
  • 2 lbs pears, cored, peeled, and quartered
  • 3 tablespoons crystallized ginger, chopped (candied ginger)
  • 3 or 4 500ml jars and lids

* Lemon zest is a necessary ingredient for this recipe, so please don’t leave it out. It provides natural pectin to the syrup and thickens the preserves.

Preparation:

Sterilize the 500ml jars and lids and set them aside.

In a large saucepan, heat the sugar, water, lemon juice, lemon zest, and fresh ginger to a boil. Lower the temperature so the mixture is simmering, and cook, stirring occasionally, for 10 minutes.

Add the quartered pears and crystallized ginger to the saucepan and continue cooking for 30 minutes, until the preserves thicken and coat a spoon.

Pack the pears and gingered syrup into the sterilized jars leaving ½” headspace. Wipe rims, apply lids and rings. Process jars in a boiling water bath canner for 10 minutes. This recipe yields 3 to 4, 500ml jars.