The end of the road; The Road to the Royal

My personal journey on the Road to the Royal took just over 6 weeks. It included a lot of well timed conversations with farmers to ensure I received the fruit I wanted at the peak of freshness. It involved a lot of patience, straining, skimming, measuring, stirring, boiling, testing and hoping.

It also included a little trial and error because I wanted to ensure that each jar I submitted was 'Royal worthy'. In the 6 weeks, I turned down fruit that were over ripe even though I could have paid less for the produce. I carefully measured head space and patiently waited for the rolling boil I knew I needed to ensure set.

I made decisions on which recipes I would use and which preserves I would enter. I ended up entering 7 categories, which sounds like a lot but is really only a small fragment of the categories that I could have entered. I didn't even consider the pickle category, not because I don't make a fine pickle but because I wanted to focus my efforts on jams, jellies and marmalades.

On Friday, I finally delivered my preserves to the Royal Agricultural Show Office, which was a hive of activity. I knew it would be with the show just 2 weeks away. I was taken into the back room, where we unpacked my boxes and checked each entry off the list. The table tops were covered with jar after jar of maple syrup and lots and lots of jam.

As I walked out of the office, feeling lighter than when I went in I tried to imagine what Judging day looked like. I would love to one day be on the other side of the fence. Getting to taste all of those magnificent entries.

Yesterday the judges spoke. All decisions are final. No matter where I place, I am happy to have travelled this road. Now there is nothing left to do but wait.

What to do when a jelly doesn't set

 One of the best tips that I learned in my early jelly making days when I would struggle AGAIN and AGAIN with achieving set is one that I sadly had to use on a semi-regular basis when I first started making jelly.

You have a couple of options when the dream jelly you are making doesn't set and instead continues to slosh around in the jar even after the water bath and cool down period.

1) You can get really angry and open each and every jar and pour the contents down the drain (been there, done that).

2) You can decide that even though it is runny you just don't have the energy to do anything further with it and use it as a spread for pancakes, stir it into your yogourt or add it to fruit shakes. This was a personal favourite of mine way back when.

3) You can reprocess the jars and actually achieve the set you meant to get the first time. Now this option tended to be one that I personally avoided like the plague. Mostly because I hate doing something twice. I hate turning back if I forgot something at home...I simply hate doubling back.

But that being said, there is a time and place for everything and sometimes you just want your damn jelly to set. If that is the case, then these simple steps will save the day.

- Empty the contents of each jar into a similar sized pot as you used the first time you screwed up the jelly

- Over low heat (keep stirring) until the jelly melts down and is soft and fluid once again.

- Add 3 tbsp sugar, 1.5 tsp lemon juice for each 250ml jar of jelly that you are re-heating. Keep over the heat and continue stirring until all of the sugar dissolves.

- Once the sugar has dissolved, increase the heat to med-high and bring the jelly back up to a rolling boil. Then stir in 1.5 tsp of liquid pectin for each 250ml jar of jelly that you are re-heating. Continue stirring until the jelly reaching that same rolling boil and boil for 1 minute.

- Skim off any foam, jar and water bath as per the first time.

Quince Honey Farm Giveaway

I have a few favourite things when it comes to the North Devon Countryside. It is hard not to get caught up in the stories your imagination begins to weave as you look out across the rolling countryside; soaking up the beauty of the hedgerows, old stone homes and history that seems to be woven into the very soil of the place.

South Molton is a farming village, so the landscape is also peppered with sheep, cows and if you know where to look - bee hives.

It is a place where you know people live off the land - and that is what I love most of all.

The Quince Honey Farm is a family run business that has been around for more than 60 years. Across the North Devon countryside they have more than 1500 hives nestled in amongst the abundance of Devon Wild Flowers. But the Quince Honey Farm does something interesting with their bees. In August when the North Devon countryside has no more clover for the bees to feed on all 1500 hives are moved up to Exmoor National Park, so that the bees can take advantage of the acres and acres of heather that is readily available.

They load approximately 200 hives a night onto pallets on a forklift and in the darkness relocate them to the moors. It sounds like back breaking work, but the result of this labour is delicious.

Not only does Quince Honey Farm produce magnificent honey, they also have a very informative exhibition called Bee World. Housed within Bee World are numerous educational exhibits that show everything from the process used to harvest the honey from the hives, to how they bottle it, to numerous examples of live bee hives in everything from post office boxes to chimneys.

We sampled several of the different honey's produced and if you know me at all, you know I have never really liked honey. So I really took one for the team here ;).

I purchased a jar of our favourite which was Devon Heather Honey and I brought it back so I could share it with one of you. Want a chance to taste what Heather found on the Moors of Northern Devon countryside does to Honey? Just share your favourite way to use honey right here or on my facebook page. A random winner will be selected on Friday, October 25th.

.

Jammy gift boxes


In just a few short days I will be hopping on a plane headed to Jolly Ol' England to visit my husband's 96 year old gran who lives in North Devon in a quaint little town called South Molton.

I lived in England for a year many moons ago, so England is filled with fond memories of things like the Glastonbury Music Festival, going back stage to meet bands like Suede, Shed Seven and Blur. And it is where I fell madly and truly in love with tea. It also made me a bit of a tea 'snob'. Yes, I can openly and without shame admit that tea that comes in a bag and is labelled Tetley or Red Rose, really isn't tea. My tea must be loose leaf and of high quality. What can we say - we all have our weaknesses.

In England, tea seems to be the answer to all of lifes little problems. Just spent an hour in your car when the drive should have only taken 10 minutes - sit down and have a cup of tea. Have an awful day at work - let me make you a nice hot cup of tea.

So when I got to thinking about what I could take Grandma Betty as a little gift all my ideas revolved around tea and of course Manning Canning.

I will be adding these little jammy gift boxes to my holiday gift boxes that are available. You can mix and match which 4 products you want in the box according to your personal desires. Each box will sell for between $18-25 depending on product chosen.

And of course, Grandma Betty will be getting a box with 4 spare jars of jam, so when she has the ladies over for tea and a pastry of their choice, they will have a selection of Manning Canning jams and jellies to choose from. I think it is the perfect little gift idea.

Family Feud - pickled onions

I fear to this question that there really is no 'right' answer. But yet I must ask it anyhow.

Is my husband's grans recipe for pickled onions better than my Aunt's recipe for pickled onions?

It has been an on-going arguement or shall I say 'discussion' in my house for as long as the phrase pickled onions was muttered between my husband and I.

We have both had the honour of tasting both recipes and we are at a complete and total stalemate. So this summer, I pickled over 90lbs of silverskin onions and am now going to officially ask one of you readers to be the tie breaker.

One recipe uses white vinegar and cinnamon while the other recipe uses malt vinegar and pickling spices. Which is James' grans recipe and which is my aunt's? I can't tell you that for fear it would sway your taste buds opinion.

Now all you need to do is volunteer to be the tie breaker and what will happen next will surprise and delight you. If you are randomly selected, I will deliver (via post or in person) a 500ml jar of both versions of the pickles and all you have to do is try them over and over again repeatedly until the jar is empty or pretty darn close to it. At this point in time, all I ask is for you to tell me your thoughts about each and whether or not you have a preference. I would never put you in the uncomfortable position of having to choose one over the other. Unless of course, one is so much better than the other that you have an obvious favourite.

Sound like something you and your tastebuds could handle? Well then, just comment below or on my facebook page and the rest will be down to chance.


OCTOBER 2013 Preserving: Our Canadian Food Tradition

I can't believe a month has passed and once again it is time to post for the The Canadian Food Experience and that this month I get to talk about something that means so much to me personally.

Sometimes I take my preserving skills for granted. It is just something I feel like I have always known how to do without actually remembering being taught. I feel fortunate to have grown up in a family where jam was always homemade, peaches were preserved so they could be enjoyed in the middle of winter and pickles were always available and on a shelf in the basement.

I always assumed that it was the same in everyone’s house. That when you ran out of jam you went downstairs and could choose from the selection of jams that always seemed to be there; raspberry, peach, cherry or blueberry.  Not that you ran to the grocery store or put it on the grocery list.

I remember vividly sitting on my nona’s front step with my mom and my aunt shelling peas that had just been picked from the garden, making raspberry jam from the raspberries we just picked out of my aunt and my nona’s garden.

I never thought it was weird that I knew the meanings of words such as suspension, headspace, set and waterbath at an age when my friends were talking about smurfs, then Sweet Valley High or Flowers in the Attic.

I spent almost 2 decades working in packaged goods, fashion and digital marketing before I finally found what I now consider my “calling” and it turned out to be preserving. And of course, it was something that had been sitting there right in front of my eyes for years.

Recently I was asked what my favourite thing to preserve was and without hesitation my answer was Raspberry Jam. I love absolutely everything about it. I look forward to raspberry picking from the moment the last snow flake melts, I love the smell of the raspberries as they cook, I thoroughly enjoy beating the crap out of the berries to release the pectin from their seeds and I love spreading the deliciousness on my morning jam.

This recipe was the very first jam I ever made and I love it for it's simplicity. It is how my mom made her raspberry jam and one day, I hope it is how you will make your own raspberry jam. Just remember…if you don’t feel like making your own you can always just buy it from me ;).

Super Simple and Delicious Raspberry Jam

600 gram bag of fresh or frozen raspberries

3 cups granulated sugar

Sterilize your jars and lids.

Place the sugar in a pot or pan and place in the oven for 15 minutes at about 250 degrees. Warming the sugar helps it to dissolve.

Place the 600g of raspberries in a large saucepan and heat over medium high heat. While it warms mash it furiously with your potato masher. The seeds in the raspberry contain pectin and beating the crap out of them helps release it. :) Bring it to a boil, stirring constantly for one minute.

Add the 3 cups of warm sugar, stir constantly and bring it back to a boil. If you have a candy thermometer you can use this to make the whole process even easier. Keep stirring until it reaches 200-220* F. Don't have a thermometer? That's ok, just put a glass plate in your freezer at the same time as you start to sterilize your jars. After the jam has been boiling for about 5 minutes, take the plate out of the freezer and drop about a half of a spoonful of jam on the cold plate and let it sit for about a minute. If a gel forms then your jam is ready. If not keep cooking and try it again until you are happy with the set.

Ladle into hot jars, wipe the rims and seal. Place in hot water bath for 10 minutes and then remove. Now comes my favourite part - when you hear the popping of the lids as they seal.

This recipe yields 3-4 jars of delicious home made jam. That's right...in your FACE store bought jam.


Manning Canning - Employee of the Month

Now this might not seem like much of an accolade when you find that indeed Manning Canning only has one employee, but trust me...it is.

Some of you may have been lucky enough to meet Lou Bellamy when she stood in for me at a couple of markets throughout the summer or if you happen to go to Withrow Market on Saturdays, you will have met Lou at the Haystrom Farms booth...which is where I had the good fortune to meet her.

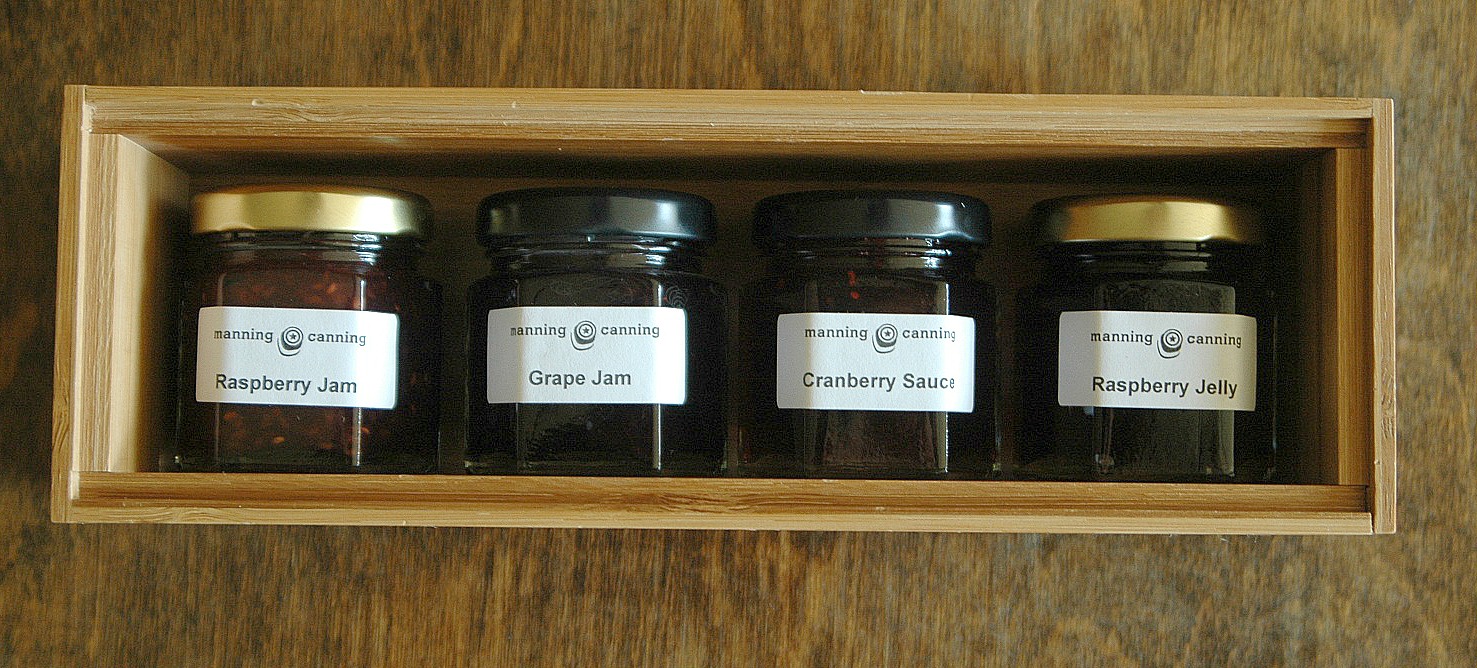
Photo credit: Peter Visima

But for those that have not met her, Lou has been working with me since last fall...back when Manning Canning was still just a part time job for me on top of a full time marketing job. She suffered through the kitchen days where I had forgotten half the ingredients or a key piece of equipment required for the day because I had just rushed to the kitchen straight from work or after a long day at the office. She has been by my side as I experimented with steam kettles and batching up my recipes. She has helped me label hundreds of jars bound for different farmer's markets or stores. She has brought me Tim Horton steeped teas to get me started in the morning. But most of all, she believed in me and Manning Canning at a time when I myself was still riddled with questions and doubts. She supported my decision when I finally decided to quit my full time marketing job and take the leap to a full time preserving career. And for that, I doubt I will ever be able to fully thank her. My only hope is that I can continue to grow this business and one day HIRE HER FULL TIME.

But until that moment comes, all I can do is hope that my praise and my thanks are enough to keep her stuck to my side like glue.

I asked Lou earlier in the summer to answer a few questions for me so that you could all get to know her a little better and understand why she chose to take the chance on Manning Canning and here is what she said.

Can you give a quick summary of your work experience up until we met at the market

Many moons ago I did a brief stint in retail however majority of my worklife was spent in a variety of administrative roles – almost half my life being within the post-secondary education sector in Toronto.

What did you like about your previous jobs

I always found working with people to be more beneficial and rewarding for me than the pushing paper aspects.  I thrived moreso on personal interactions and helping those with whom I worked understand and deal with bureaucracy.

What was missing that led you to working at Withrow market and with Haystrom Farms?

I needed to step out from behind my desk and become involved with initiatives that were more important to me.  Becoming active in a more direct way was a key point for me.  It started merely because of my interest in helping friends who are organic farmers.  Staffing the market to sell their produce was an out of the blue concept that I stepped up to.  My experience from fieldwork to the farmer’s market began the journey in my transition away from a university environment.

Do you remember why you mentioned you would be available/interested in working for Manning Canning

While being vendor neighbours at the market we became acquainted and shared great camaraderie.  Throughout the summer in having learned more about MC – I was intrigued by your accomplishments -- and knew it would be great if I could help in such a positive enterprise.  Having sampled your yummy product line quite simply sold my taste buds and interest!

What is it about Manning Canning that interests you?

I admire the achievements and goals behind MC.  The integrity, hard work and absolute dedication in creating a dream.  The world is a better place because of Manning Canning!

What do you bring to the business that is unique and makes it stronger?

A customer service and conscientious nature

Motivation to learn

Organizational instinct

Honesty

Sense of humour

Positive attitude

How would you summarize a day in the life at Manning Canning?

An active and rigorous environment.  There is always something to do.  Maintaining high standards without shortcuts is the mandate.  Busy and fun from the get go until the last filled jar is packed.

Why is working in the food sector appealing to you?

It’s where I feel that I can help make a difference.  Keeping healthy, local and ethical concepts in perspective is both responsible for and beneficial to me.

Anything else you want to add in Lou?

Working with you/MC is fantastic -- and I absolutely love what I'm doing.  I think of you as my mentor.  Thank you

If you happen to see Lou, be sure to thank her as well, because honestly without her a lot of the wonderful items I have been able to put into jars over the summer just simply would not have happened.
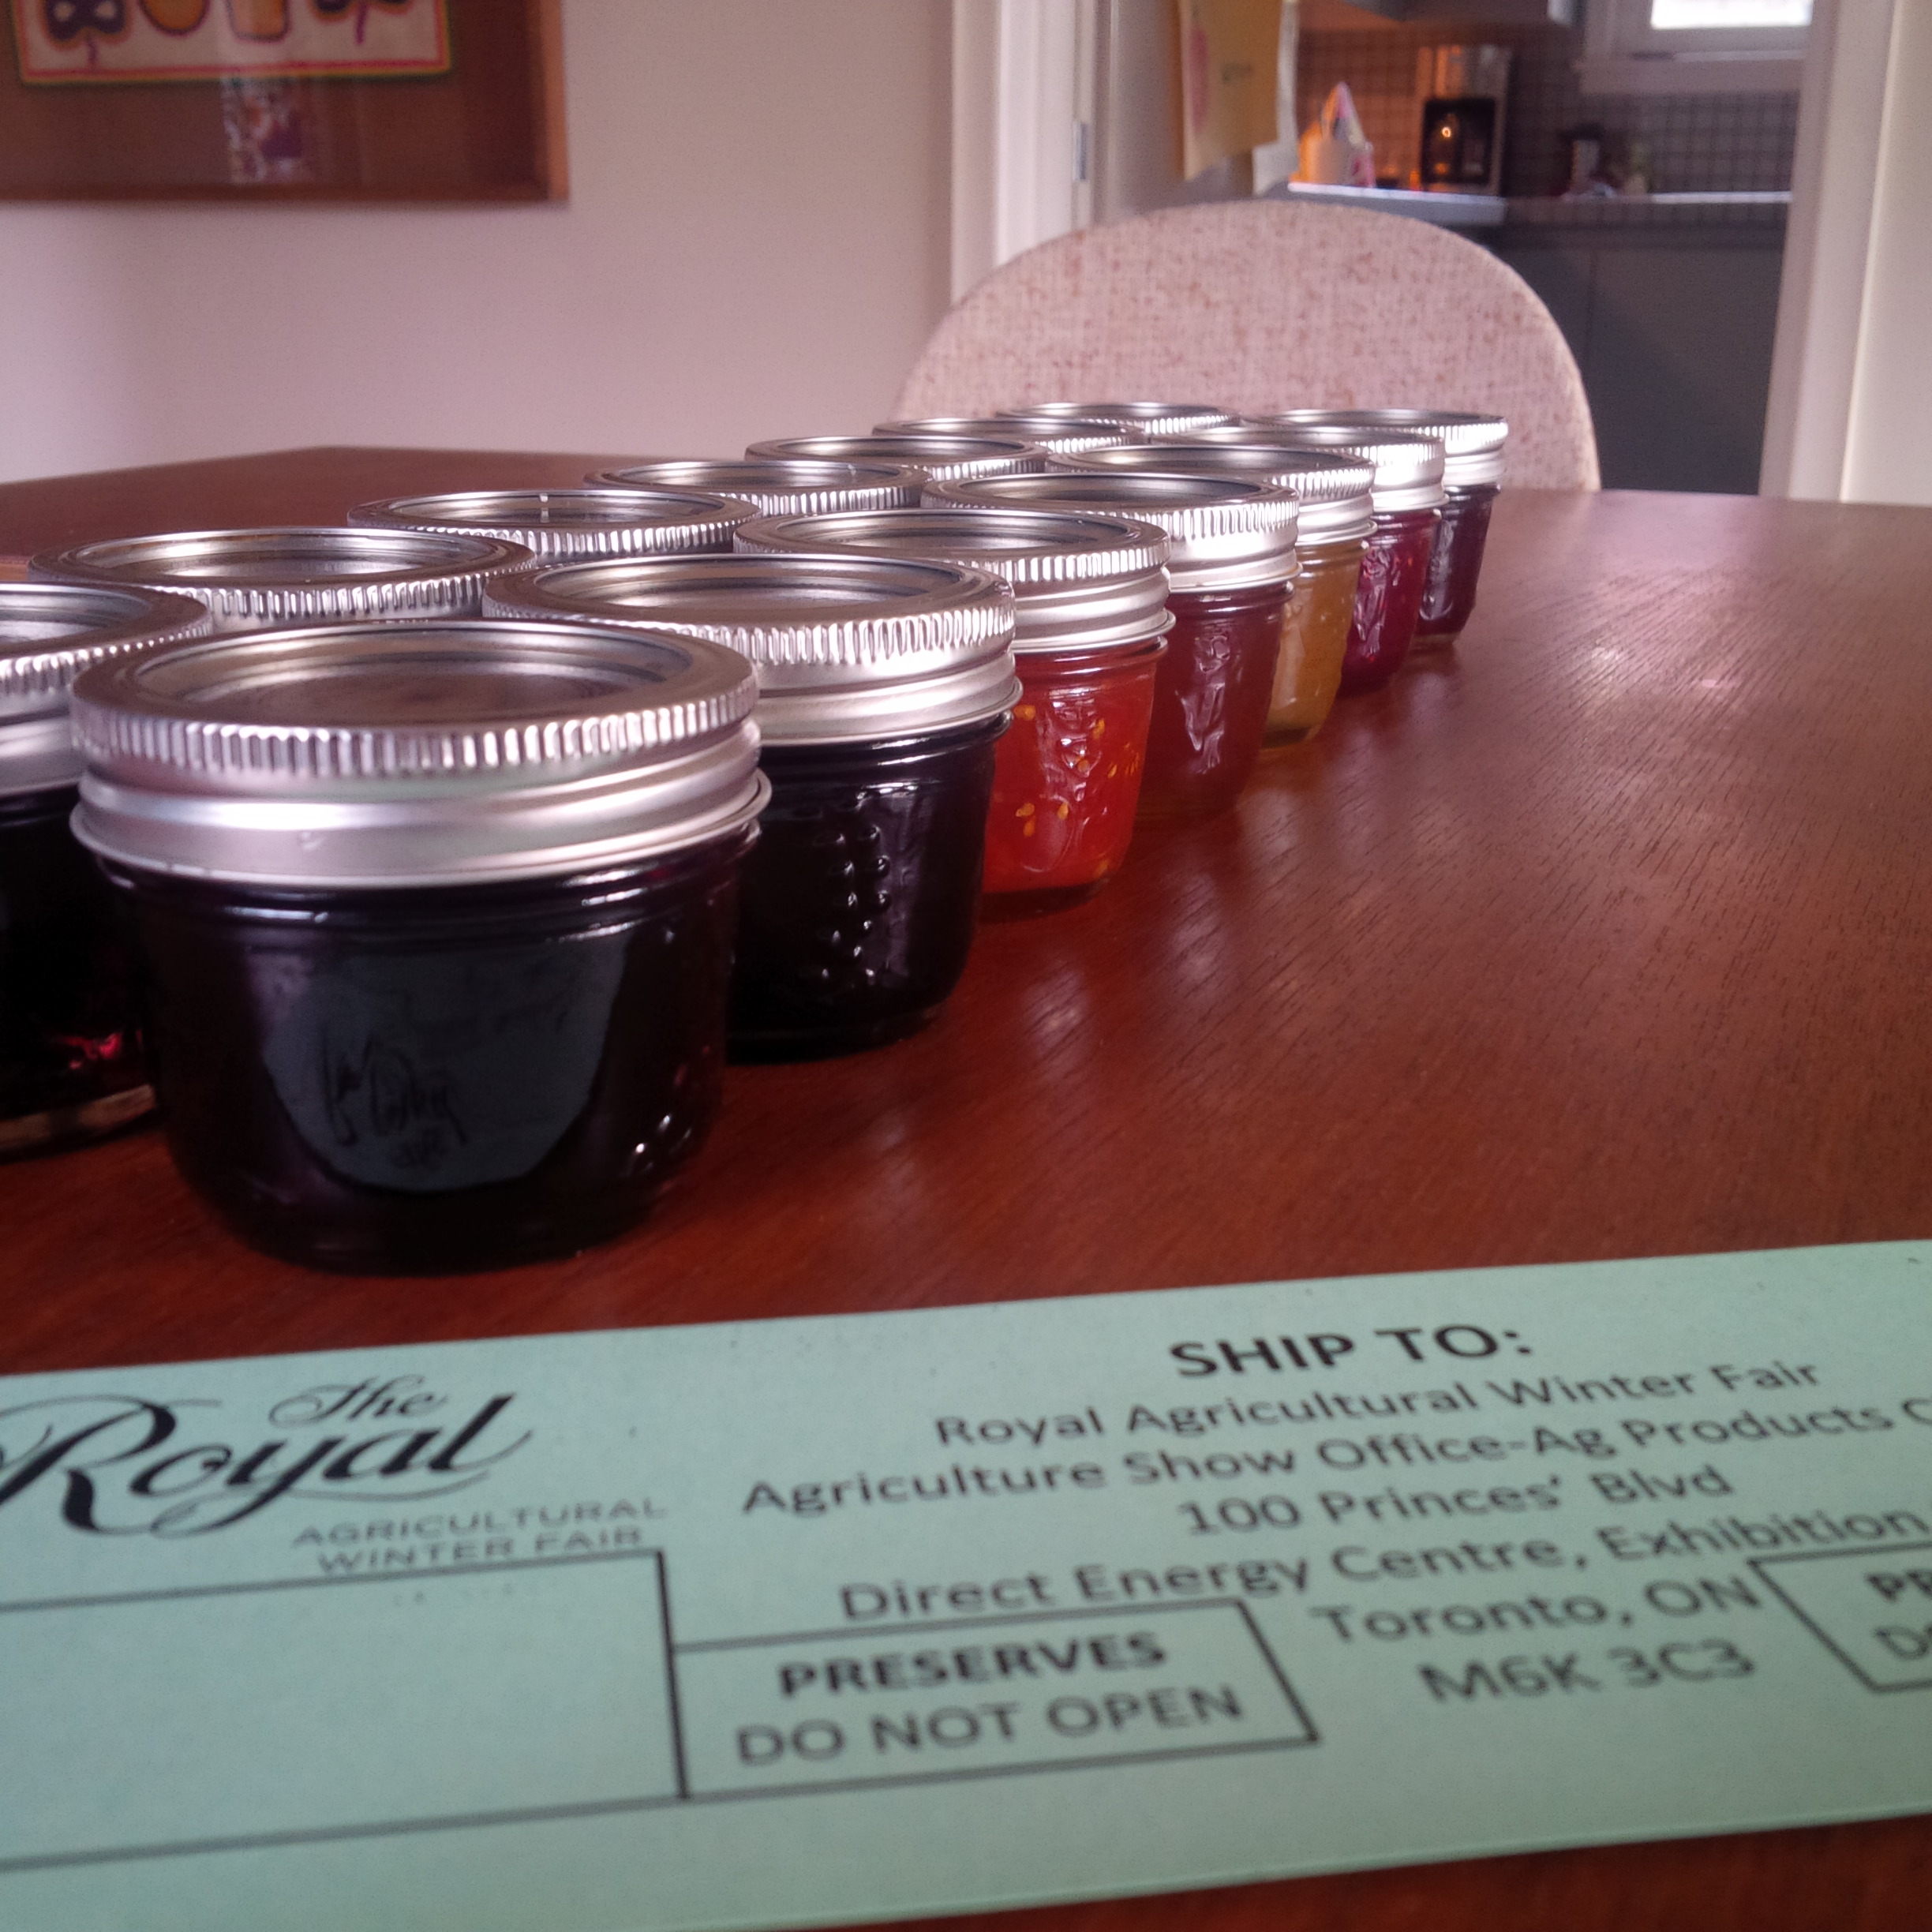
Checking in on Grandma Manning

For those of you who read my blog on a regular, semi-regular or even occasional basis you may have stumbled upon posts about my Grandma Manning as there have been a few ever since my mom shared her journal with me.

What was she up to on September 12th? Well, lets just see.

September 12, 1937

Went to mass this morning. Feeling better. Clear and hot. DeLange children over for the afternoon.

September 12, 1938

Clear and hot. Big washing. Roy works all day getting car apart. Drive shaft broken. To town for new one. Bring home peaches, prunes and pears. New boiler. Boys so hot take off shirts.

September 12, 1939

Cool and cloudy. Roy at shop in afternoon. Brings old engine home to saw wood. Erol and grandpa come down. Unable to get engine started. Carol Ann sick with stomach flu. Rosemary so enthused over school.


September 12, 1940

Clear and hot. Children hurry home from school. Jeanne finishes hat. Rita her thrift problem. Frances cutting, Roy stooking on far quarter.

September 12, 1941

Cloudy and misty. Bake cake for lunch but too wet to continue. Start again in afternoon. Men for lunch and supper. Girls put Dennis' quilt together to his immense pride. Erol in town. Gets out crate prunes and pears. $1.35 pears. Box crabs $1.00

Officially on The Road to the Royal


Last summer when I thought of entering the Royal Winter Fair Jams, Jellies and Pickling Competition, I have to admit I was intimidated. This was a showcase of the best of the best, and I just didn’t think I was ready to compete at this level. So I didn’t enter, but I couldn’t help but think I’d missed a chance. Then when I went to the Fair I walked around the winning entries and I was so inspired by the people who had entered and wondered how I would have stacked up against them. I also thought about how amazing it would feel to be reviewed and possibly recognized by such a venerable institution as well as the high caliber judges.

So in early February of this year, when I saw a tweet mentioning an event at Fort York called Mad For Marmalade, I decided to check it out. I was excited to see on offer a talk by Sarah B Hood, (author of the cookbook We Sure Can) on How to Make Prize Winning Marmalade and immediately bought myself a ticket. I had decided this would be where I build up my courage for the Royal Winter Fair.

I made a traditional Seville Orange Marmalade and then got creative in the mixed category and made Lime Cilantro Marmalade. I tweeted a photo of the Seville Orange Marmalade and got a great reply from Sarah which gave me confidence.


The event was wonderful and I learned a lot. I feverishly took notes through Sarah’s session and asked what I am sure was an overwhelming amount of questions. Met some wonderful people and my marmalades both placed in their categories. Now, I felt like mentally I was ready to take the plunge at The Royal.

I knew the competition booklets came out sometime around mid August, so I stalked the web site waiting for the information I wanted and at the same time, I continued to hone my skills and thought about what I would enter.

I have what I consider to be a bit of an advantage as I have a stall at 3 different Farmer’s Markets in the city so I get to keep a pretty close eye on Ontario produce. I firmly believe that the quality of what you put in the jar is what you will get out of the jar, so I never settle for bruised or past their prime produce. When the raspberries were so juicy they practically melted in your mouth, I went into the kitchen to make Raspberry Jam. When Wild Ontario Blueberries started to make weekly appearances, I planned my Blueberry Jam entry.

Now that I have made the decision to throw my hat in the ring, I am excited to plan out my remaining entries and even more excited to get in the kitchen and get my preserve on!

No matter where my preserves place, I am so excited to be on the Road to the Royal.

September 2013: My Most Cherished Canadian Recipe

This month’s challenge for The Canadian Food Experience really had me spinning my wheels and asking myself the same question over and over again. “What IS my cherished Canadian Recipe?” Having grown up in a predominately Italian household I struggled to even determine what would make a recipe qualify as ‘Canadian’.

Did it need to include Maple Syrup, venison or poutine in order to fit the bill? Would my mother’s gnocchi recipe not qualify (even though when I know she is making it I tend not to eat anything past breakfast so I can completely gorge myself on dinner)?

I was born and raised in Alberta, so I contemplated putting forth my Auntie Dena’s meatloaf recipe which I always make with Alberta beef that my sister ships to me from her farm every year. If the ingredients are Canadian does that make the recipe Canadian?

After a while, I decided that really there is no right answer. I am Canadian and even if this recipe happens to have been passed down to my mom from my Nona and then passed down onto me, it is still the Canadian recipe that I cherish the most.

Why do I cherish it? There are many different answers to that question. The most obvious being that it is delicious and every single person who has ever tried it – loves it. The less obvious reason is because this recipe has so many different memories interwoven into it.

My nona used to make these on her wood burning stove in the basement and as a child I wouldn’t even wait for them to fully cool on the counter before I ate them. My mom taught me how to make them and each time I make they get closer and closer to being as good as hers, but I know I still have a long way to go. And finally, my mom made them for dessert at my wedding and it was great to be able to share them with all my closest friends and family on such a wonderful day.

You may be wondering what these delights are – well they are called Butterhorns and I am really excited to be sharing the recipe here again on my blog.

Mouthwatering Butterhorns

Ingredients:

Yeast mixture

1 cup of lukewarm water

2 tbsp yeast (2 packages traditional not quickrising)

2 tsp sugar


Butterhorn Mixture

1 cup milk

1 cup butter

4 cups flour

3 tbsp sugar

1tsp salt

2 egg yolks


Icing

2 cups icing sugar

1 tsp vanilla

3 tbsp milk (if you need more add a little at a time)

1 cup of walnuts


Instructions

Scalp one cup of milk in the microwave or in a small pot on the stove. Add 1 cup of butter, stir and then cool in the refrigerator until cool to the touch.

In a separate bowl combine lukewarm water, yeast and sugar and stir until fully mixed. Sit on the countertop for 10 minutes to allow the yeast to rise.

In a medium sized bowl, mix flour, sugar, salt and egg yolks and then add the fully risen yeast mixture and the cooled scalded butter/milk mixture. Stir until fully mixed. Cover the top of the bowl with saran wrap and leave in the fridge for approximately 5 hours or overnight.

Remove the mixture from the fridge and on a large cutting board or flat surface, sprinking a light layer of flour to ensure the dough mixture does not stick. Cut a softball size piece of the mixture using a small knife and using a rolling pin, roll the mixture out to the size of a medium pizza (approximately 8-10 inches in diameter). Grabbing one side of the mixture roll the dough into the shape of a sausage roll and cut into 2" strips. Take the individual strips and put down into a small flat ball and place on a cookie sheet coated with butter or non-stick cooking spray.

Cover with clean dish towel and let rise for 40 minutes. Pre-heat oven to 350 degrees and cook for 20-25 minutes or until lightly browned.

While the butterhorns are in the oven, prepare the icing mixture. Mix all ingredients in a small bowl including the walnuts. Add additional milk slowly if the mixture is not spreadable.

Once butterhorns have cooked fully, remove from the oven and add the icing mixture immediately. And if these babies straight out of the oven with the icing sugar mixture still melting don't make your eyes roll back a little in your head, I don't know what will.

So make yourself a batch, sit down somewhere nice and quiet and take a look at all the amazing Canadian stories being shared through the Canadian Food Experience from east to west. We hope to bring global clarity to our Canadian culinary identity.